Tangled Web…Spider Web Afghan Square

spider web

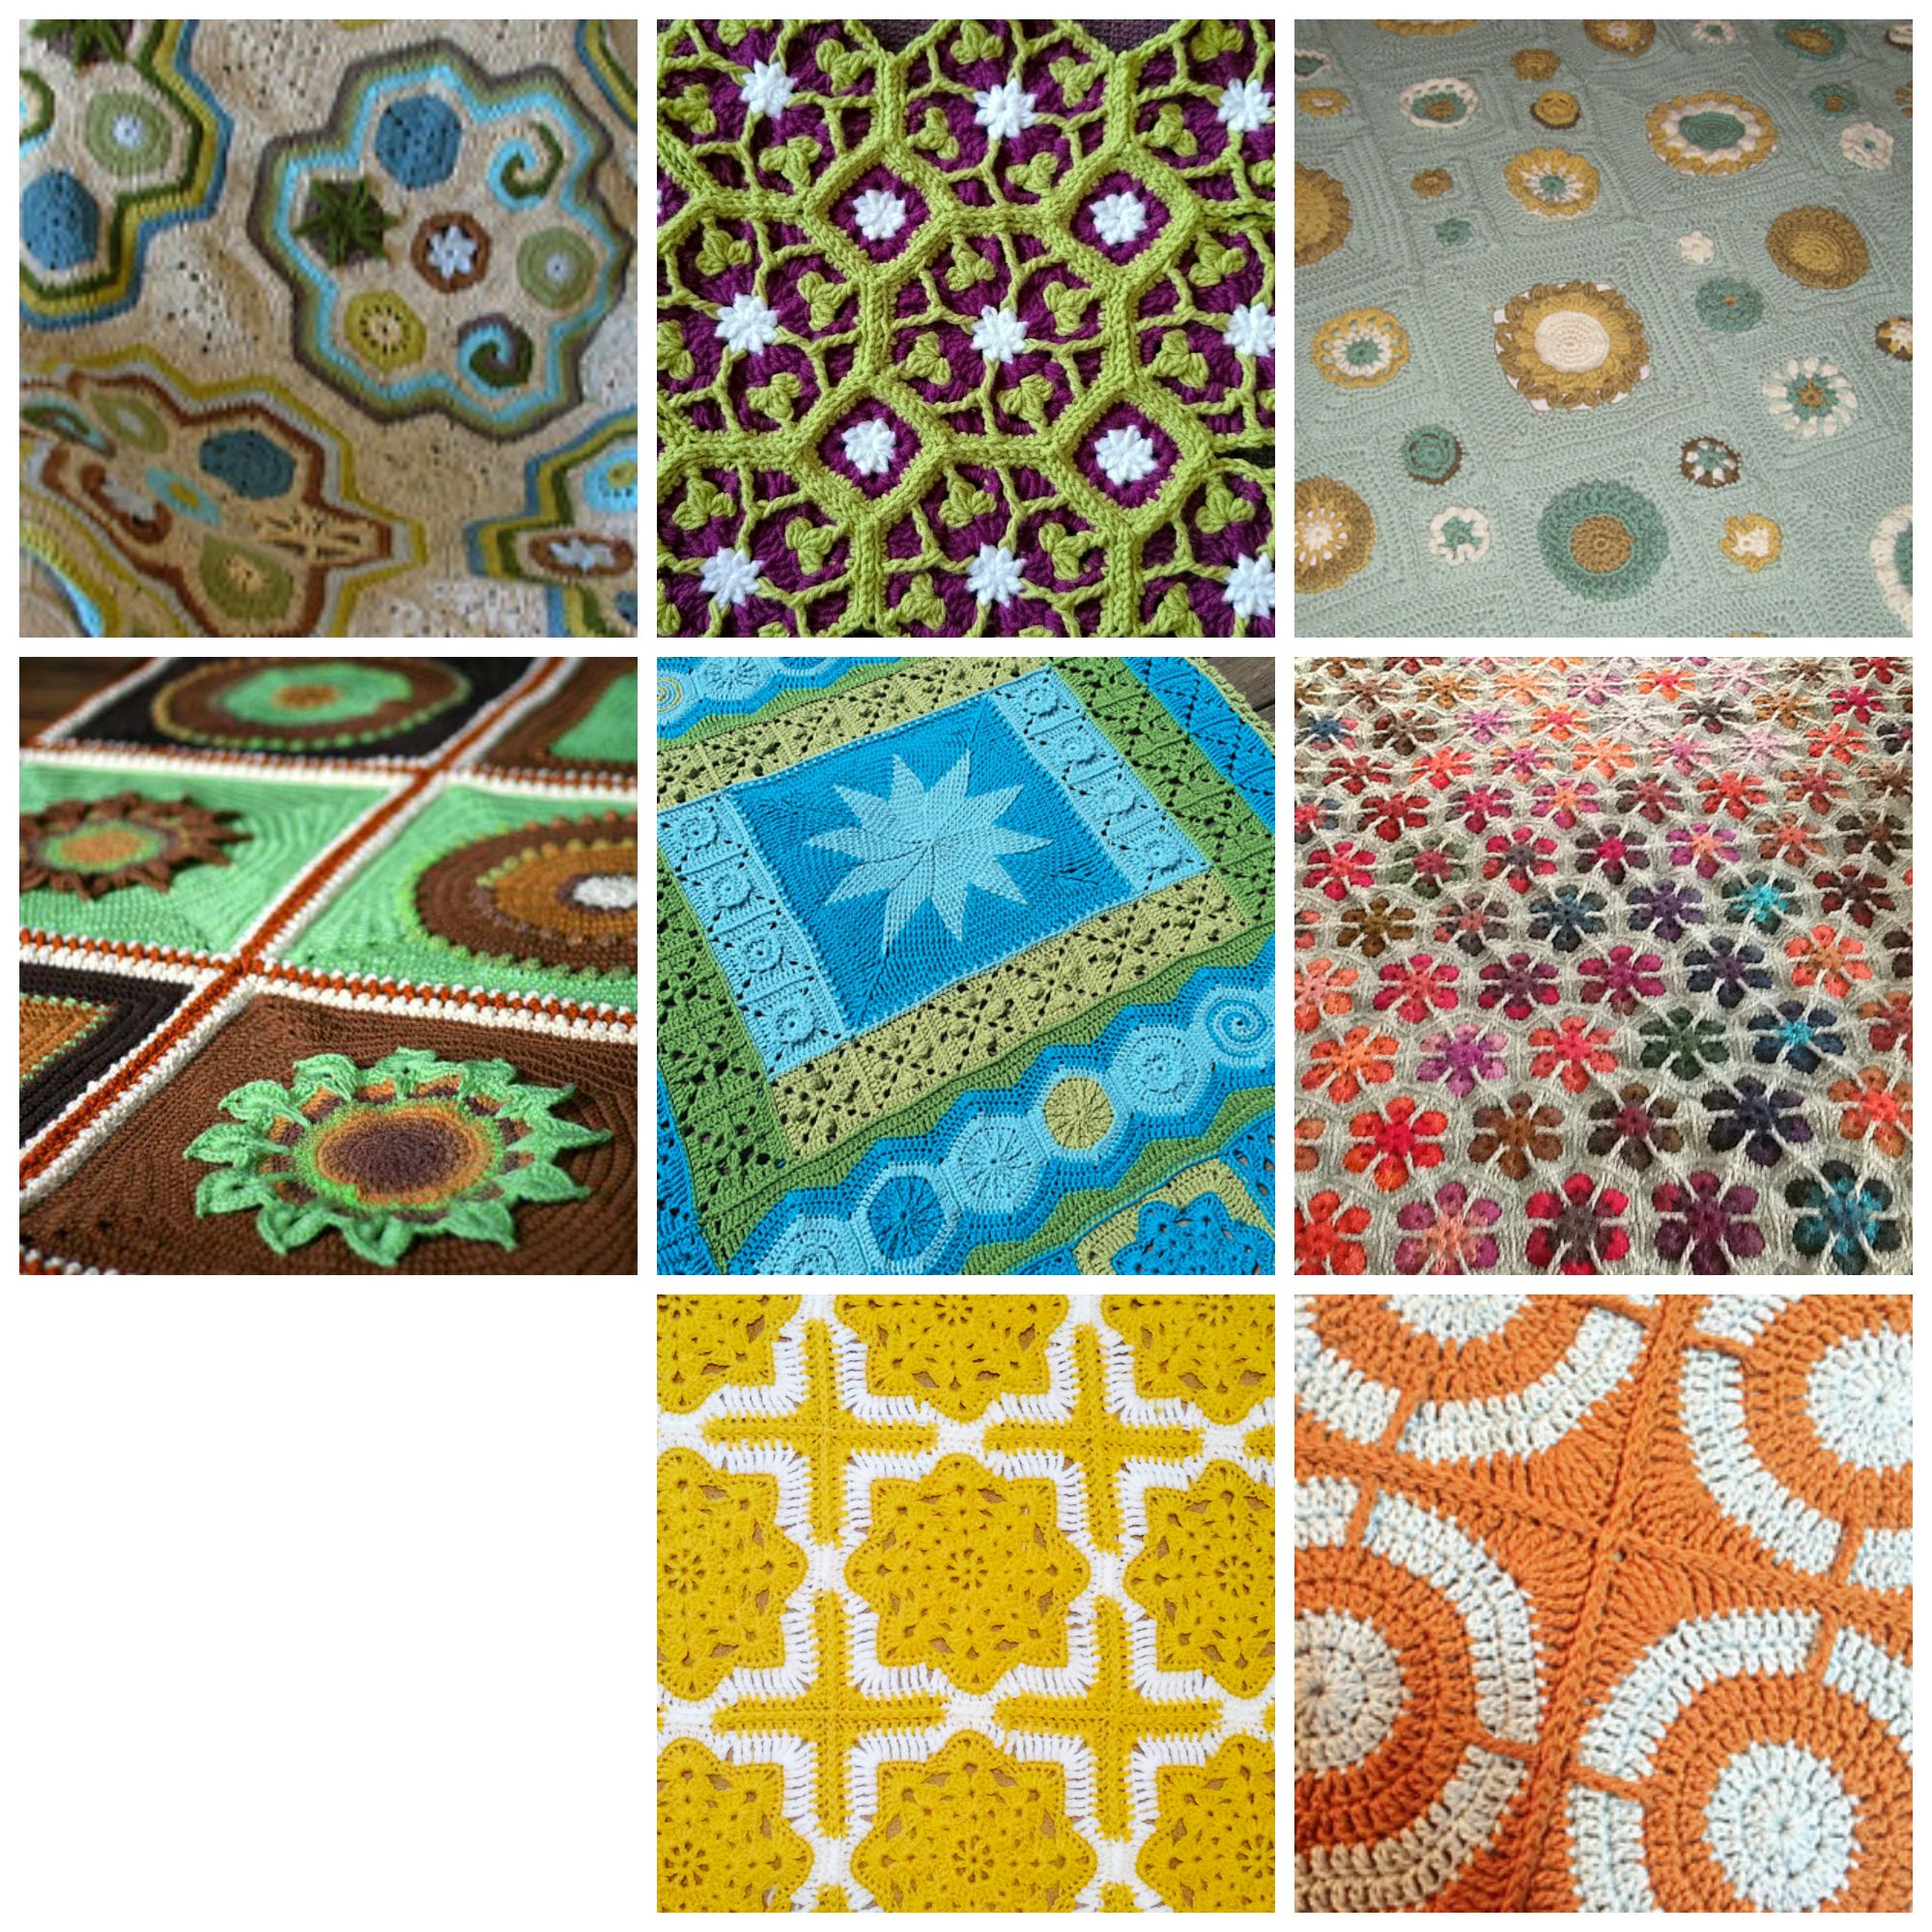
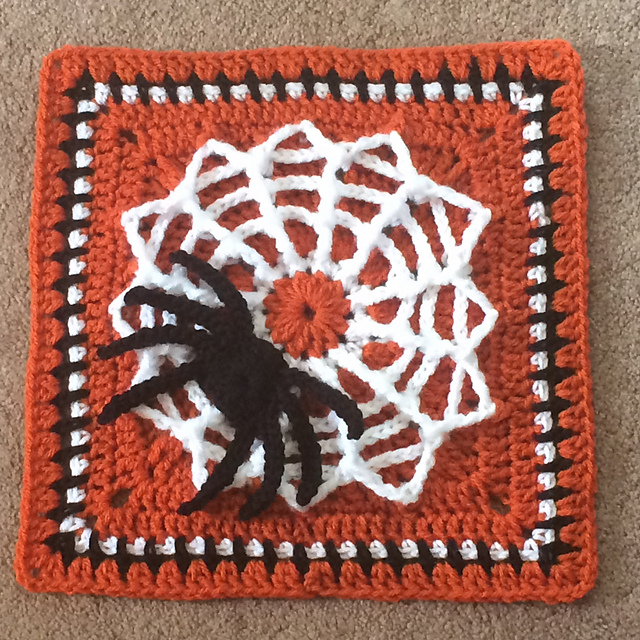
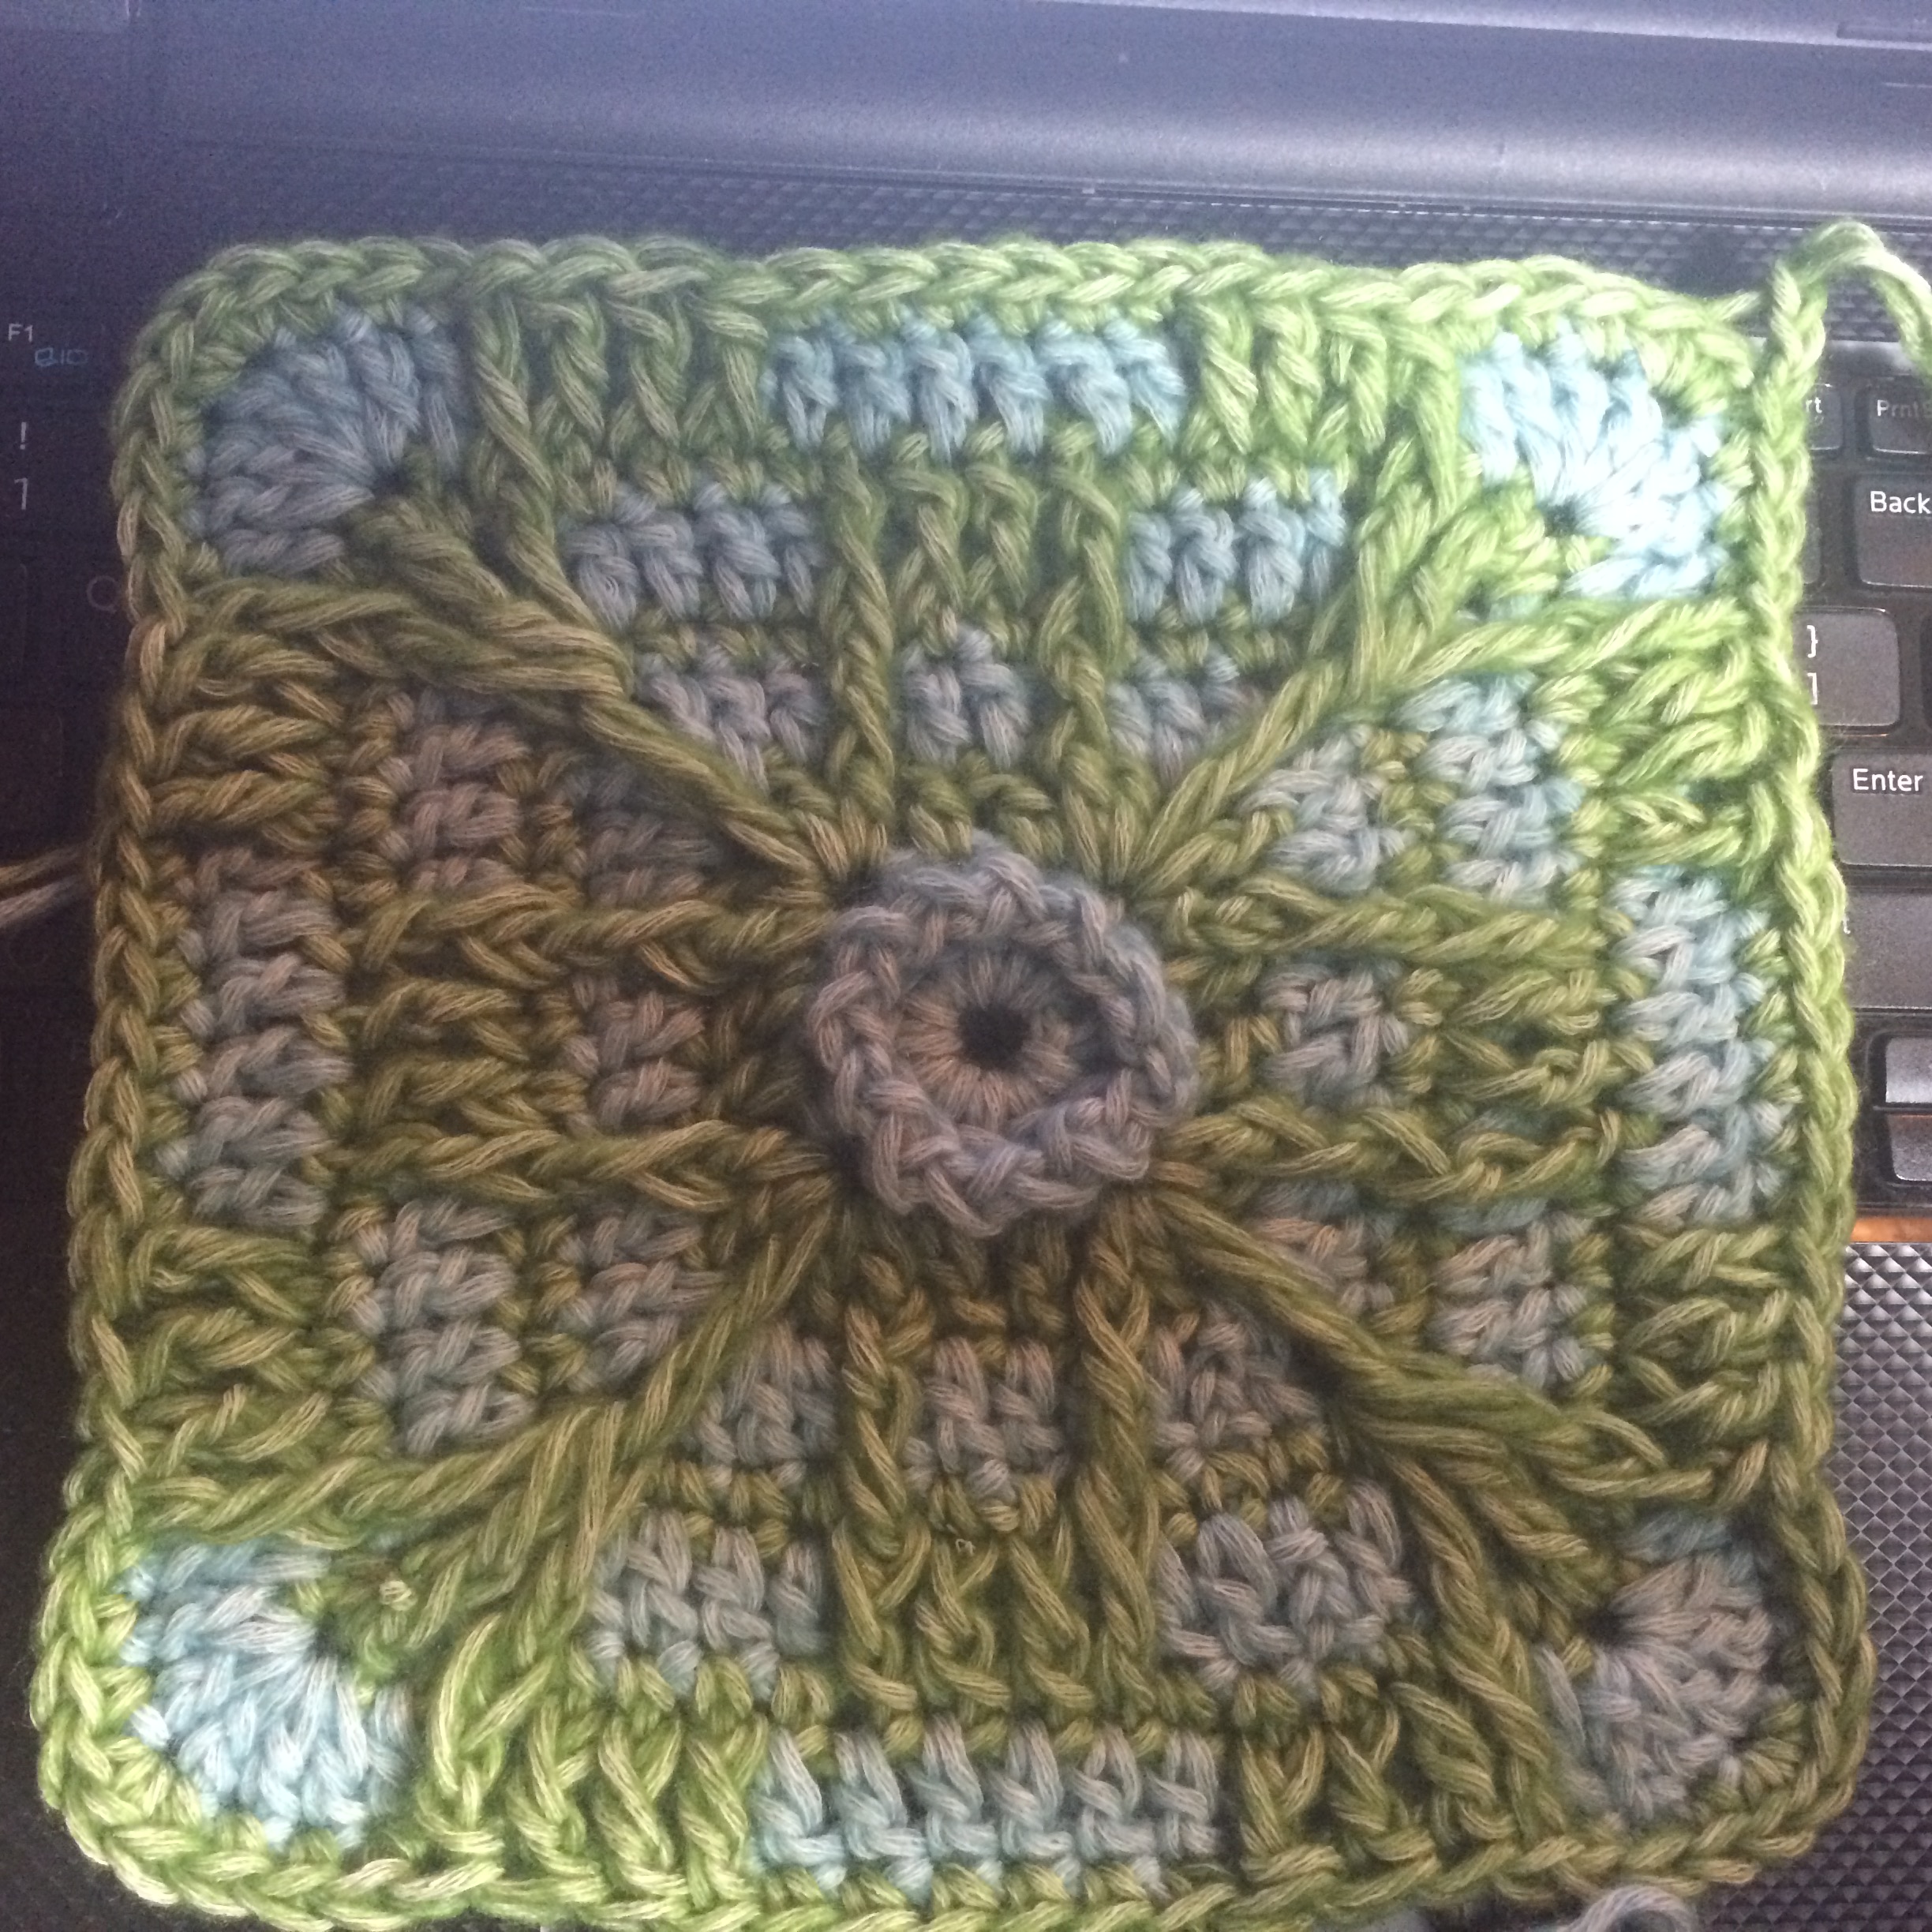
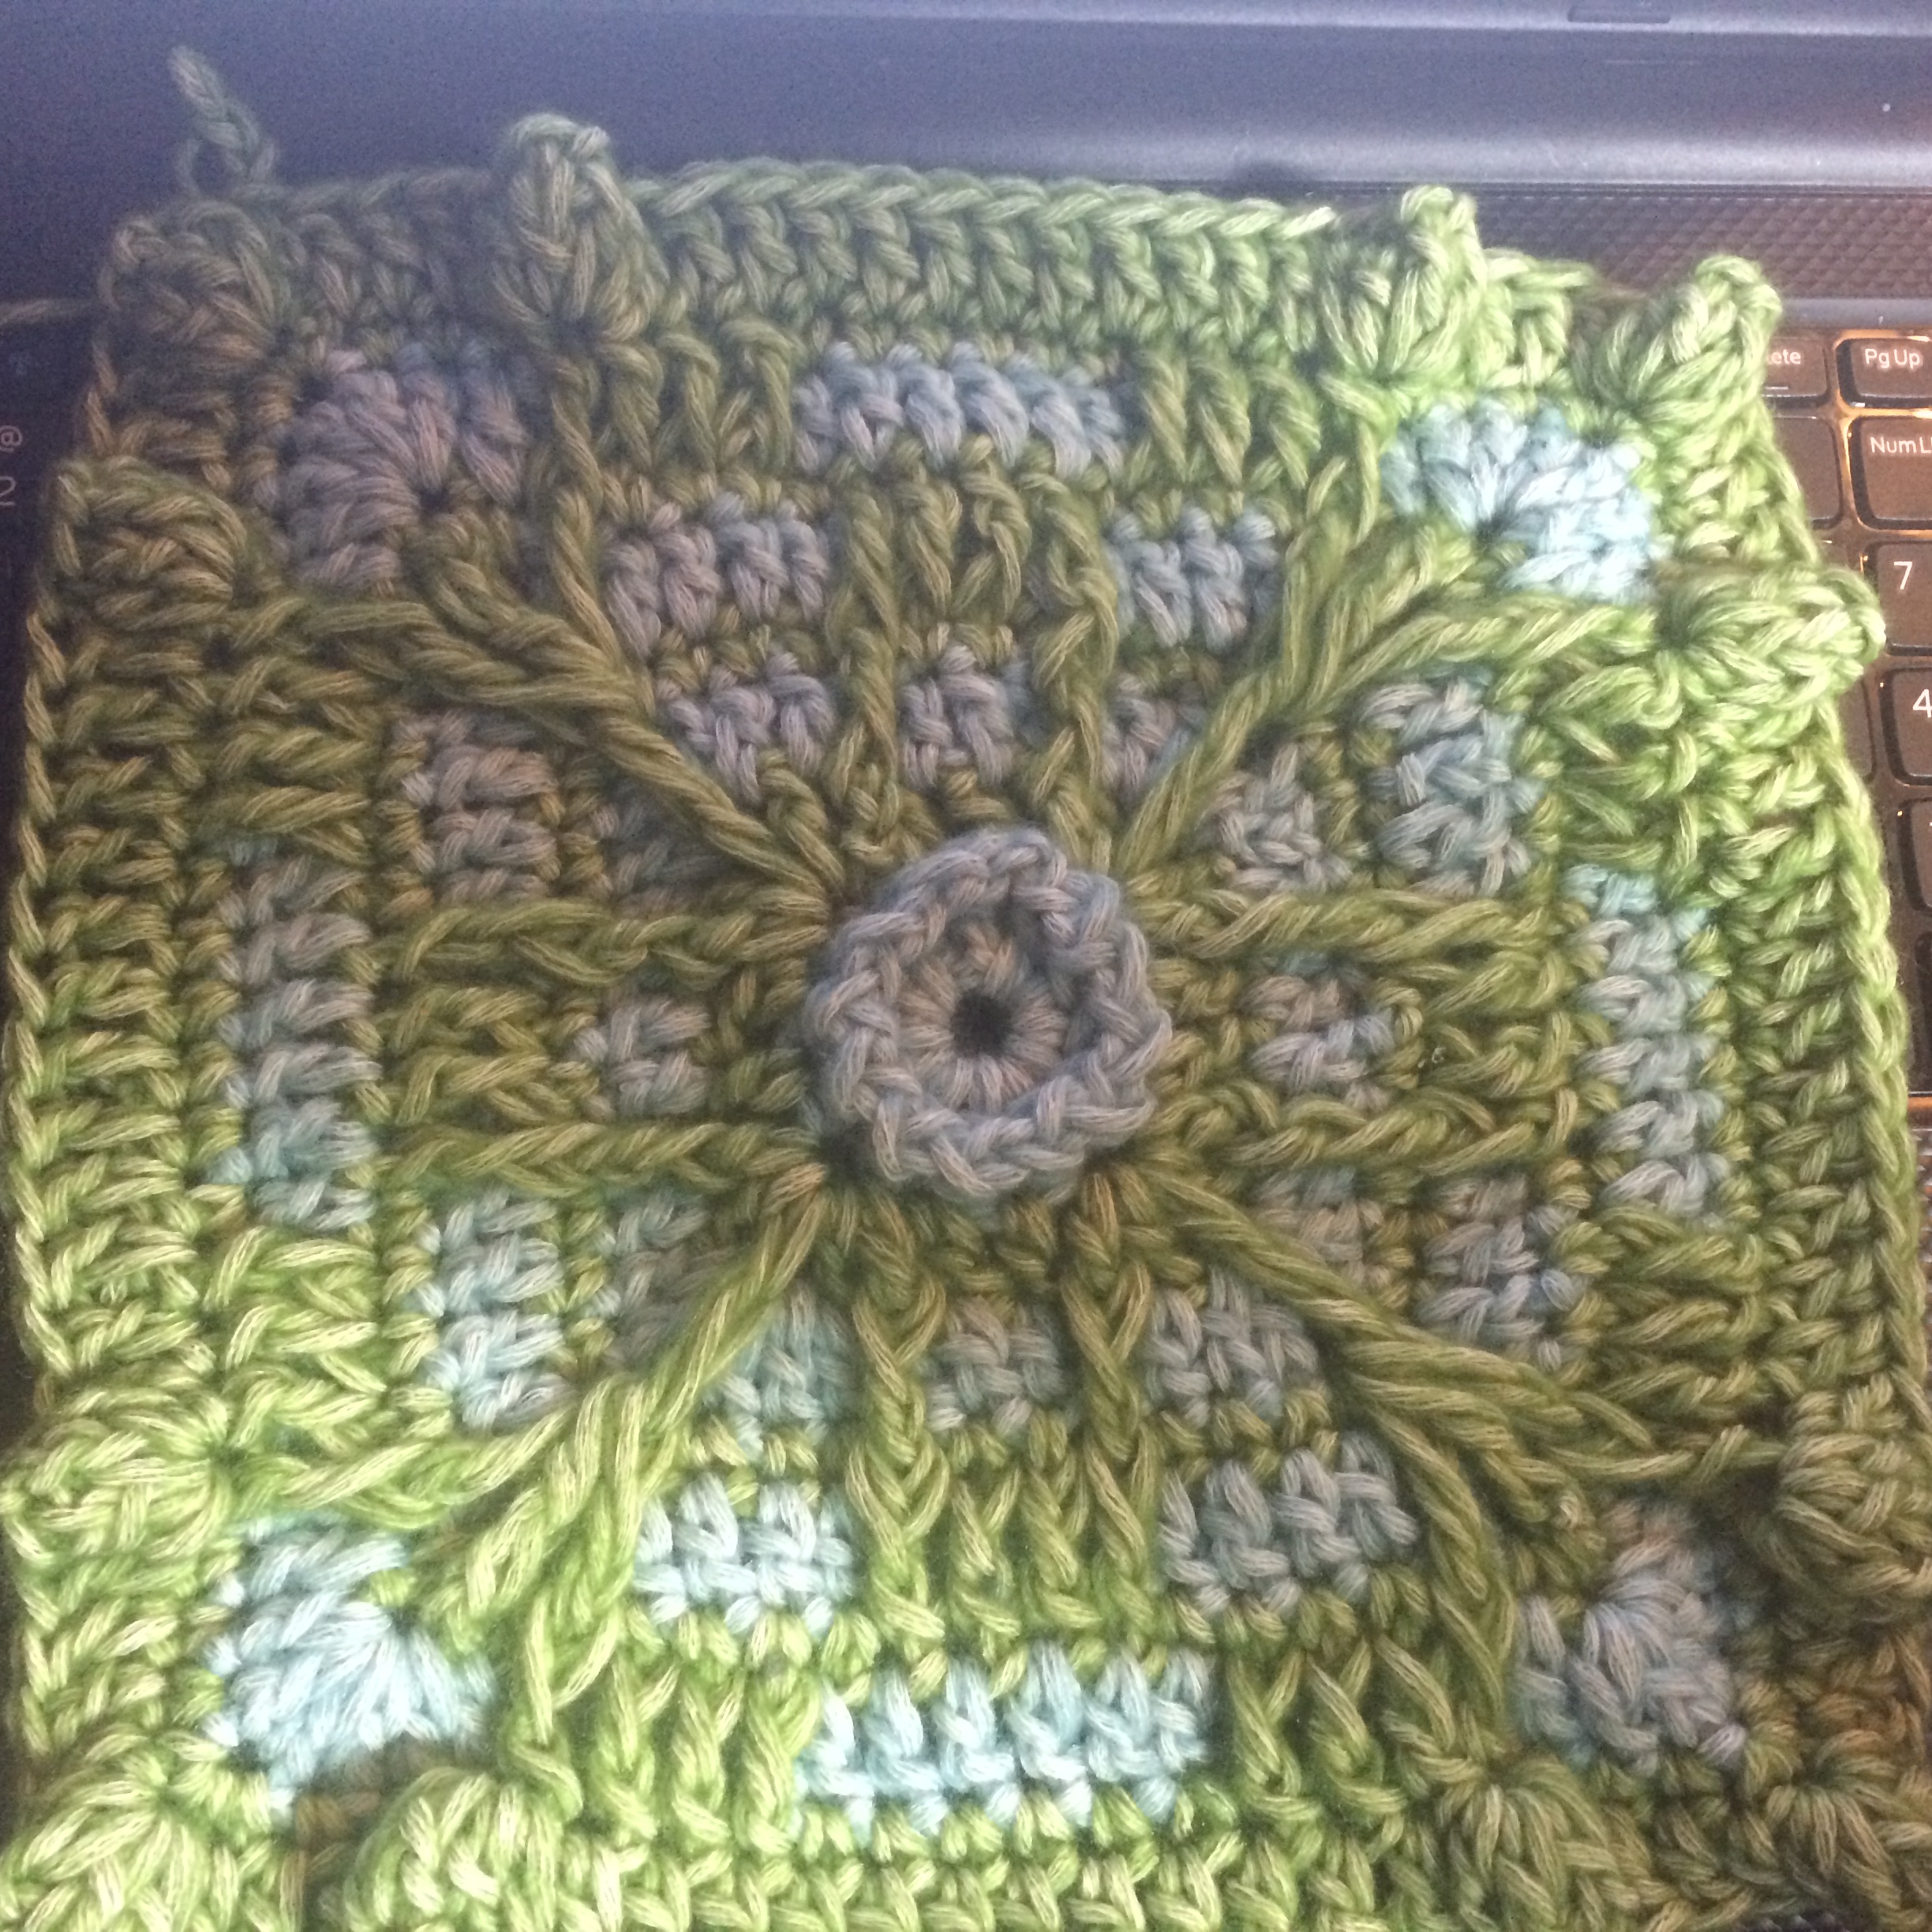
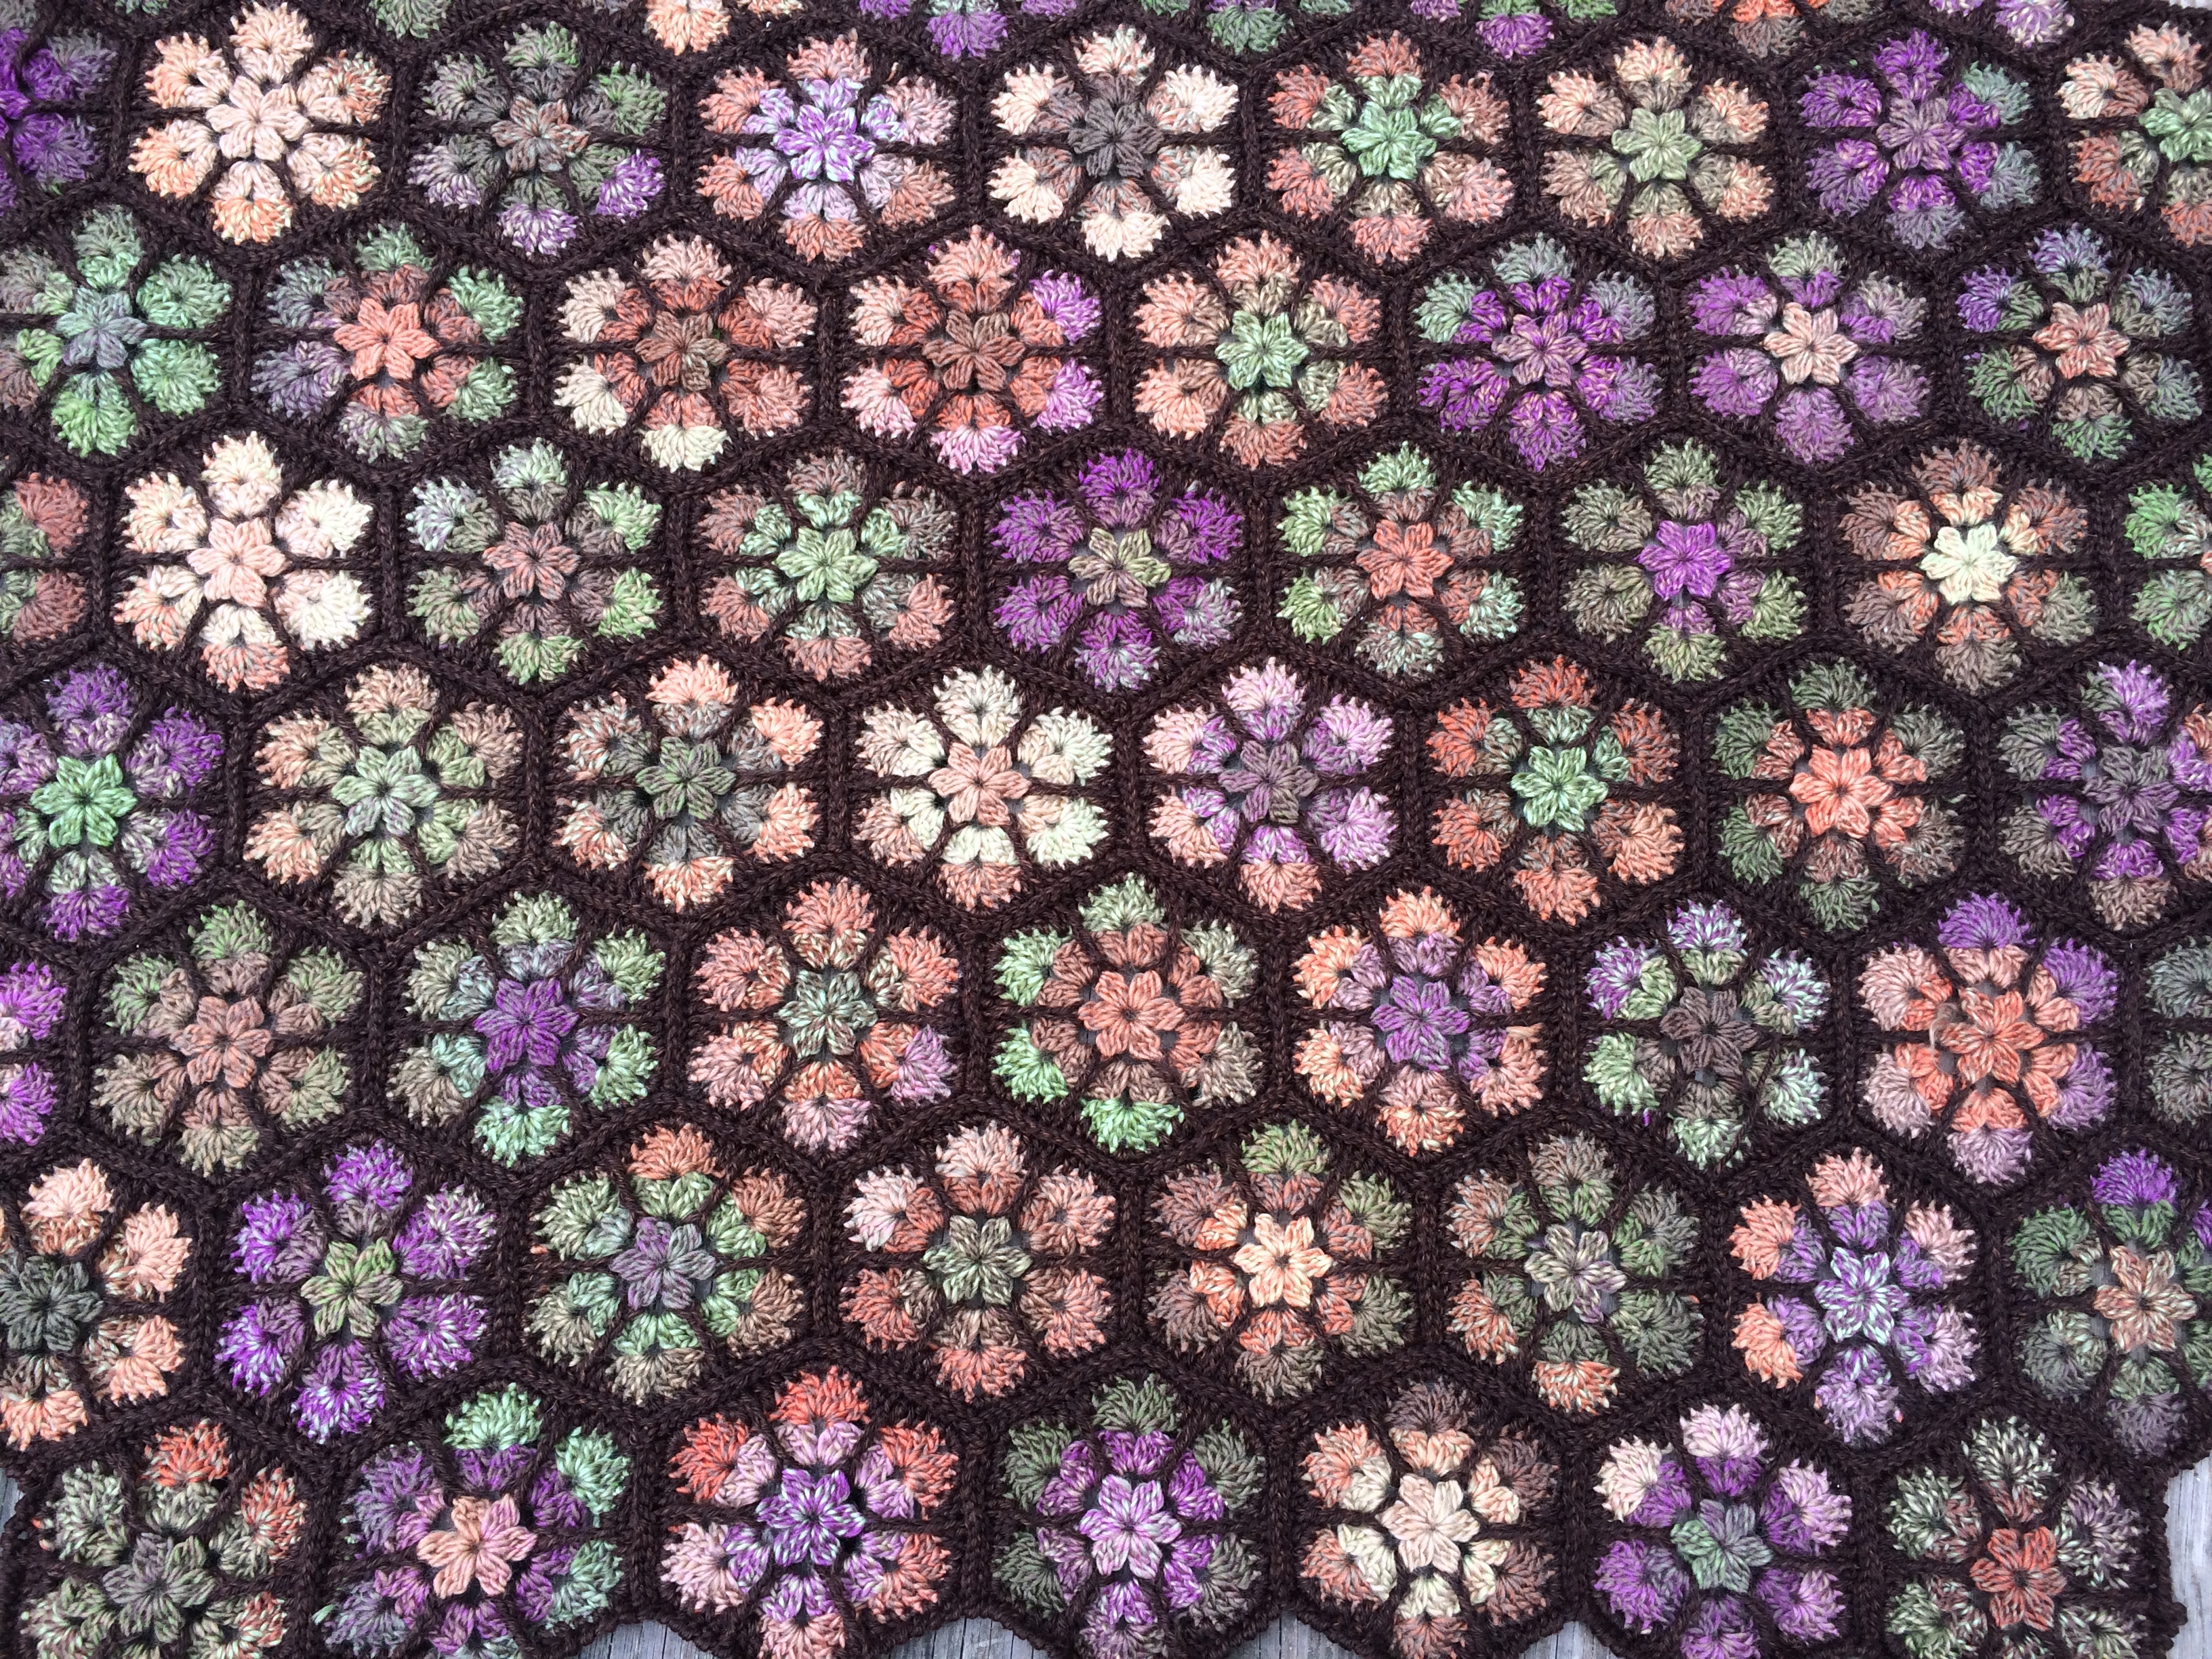
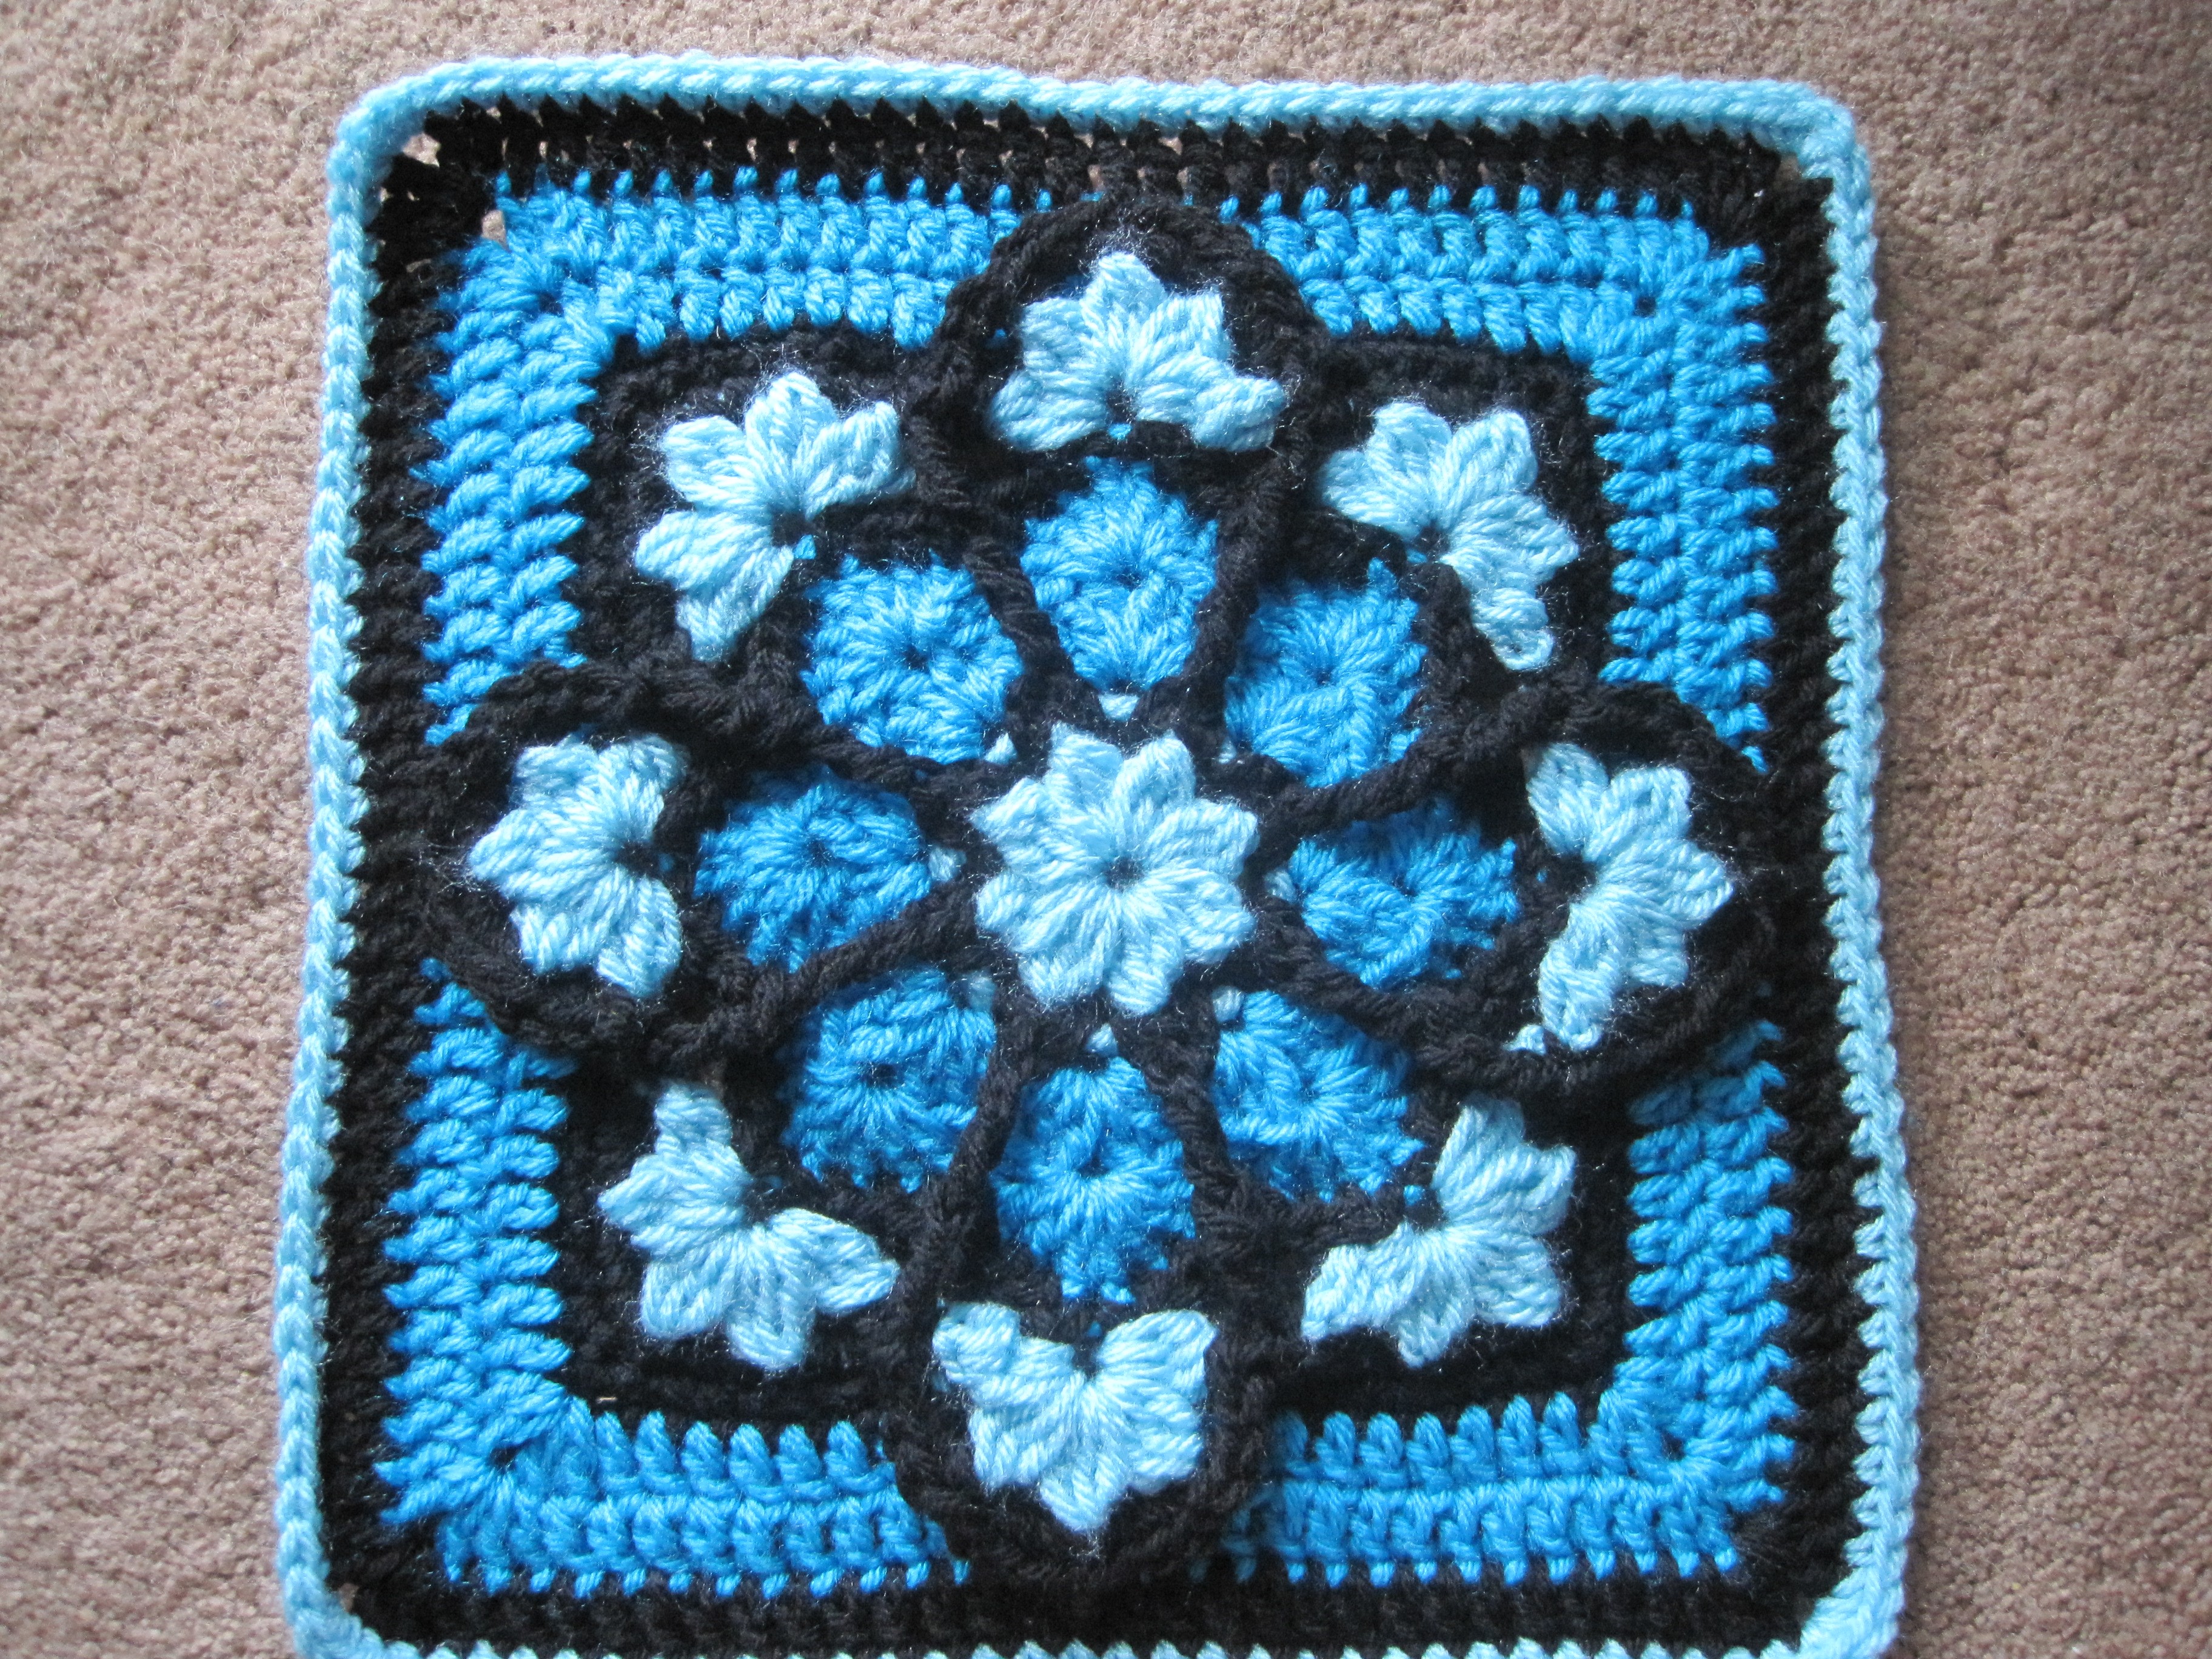
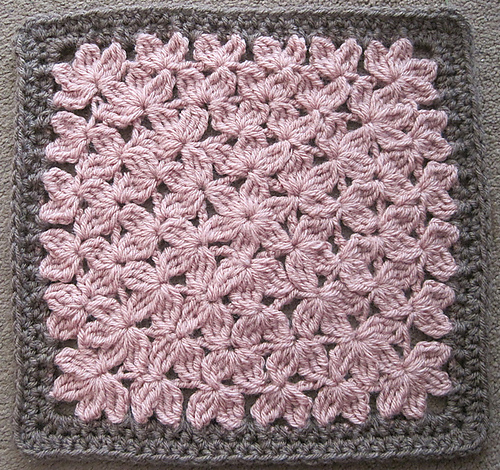
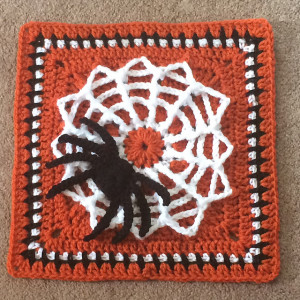
I designed Tangled Web a few years ago and creative crafter Minky2001  was able to alter some instructions to make it more like a spider web.  LaurelCraft added a spider and the perfect Halloween afghan block was made.  I recently re-worked the instructions to include the “external” spider web and a spider.  It is a complex pattern and takes some concentration, but it’s a fun result.

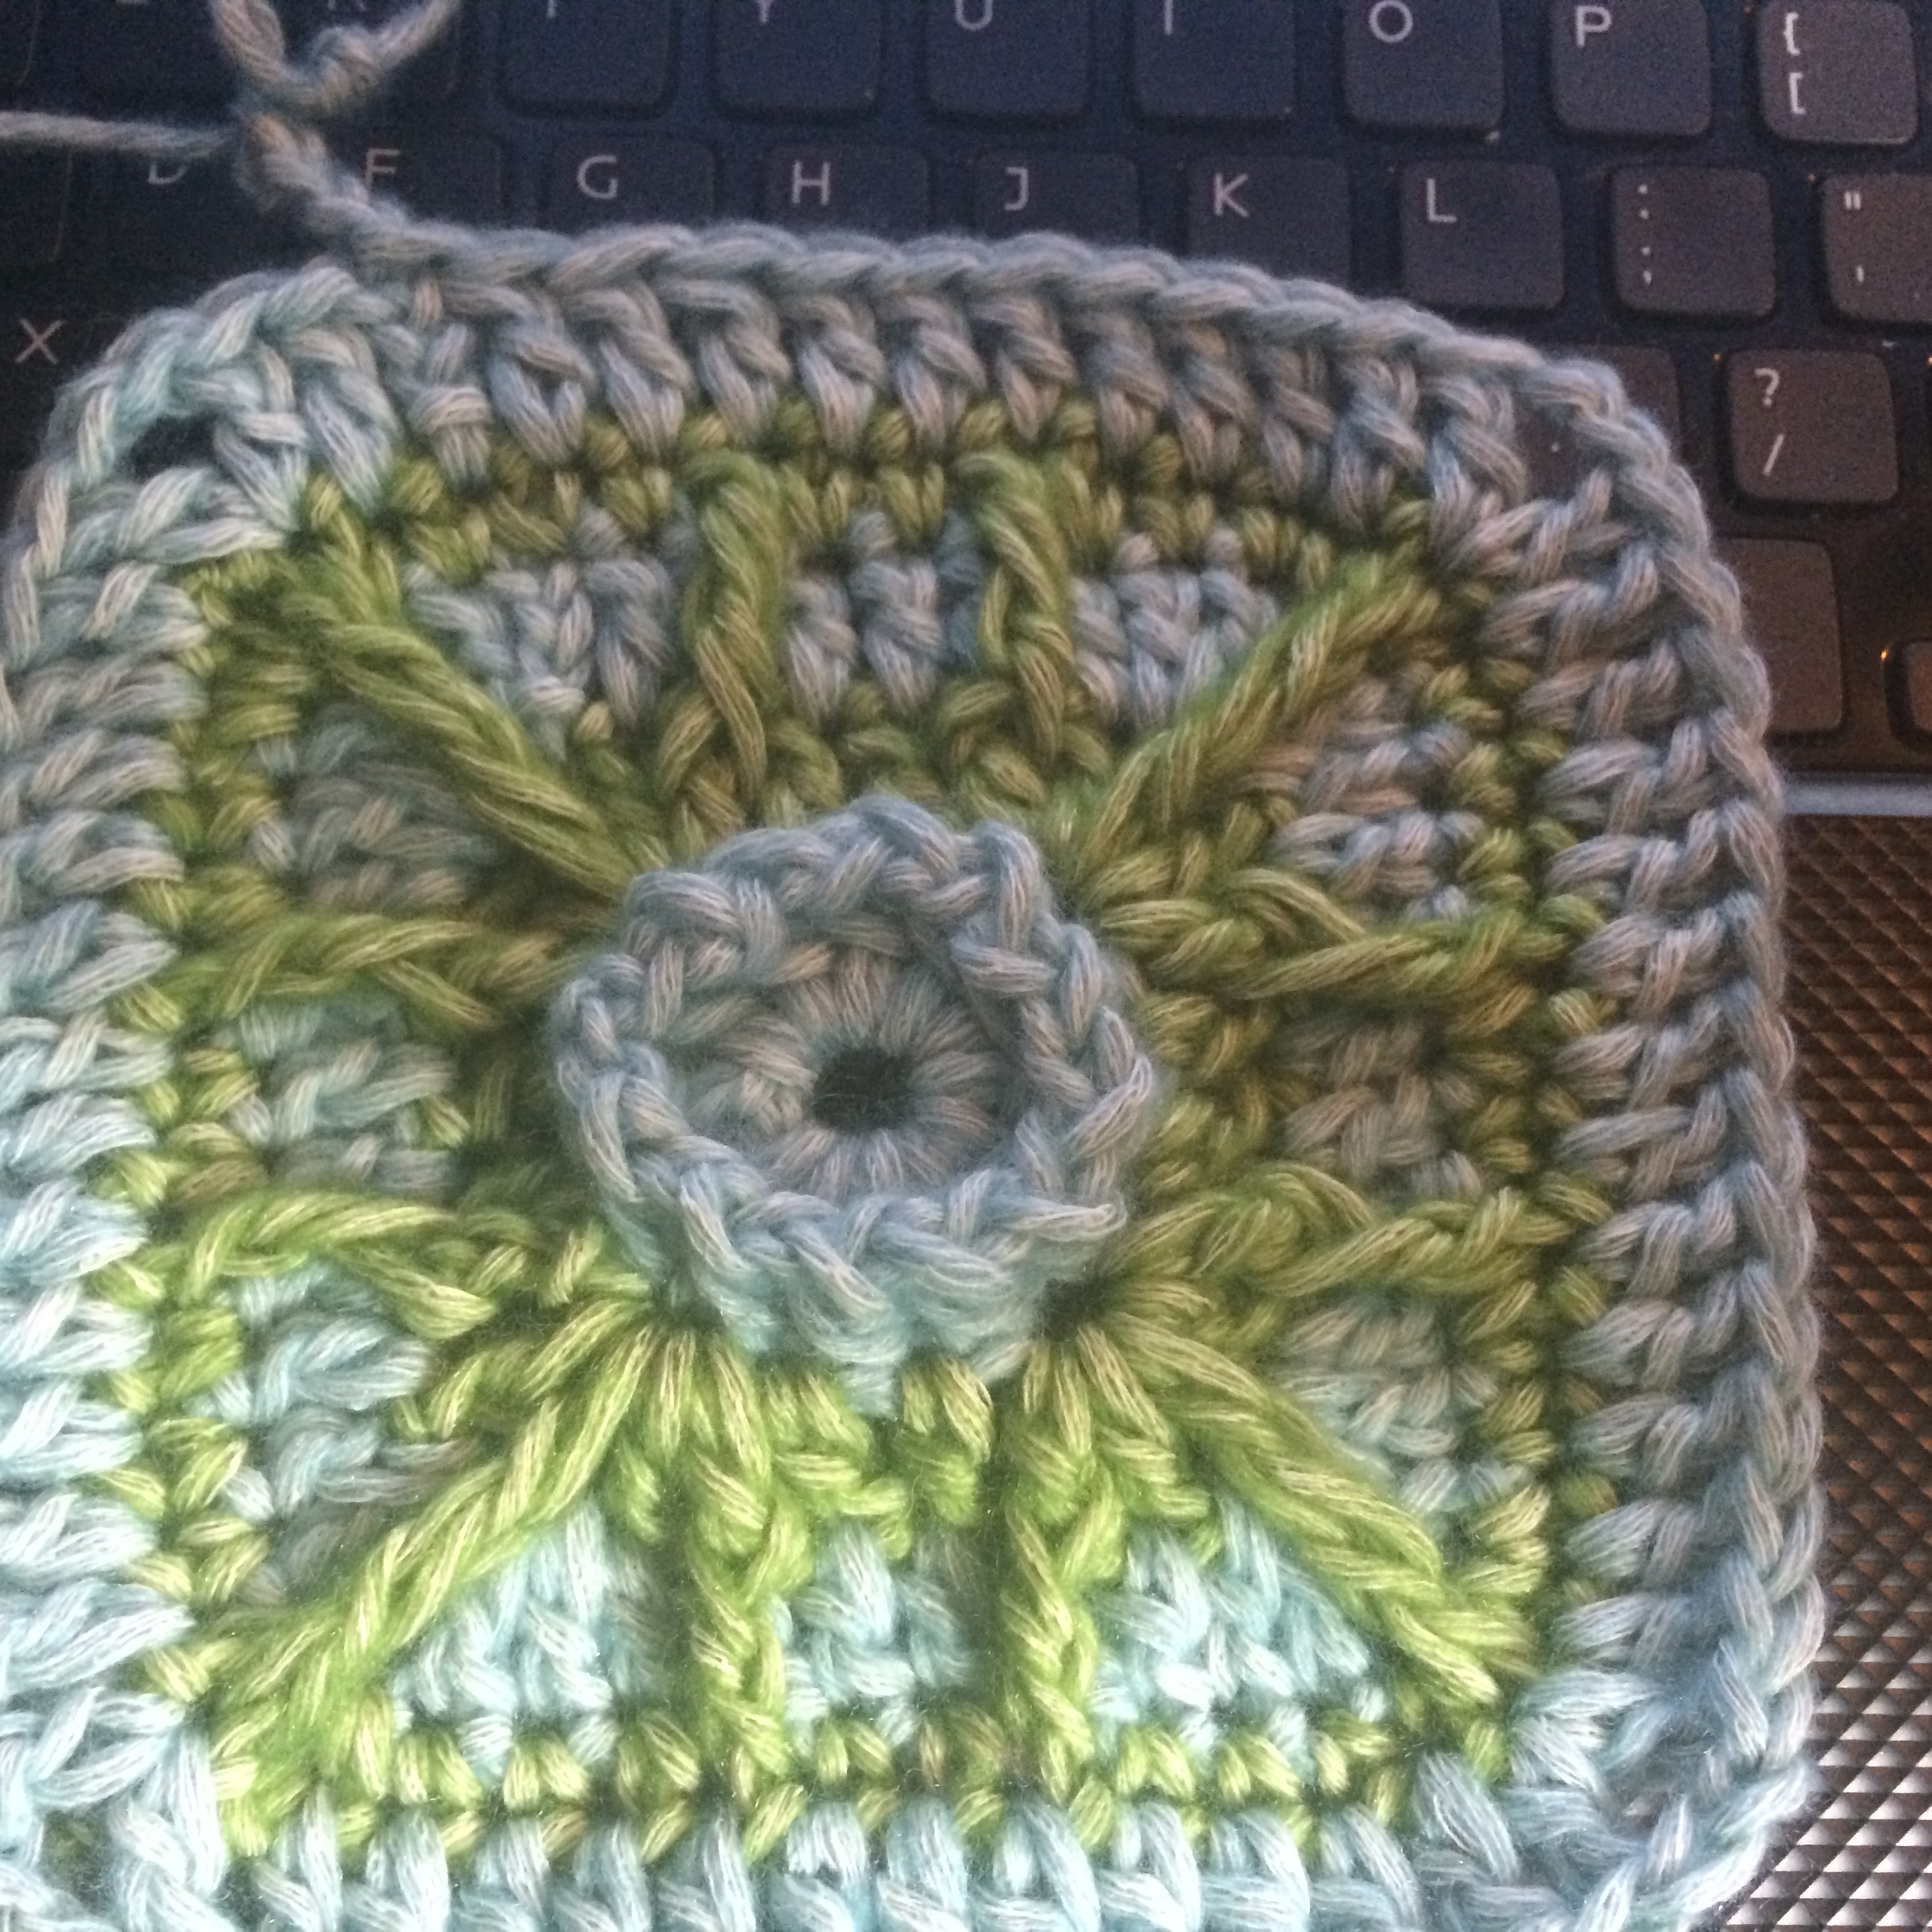
Tangled Web Afghan Square 

With Spider Web Version, 12 inch Square

By Julie Yeager Designs, with thanks to minky2001 and LaurelCraft

Pattern uses American crochet terms.

Materials

Color A:  Vanna’s Choice Terracotta;  Color B:  White;  Color C:  Black

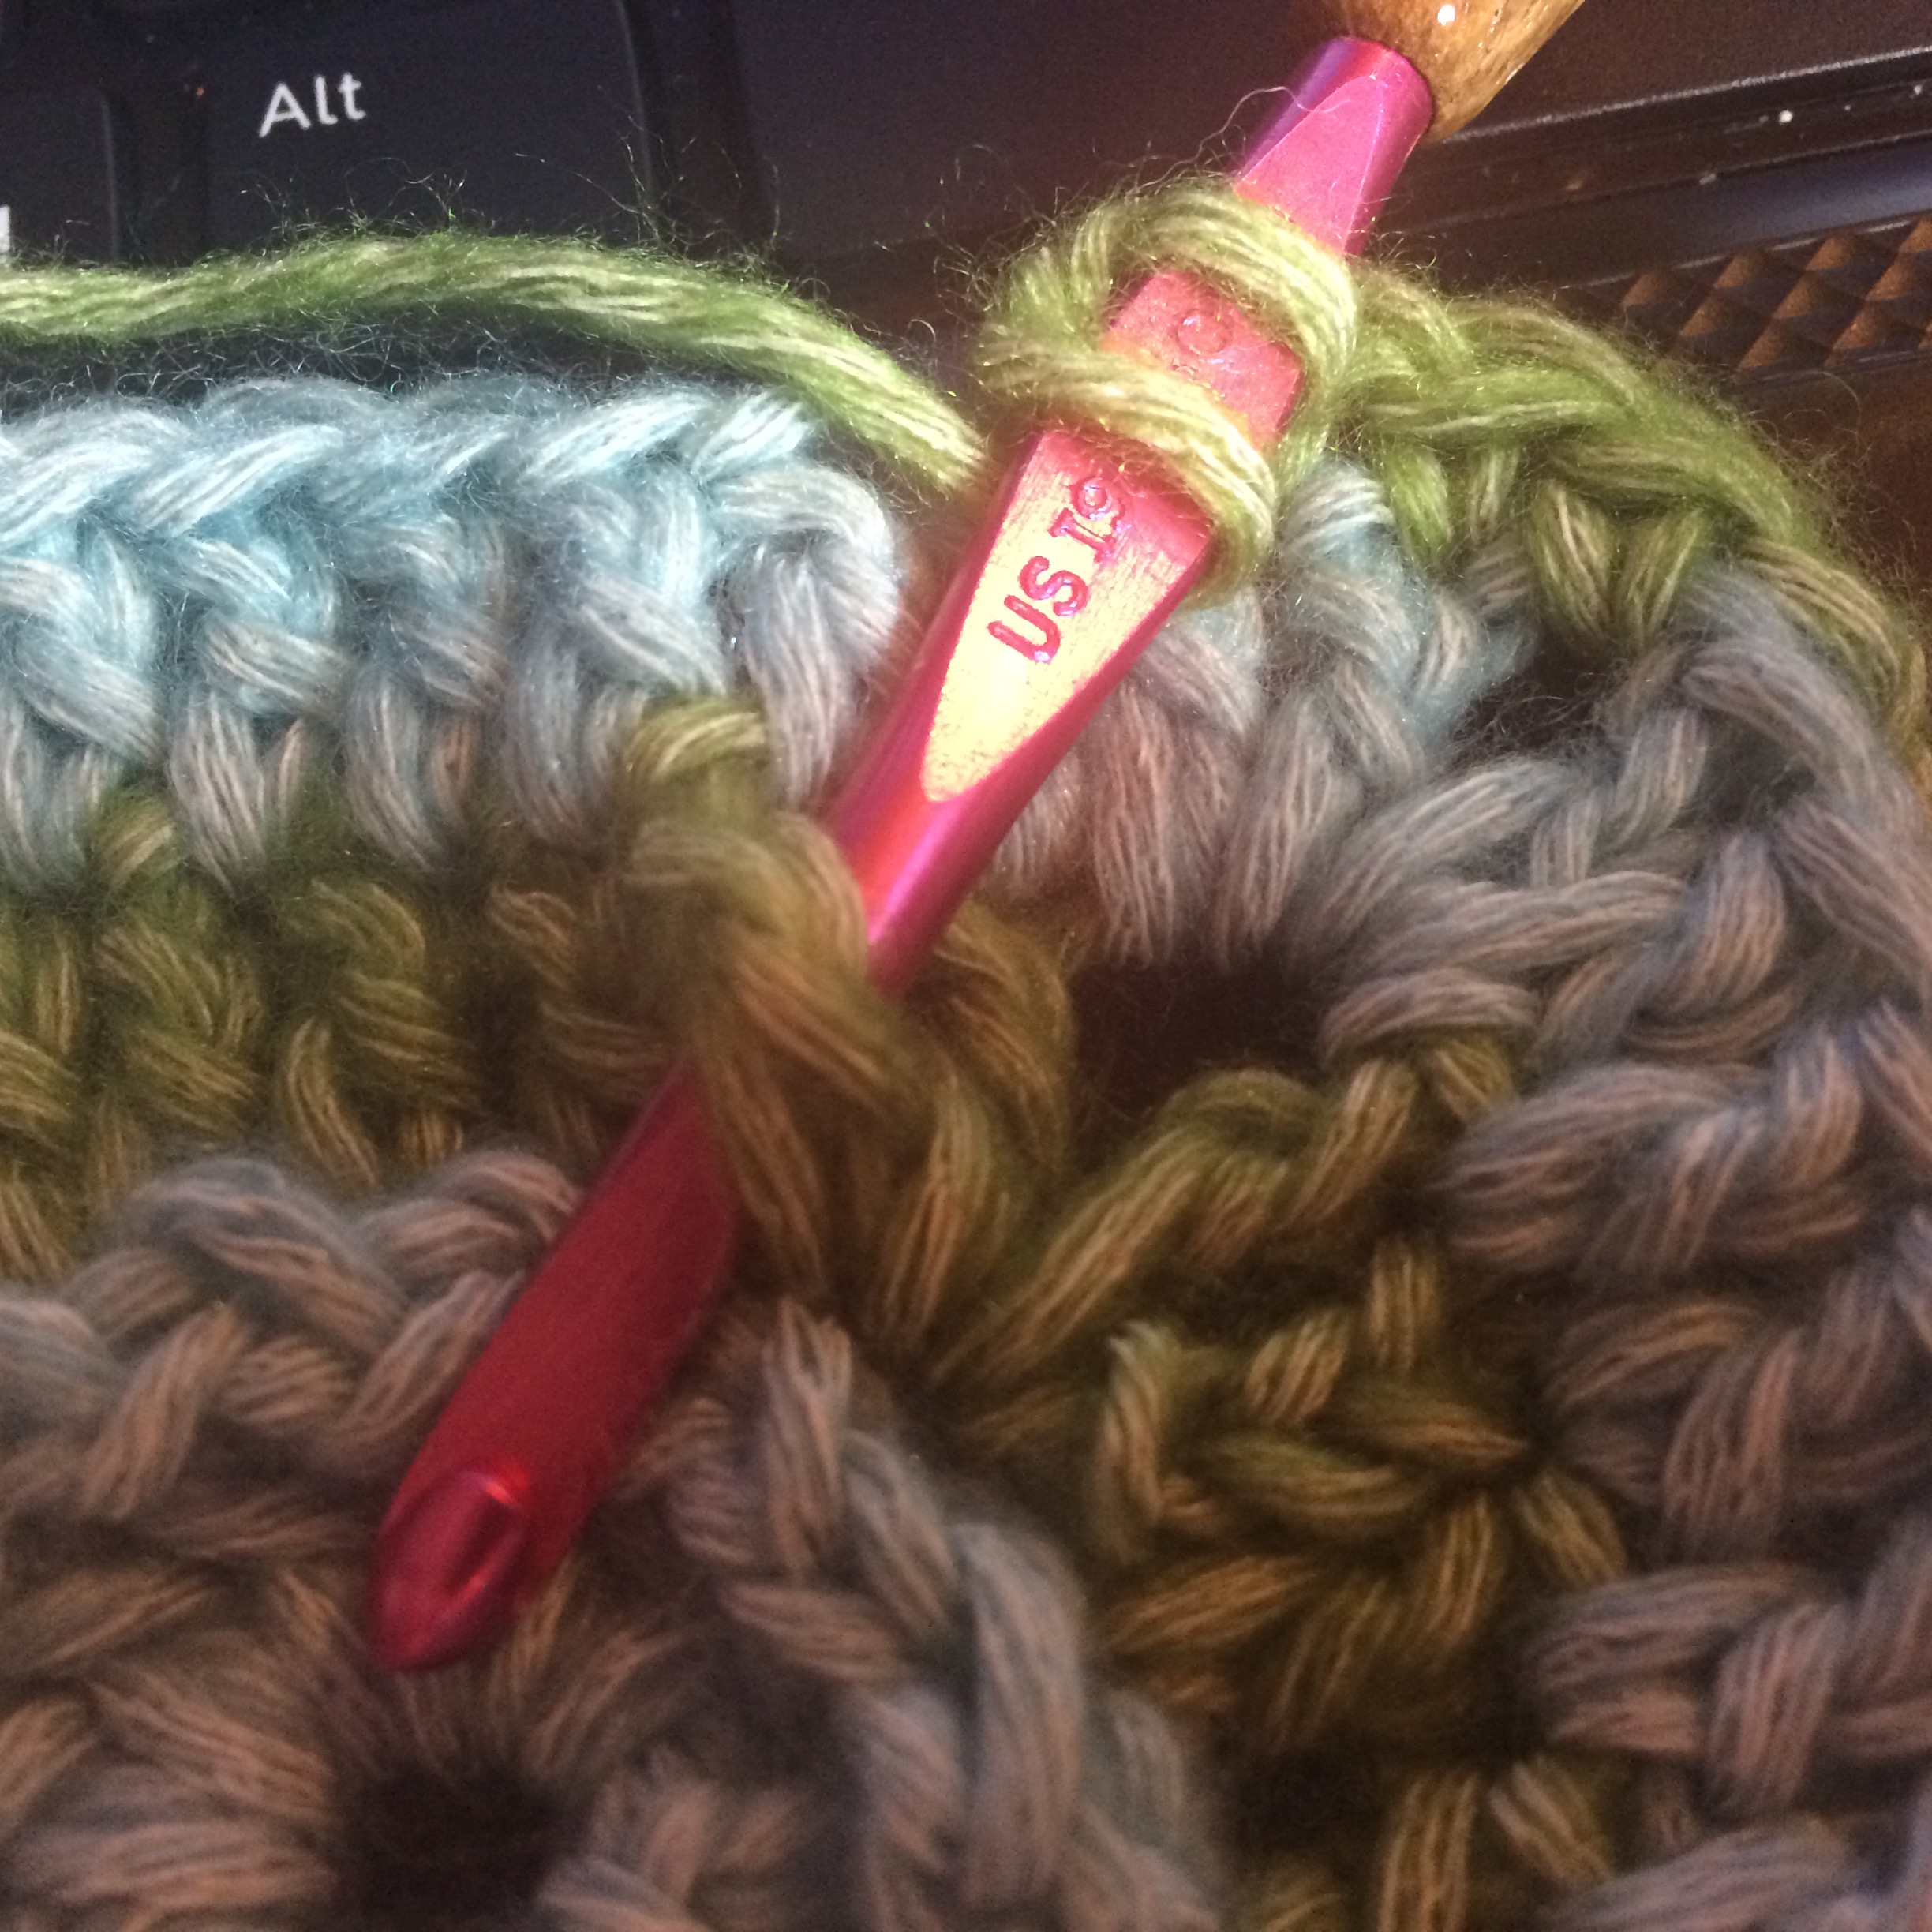
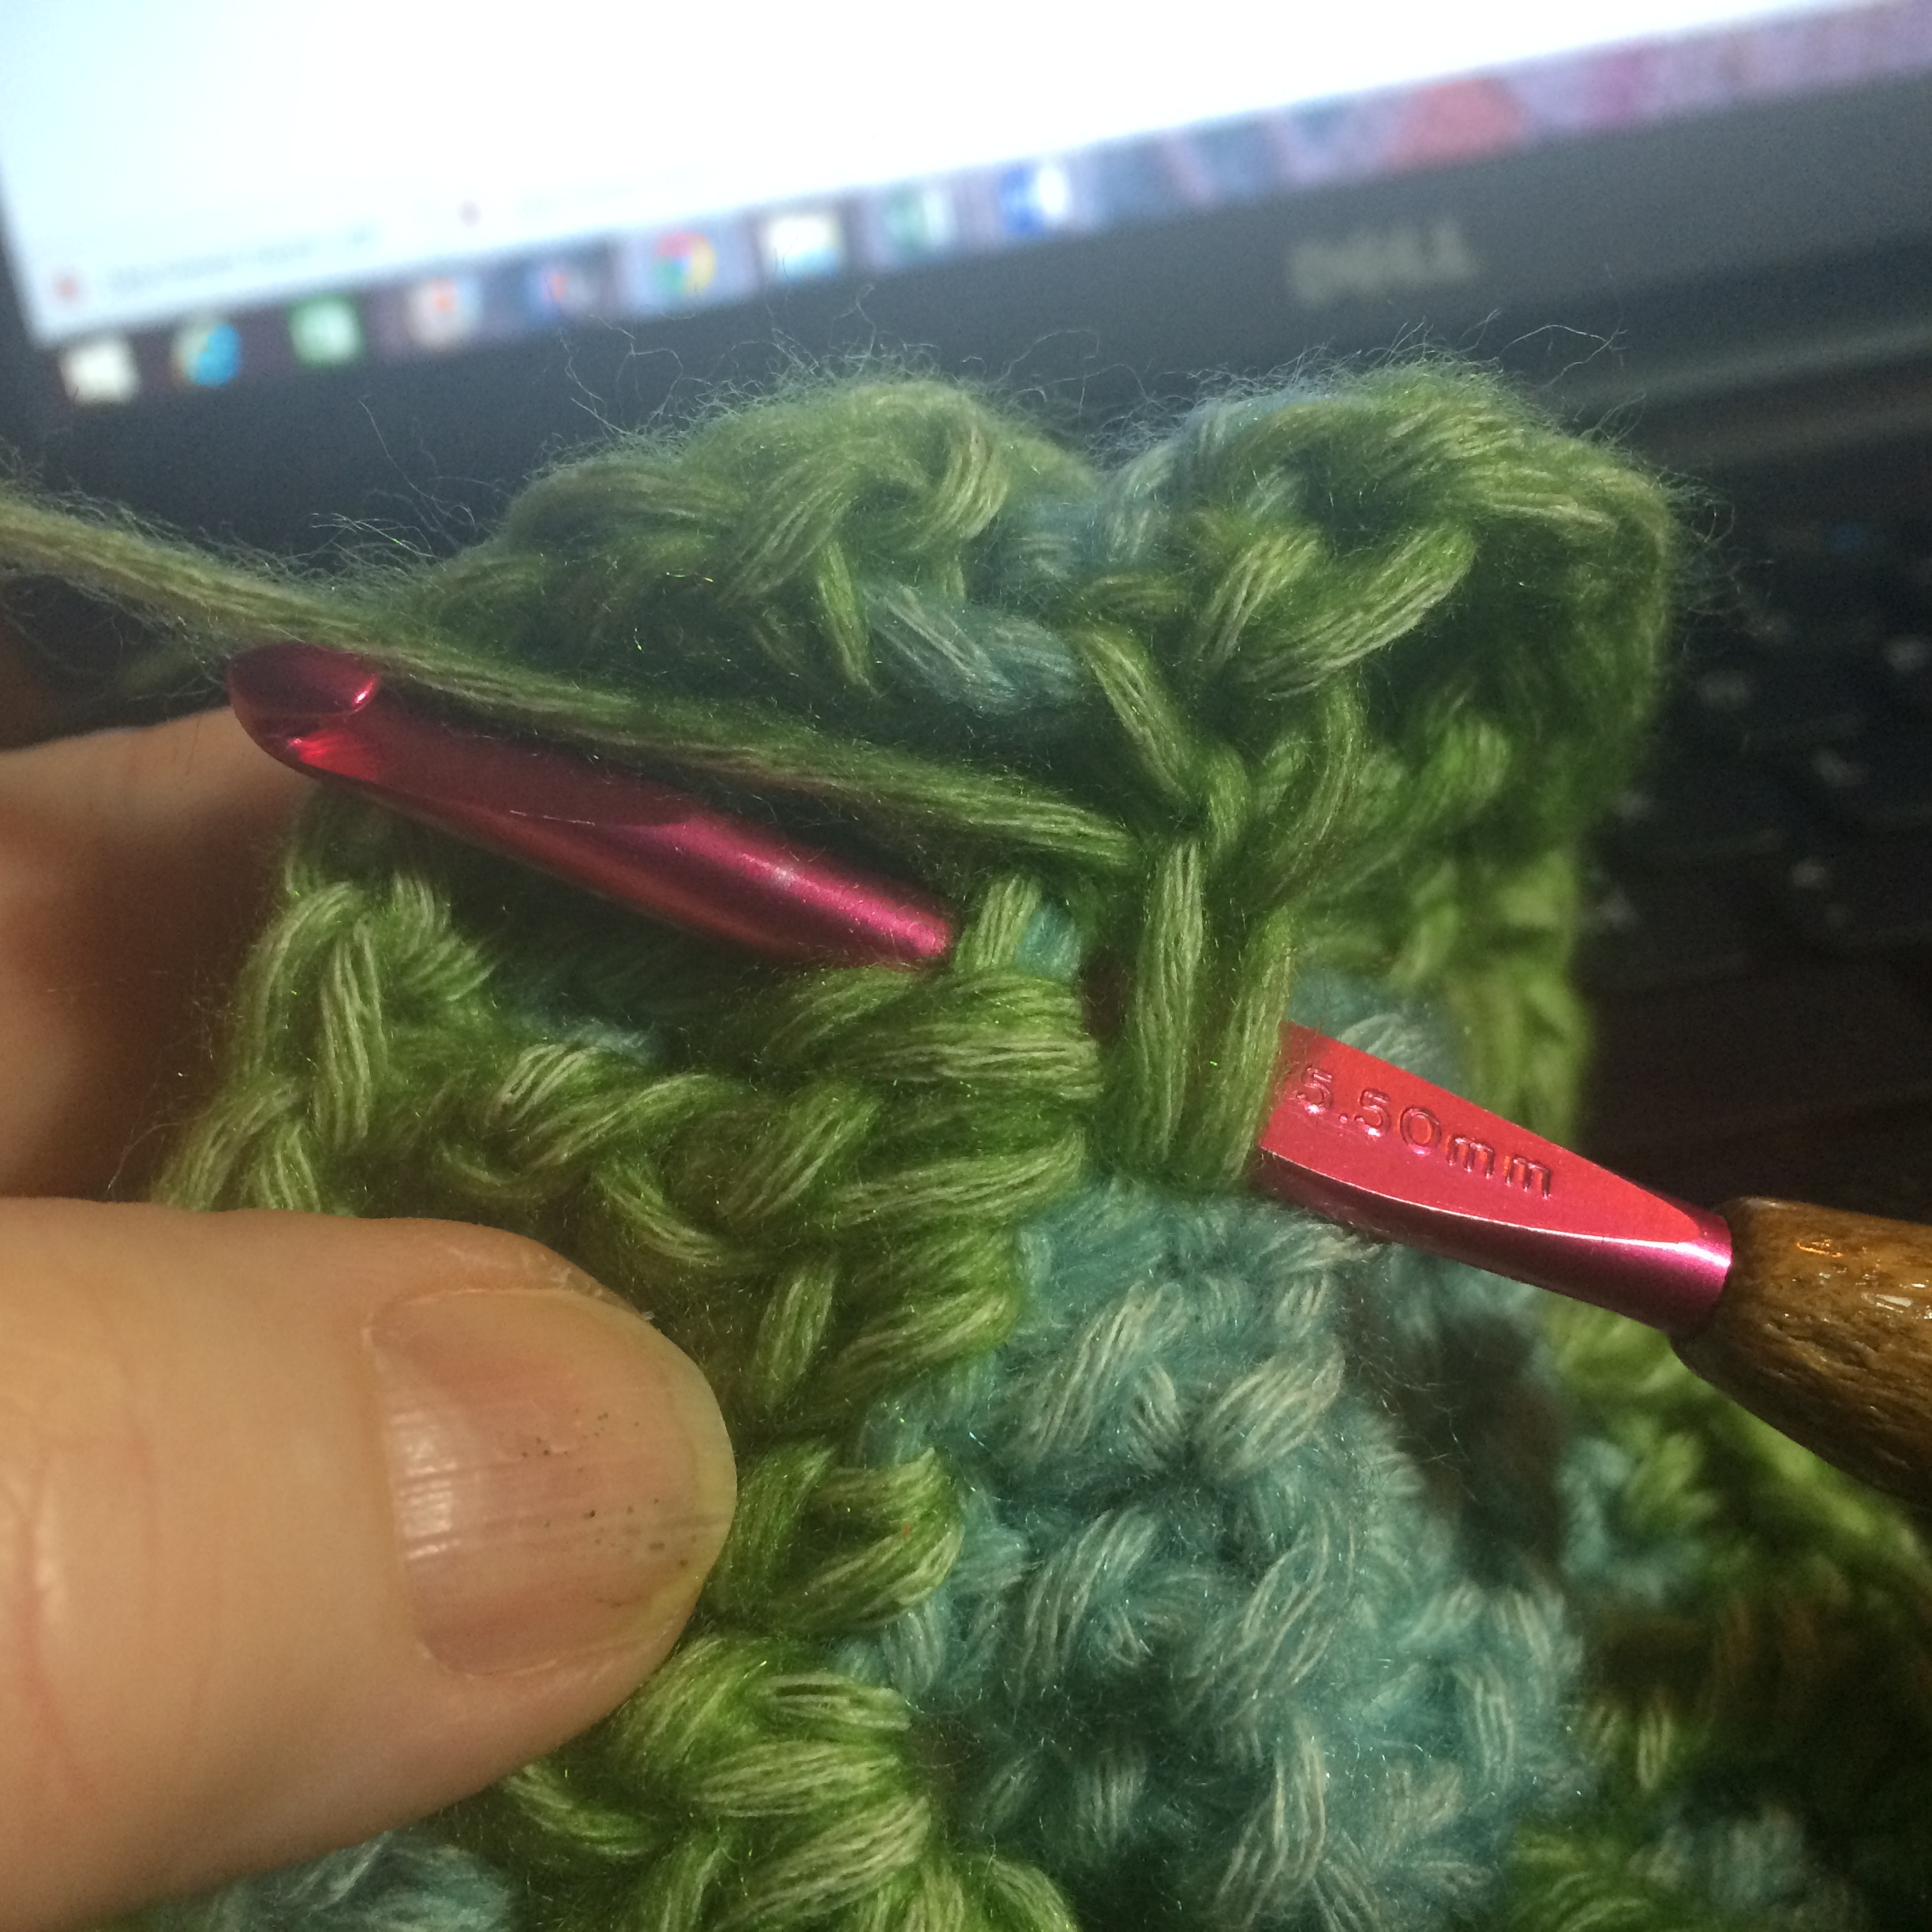
Suggested hook: Size I (5.5 mm);     Stitch Marker

Special Stitches:

Cluster (Cl): (double crochet to final step)x 2, yo and pull through 3 loops

HTR – Half Treble Crochet – yo twice, insert hook in designated stitch, yo , draw through 2 loops, yo, draw through 3 loops (1 loop on hook)

FPSC – front post single crochet – insert hook behind post of stitch (from front to back), yo, pull through, bring up even with last stitch completed, yo, pull through 2 loops, (1 loop on hook)

FPDC – front post double crochet – yo, insert hook from front to back around post of stitch; yo and pull up a loop (3 loops on hook), yo and draw through 2 loops (2 loops on hook); yo and draw through 2 loops (1 loop on hook)

FPTR – front post treble crochet – yo twice, insert hook from front to back around post of stitch; yo and pull up a loop (4 loops on hook), yo and draw through 2 loops (3 loops on hook); yo and draw through 2 loops (2 loops on hook); yo and draw through 2 loops (1 loop on hook)

NOTES: Ch. 3 at the beginning of a round counts as a dc. Chains count as stitches in stitch counts.
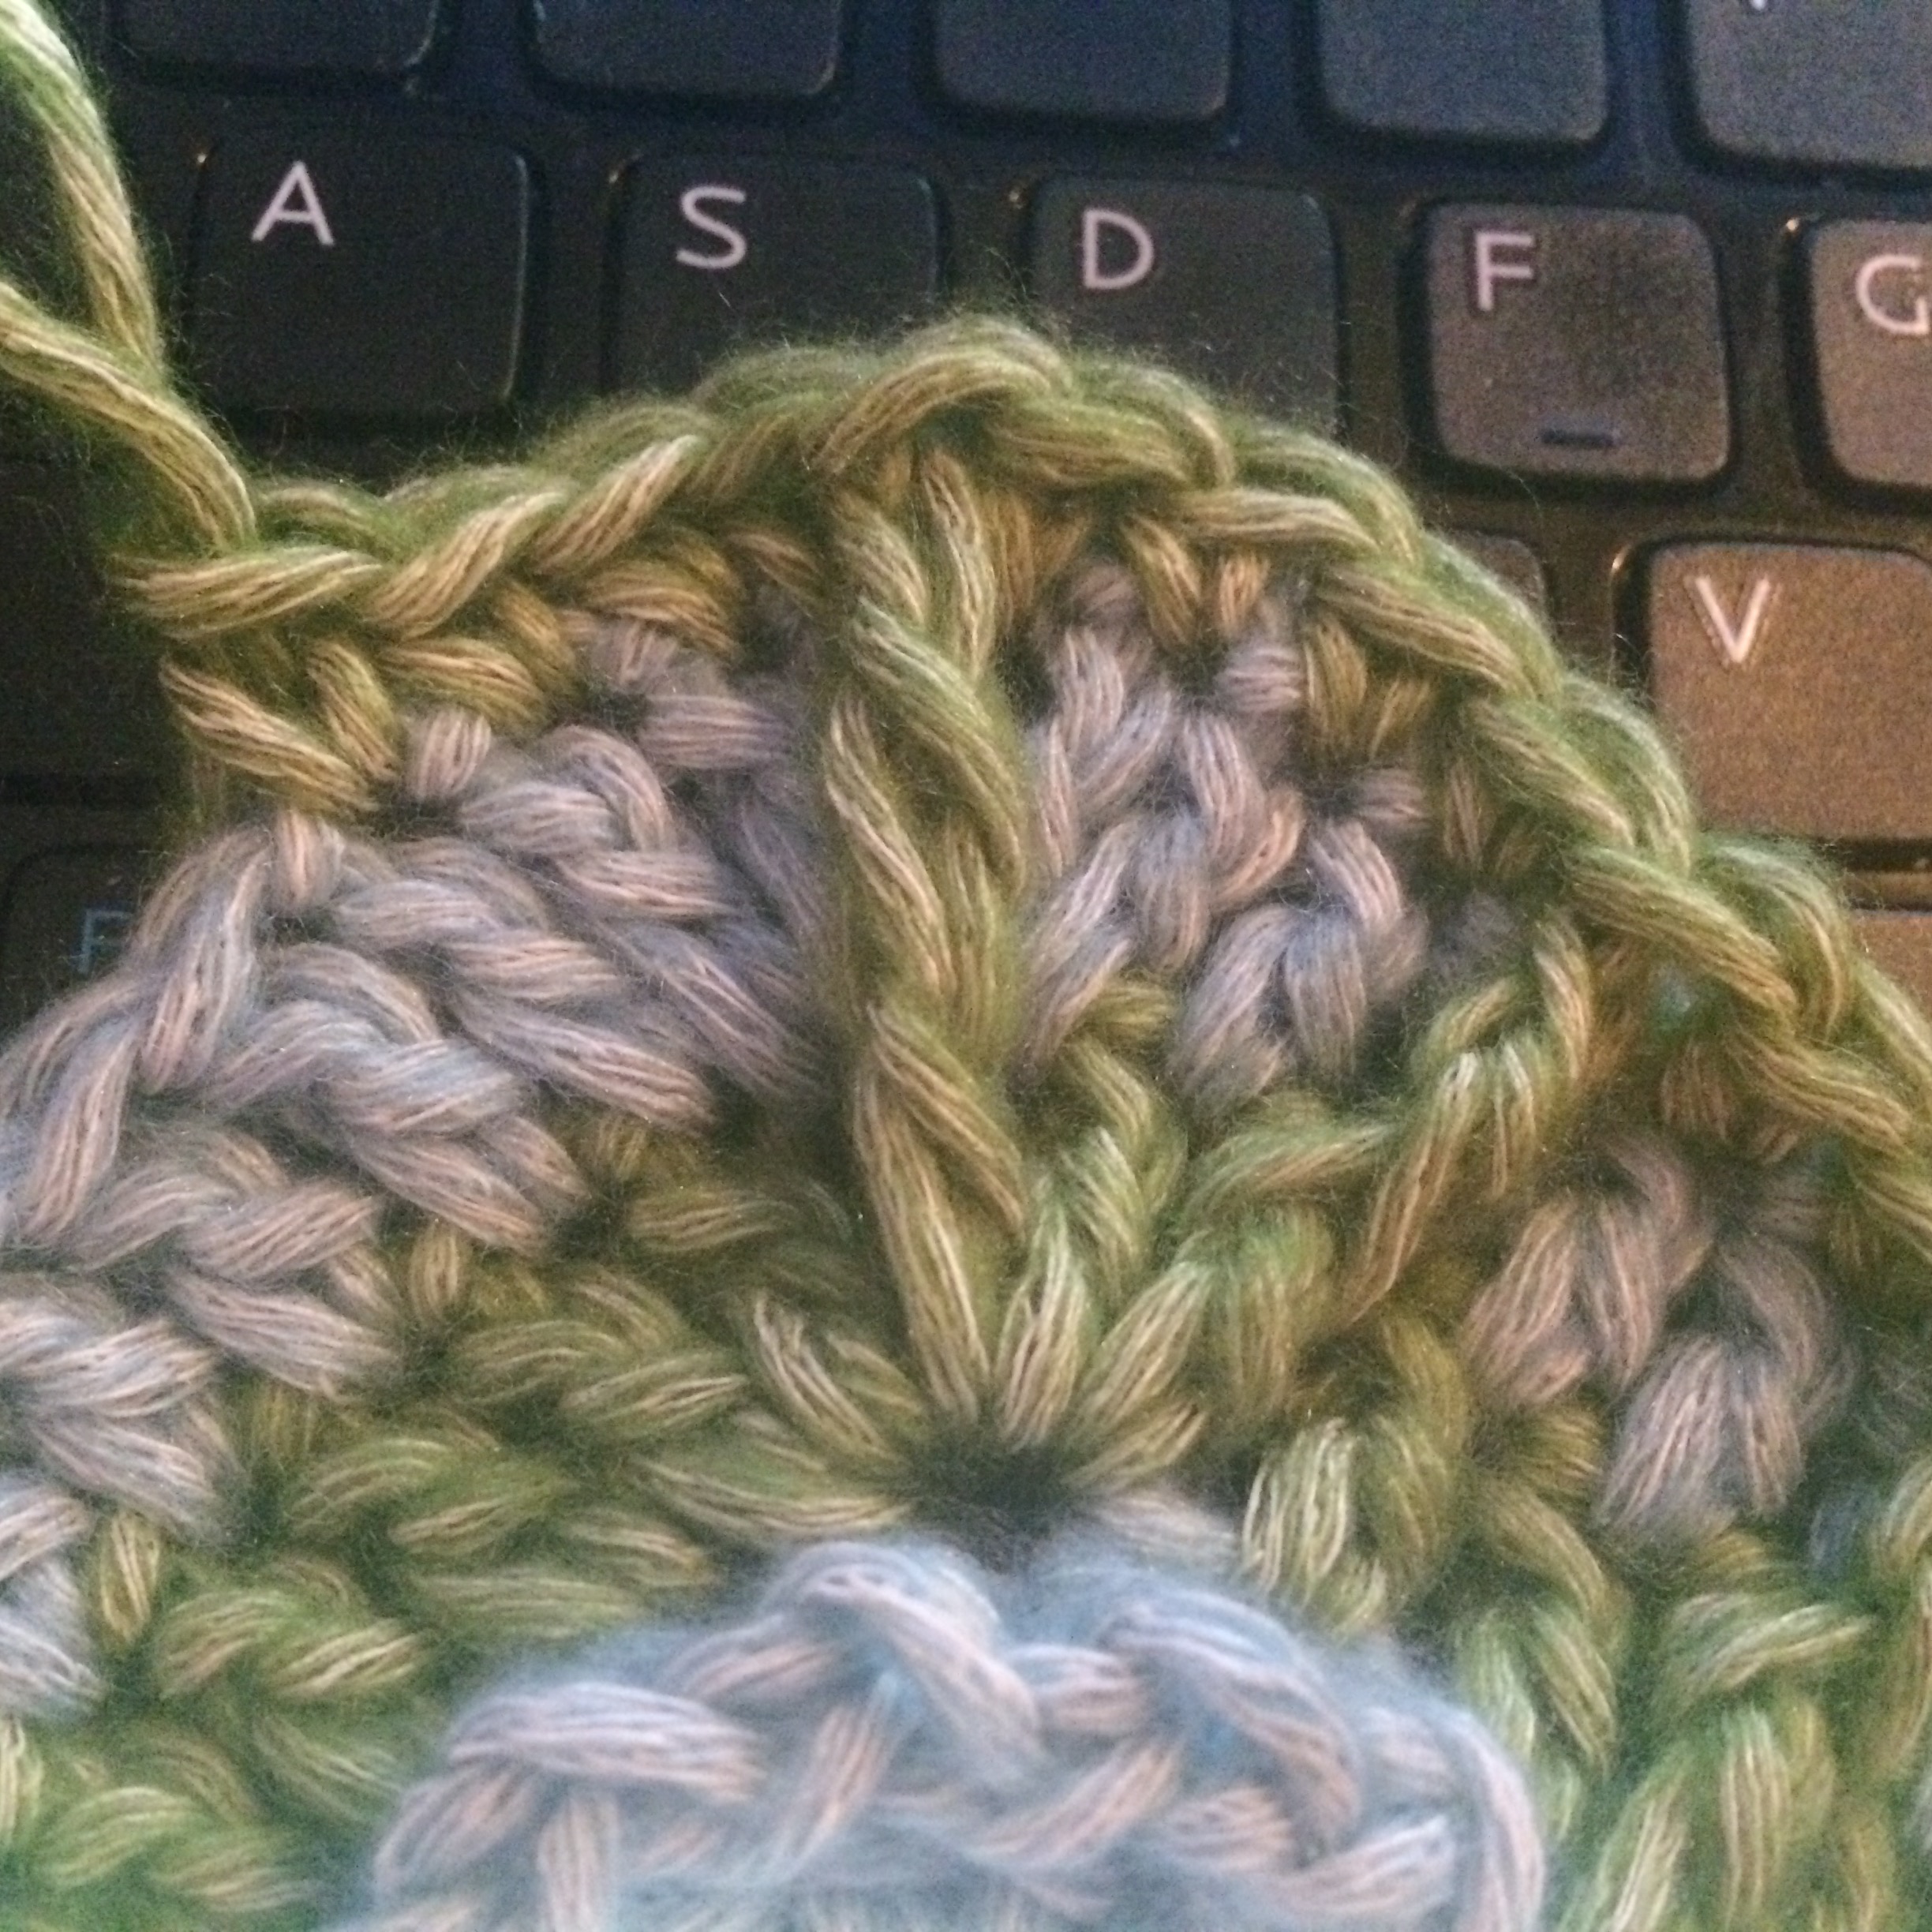
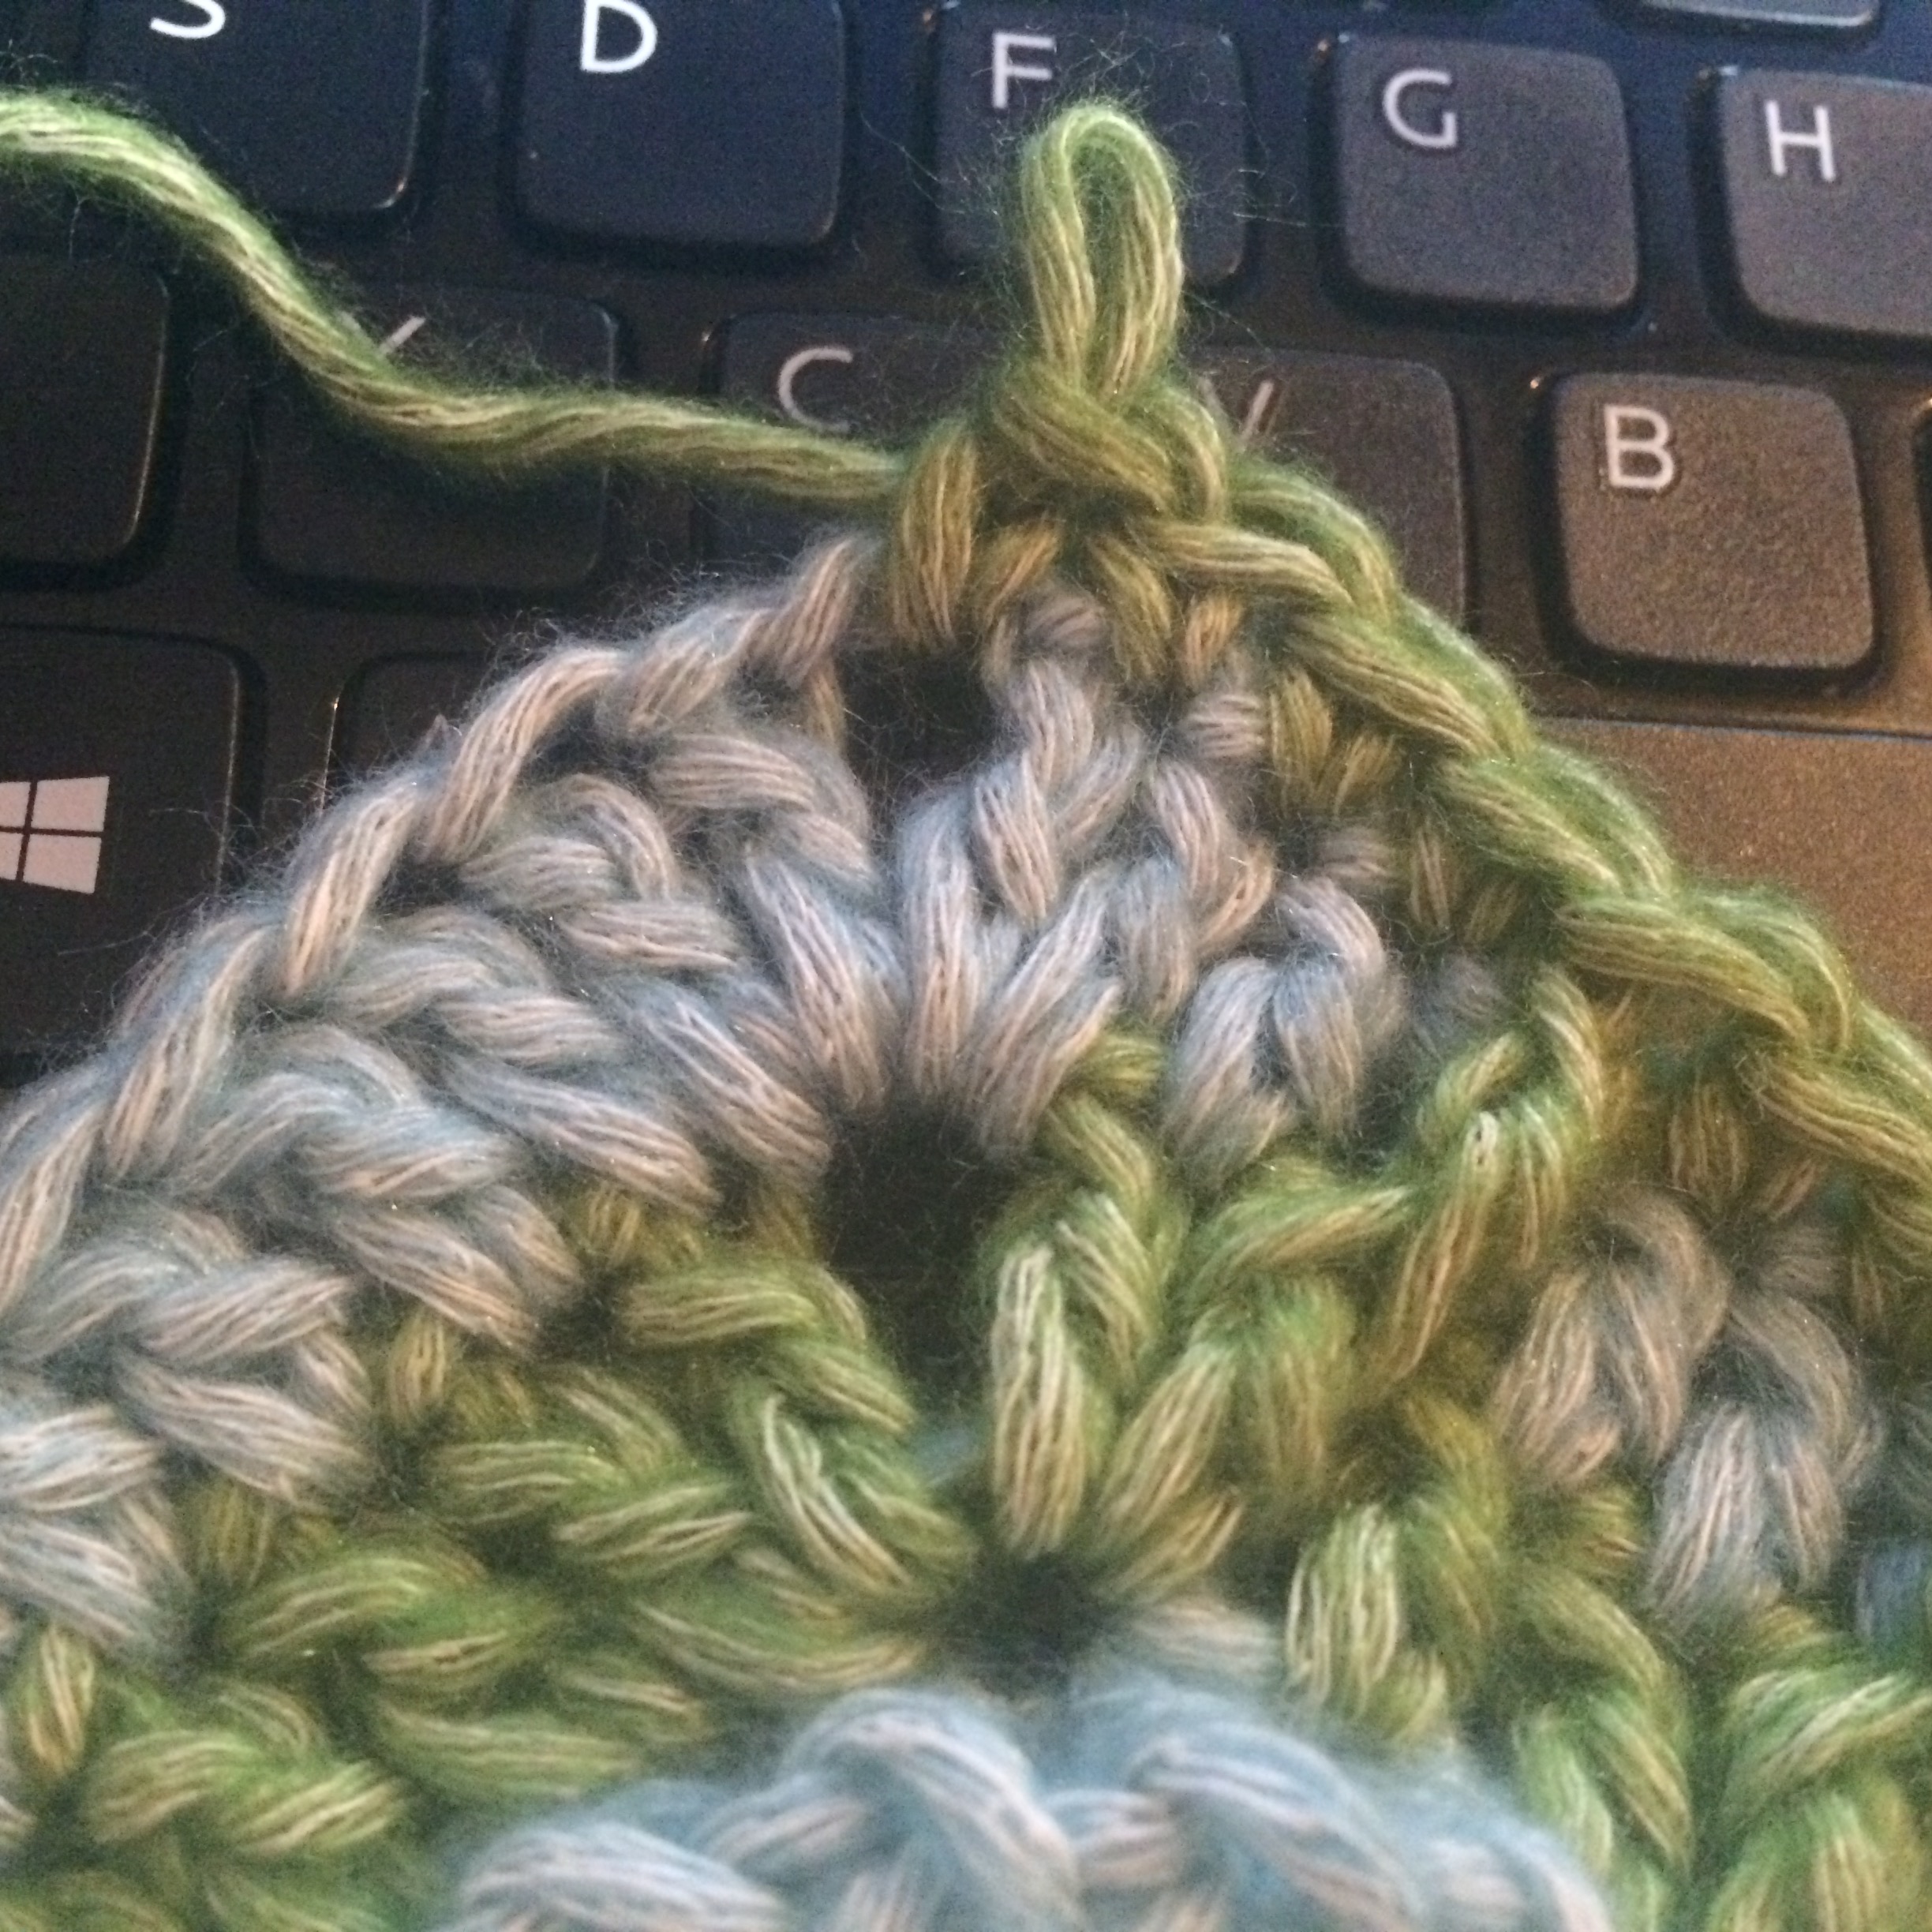
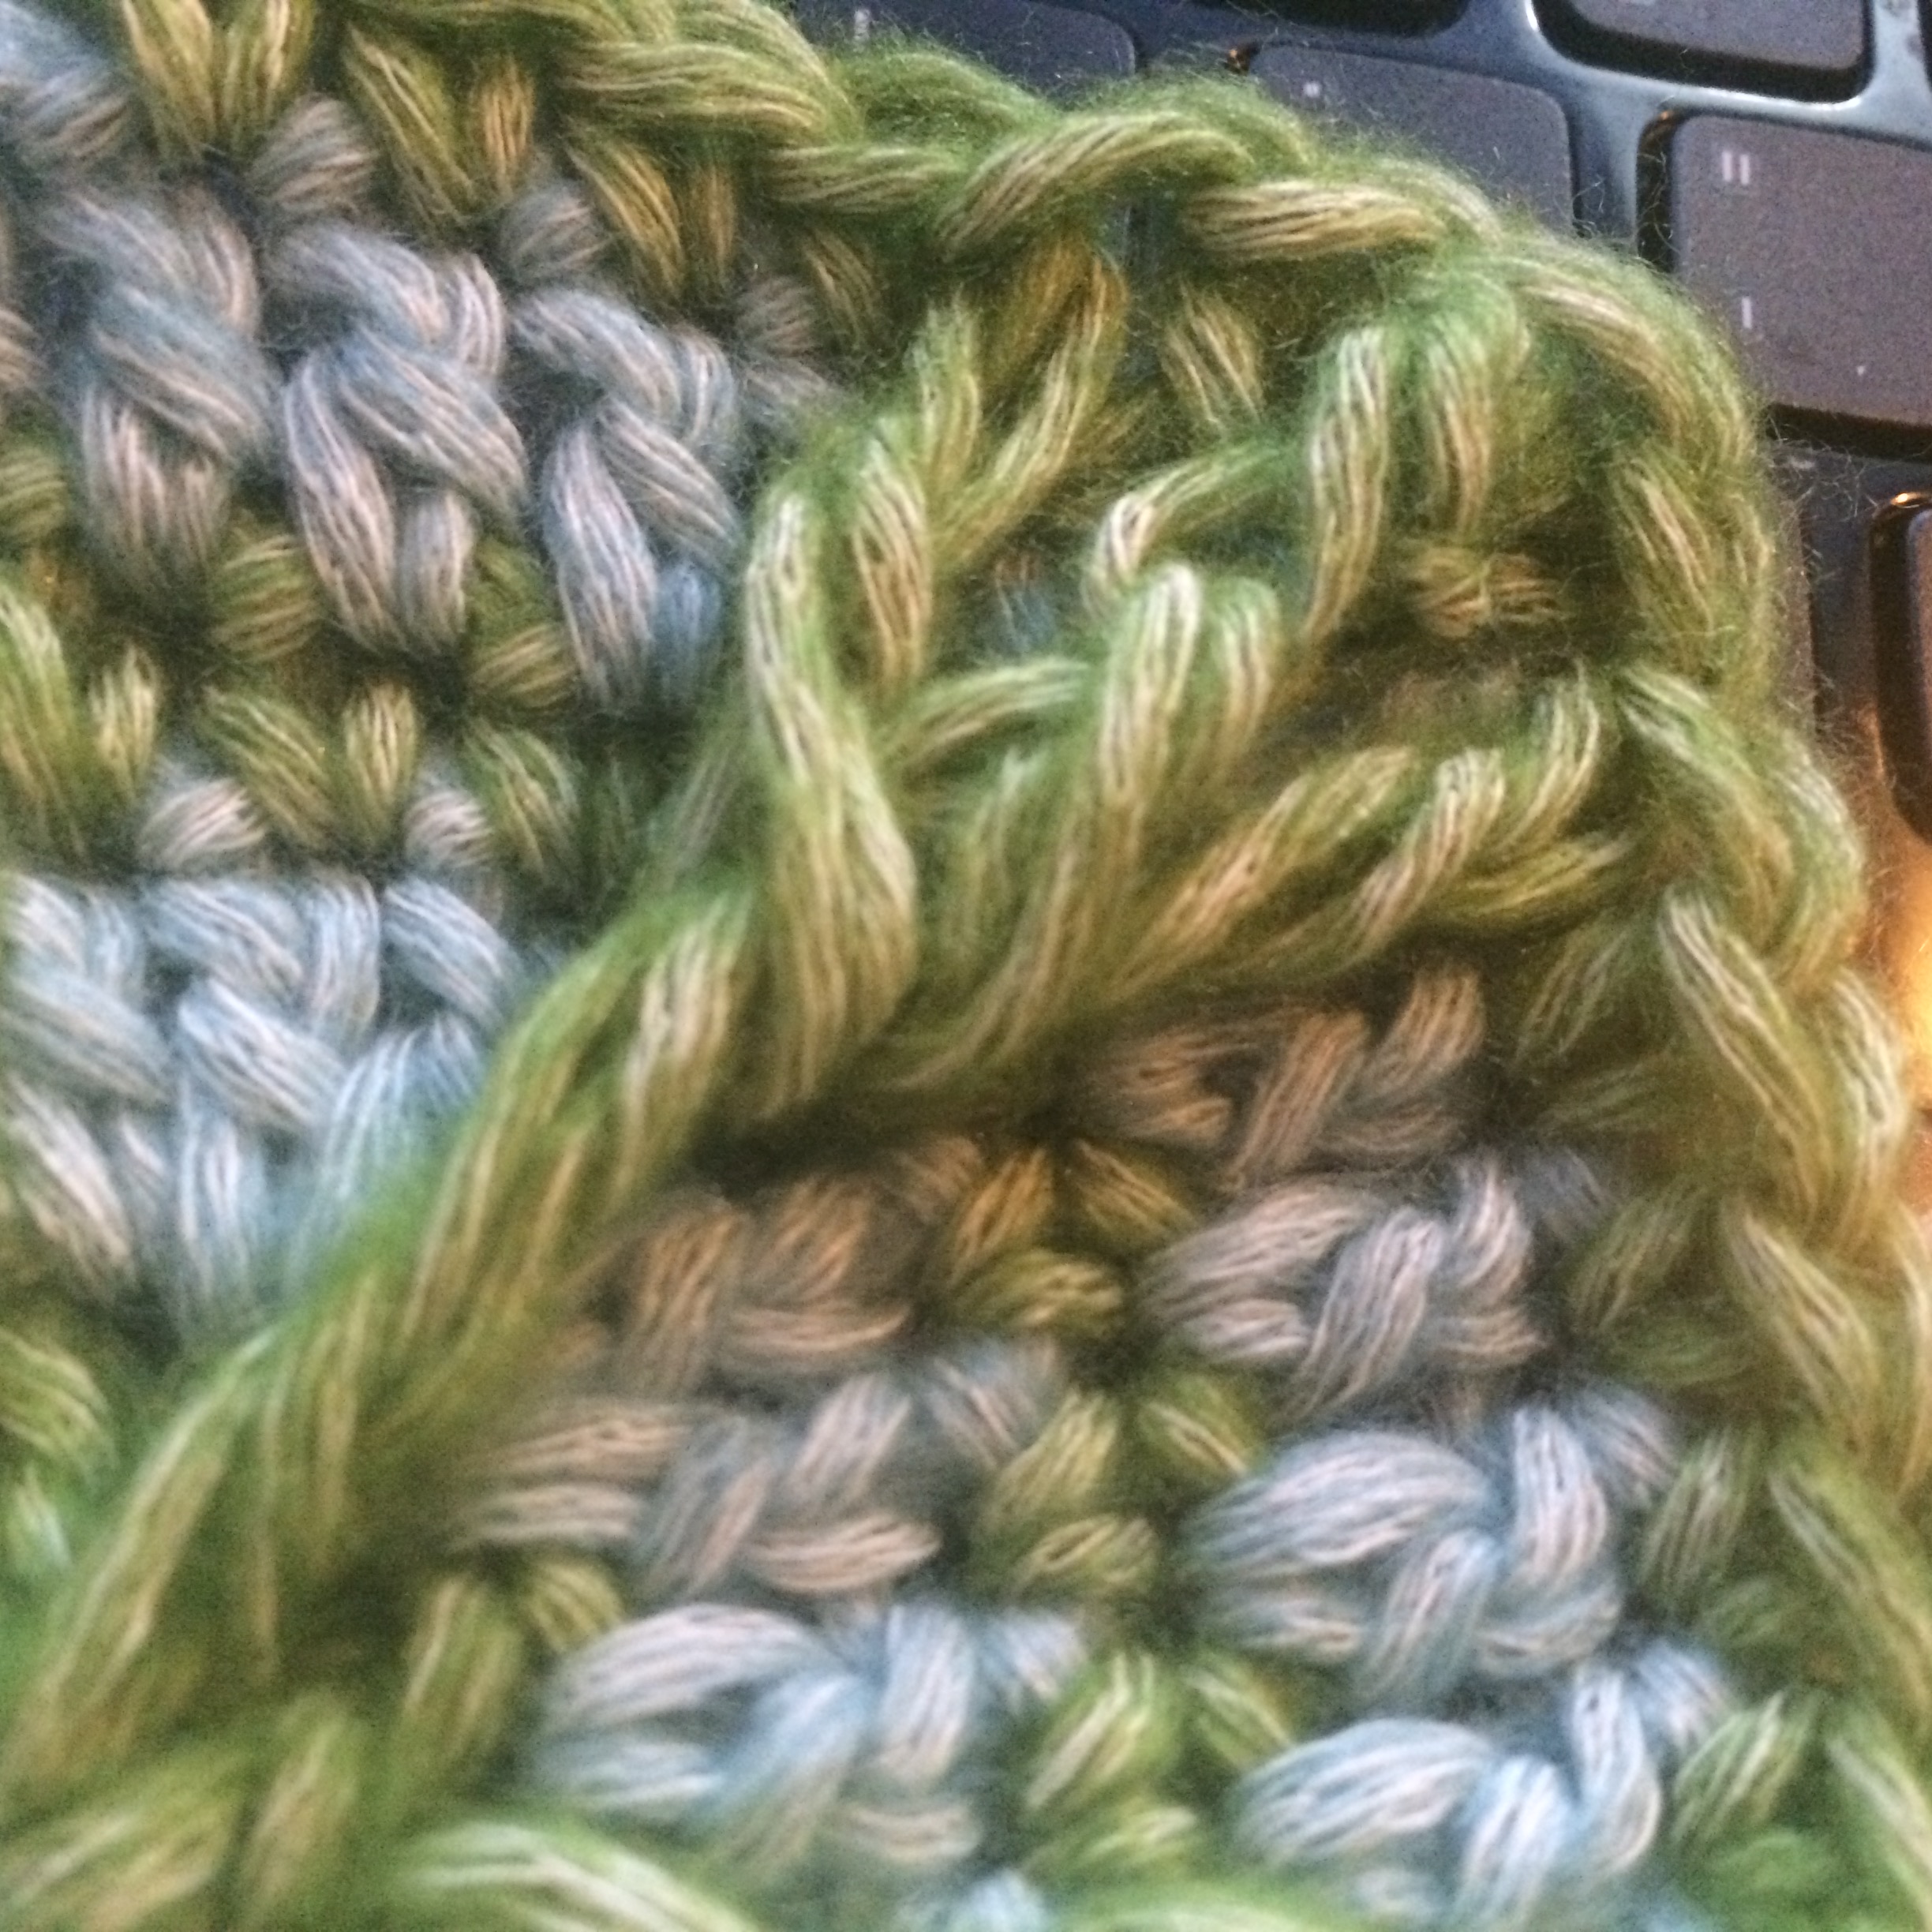
 

Spider Web Version

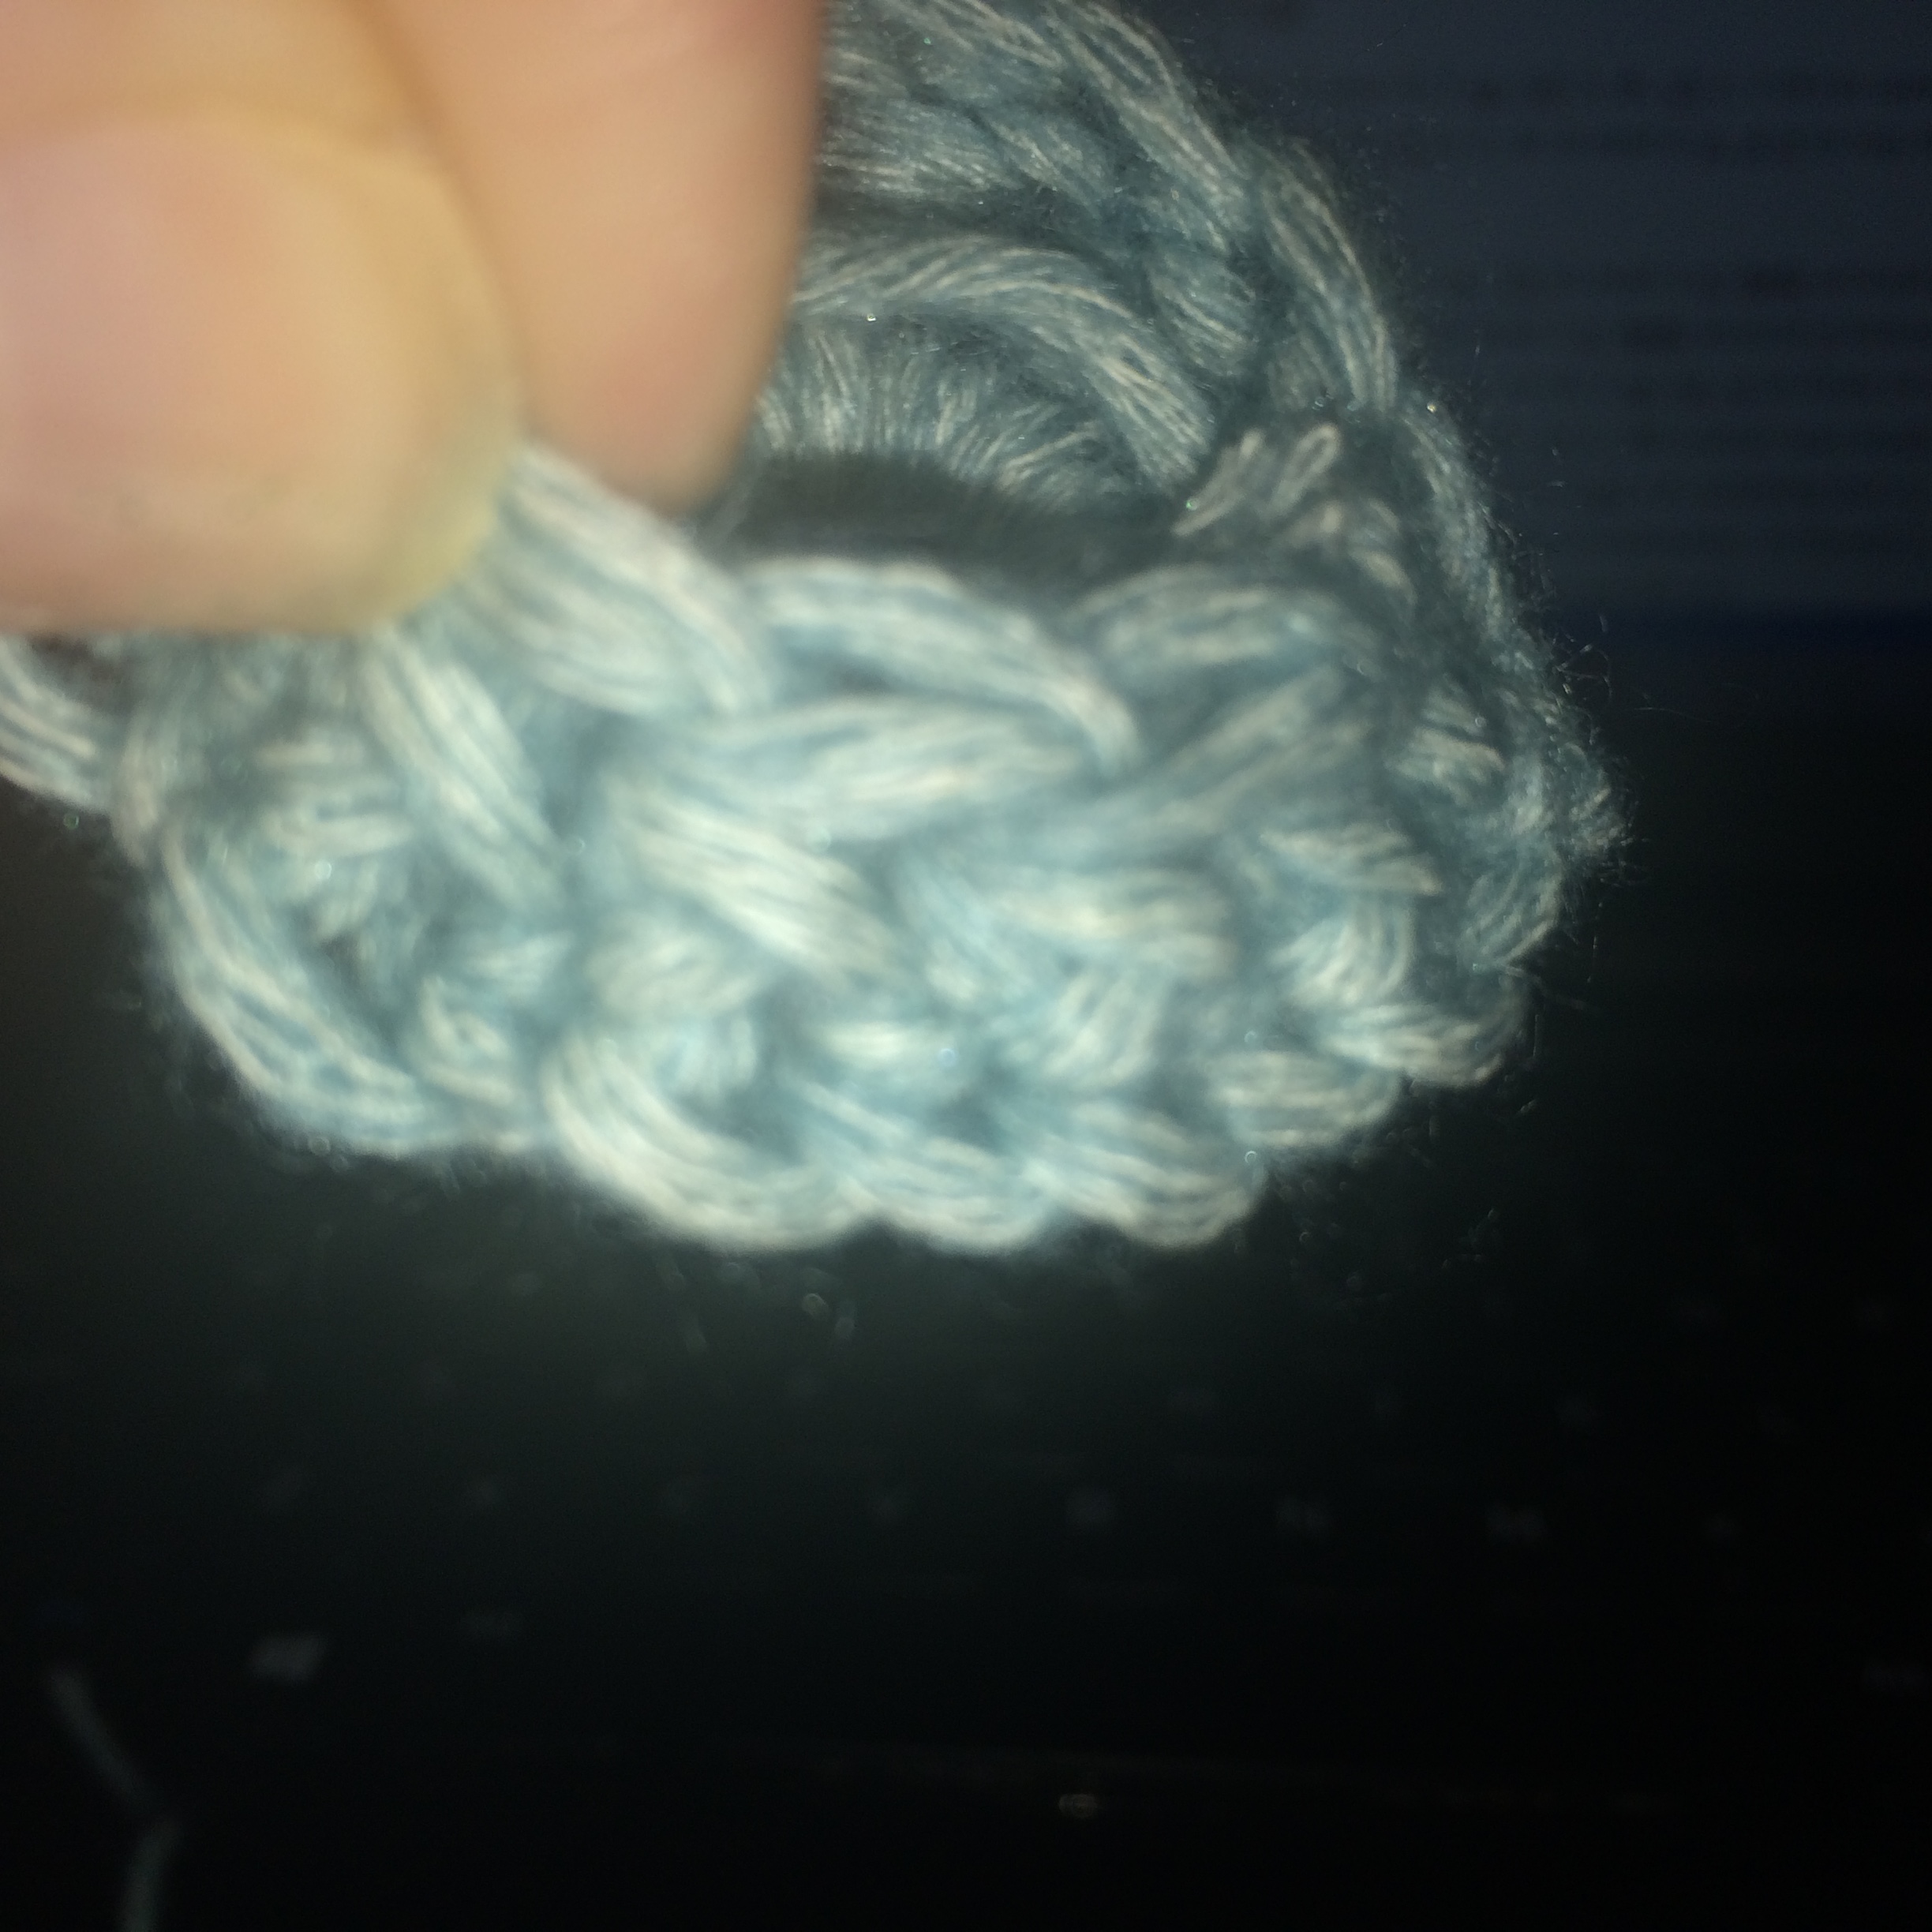
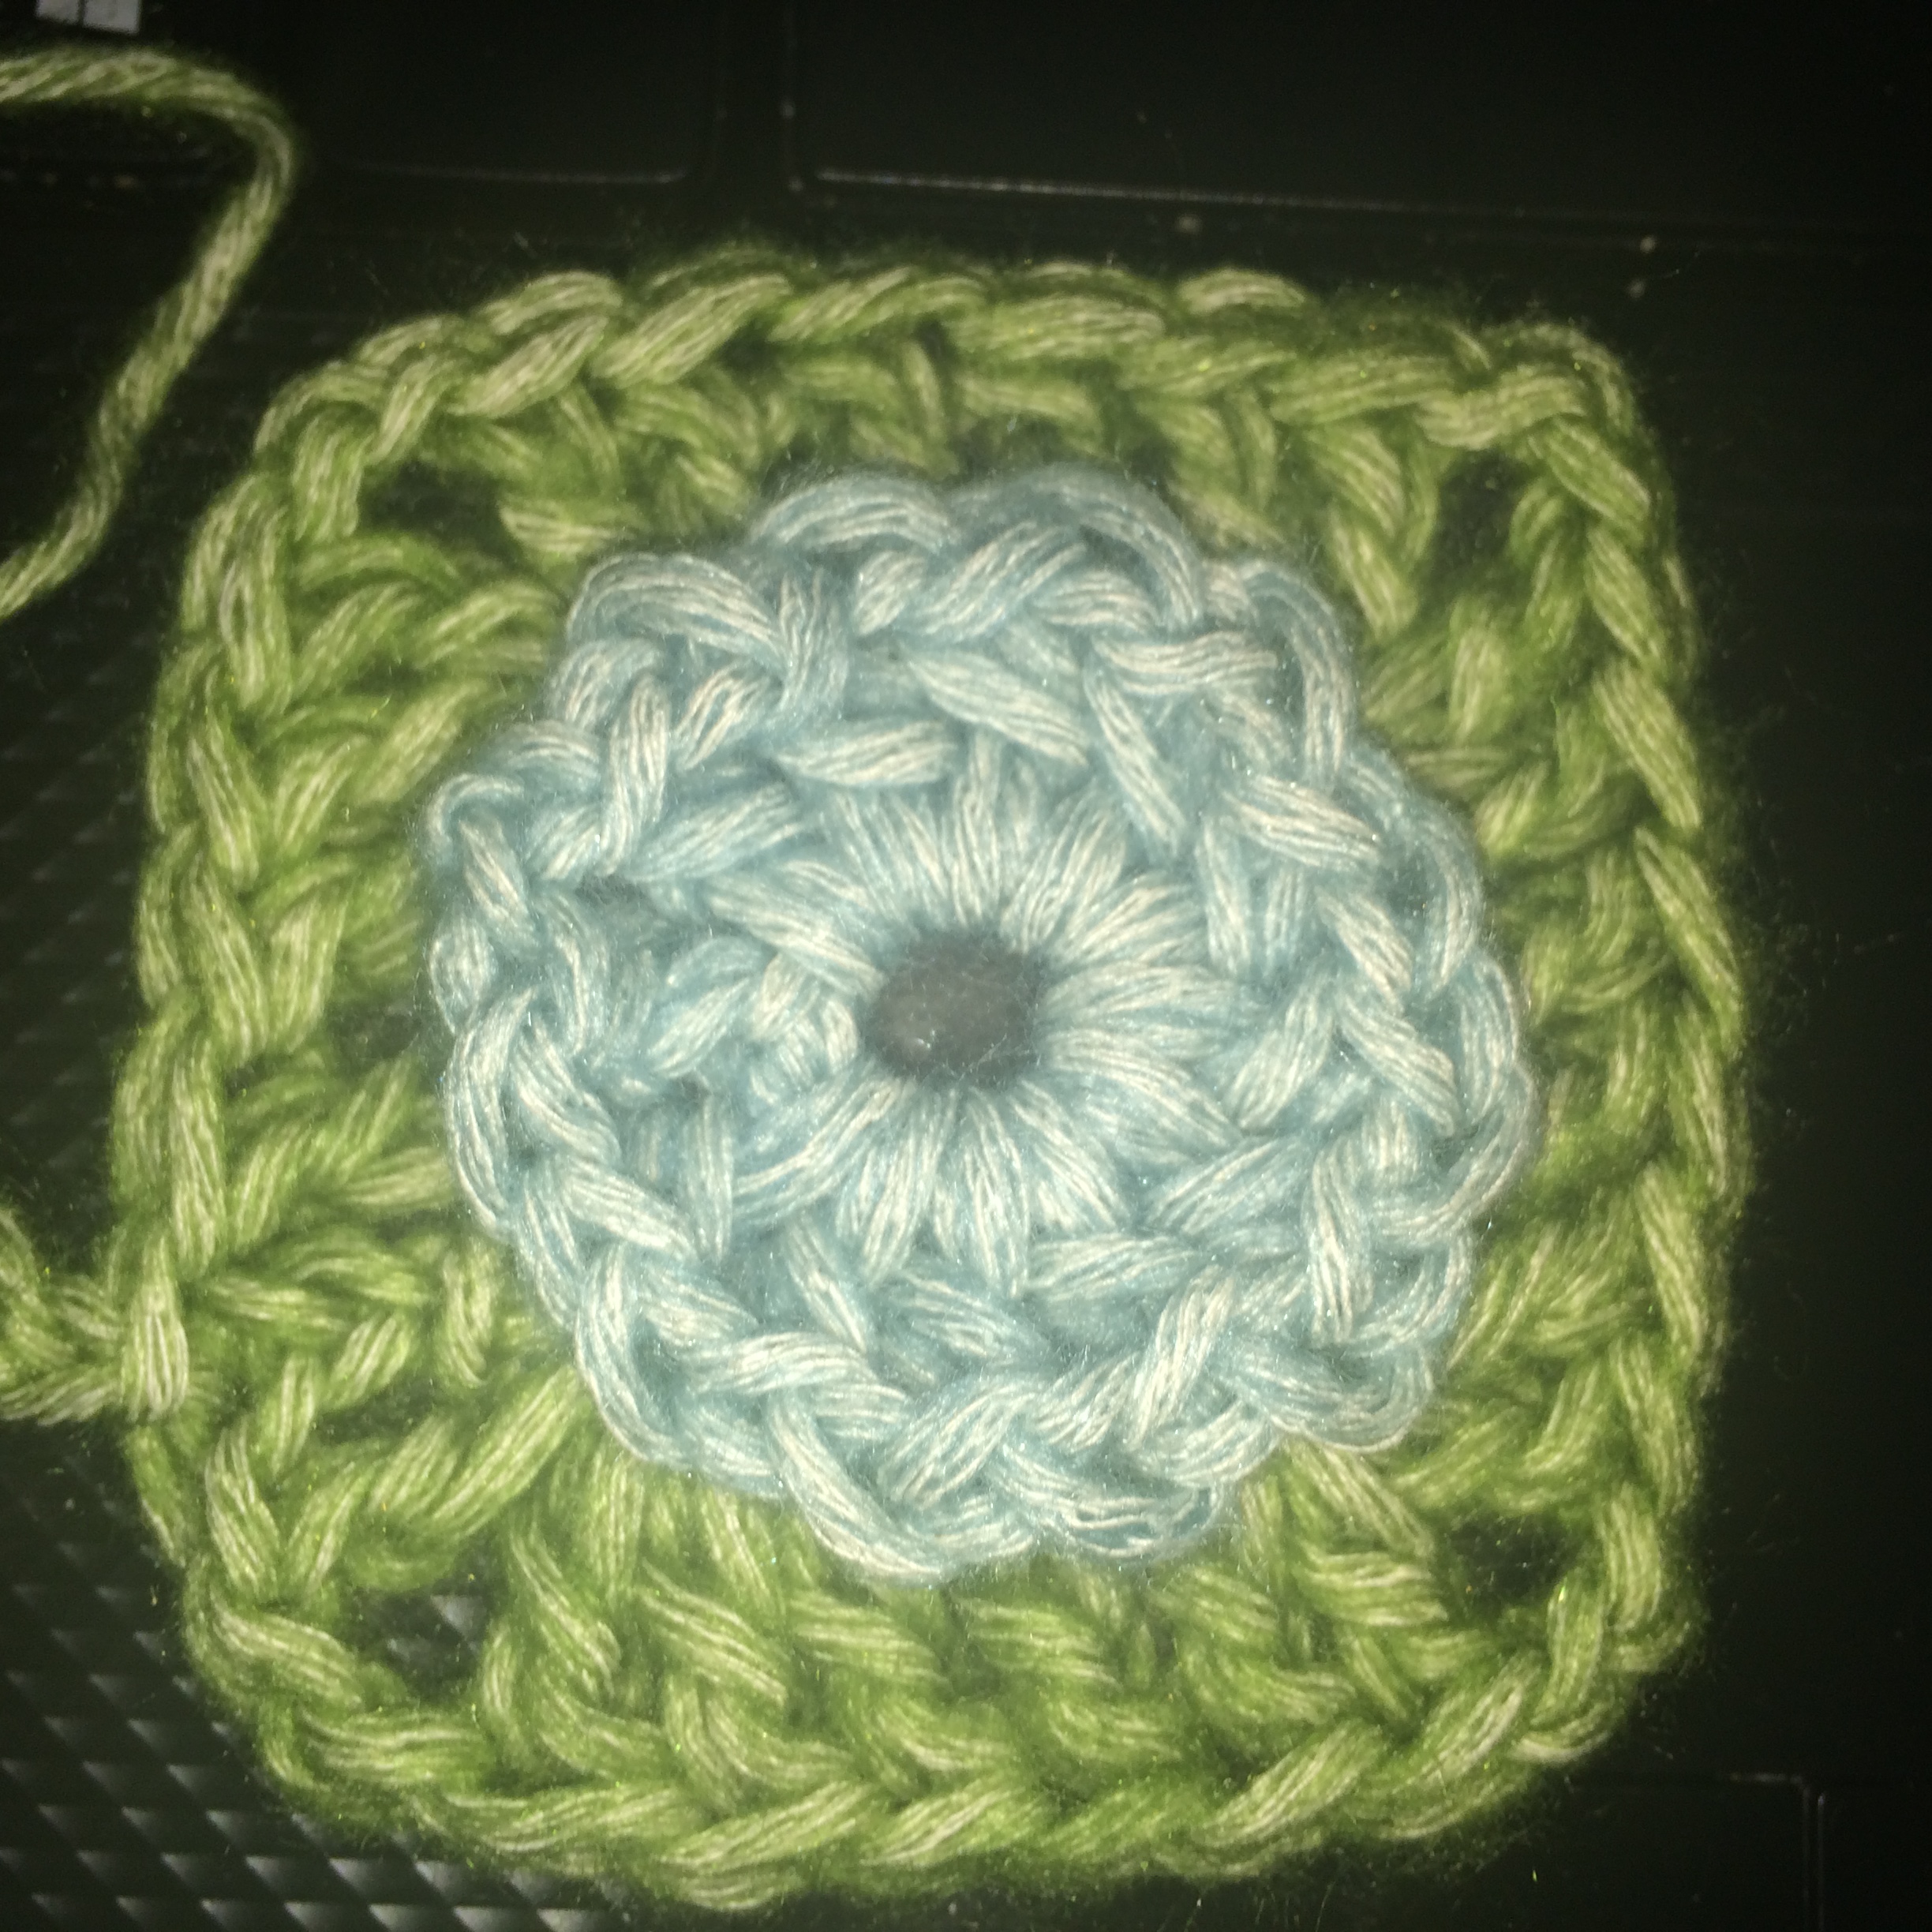
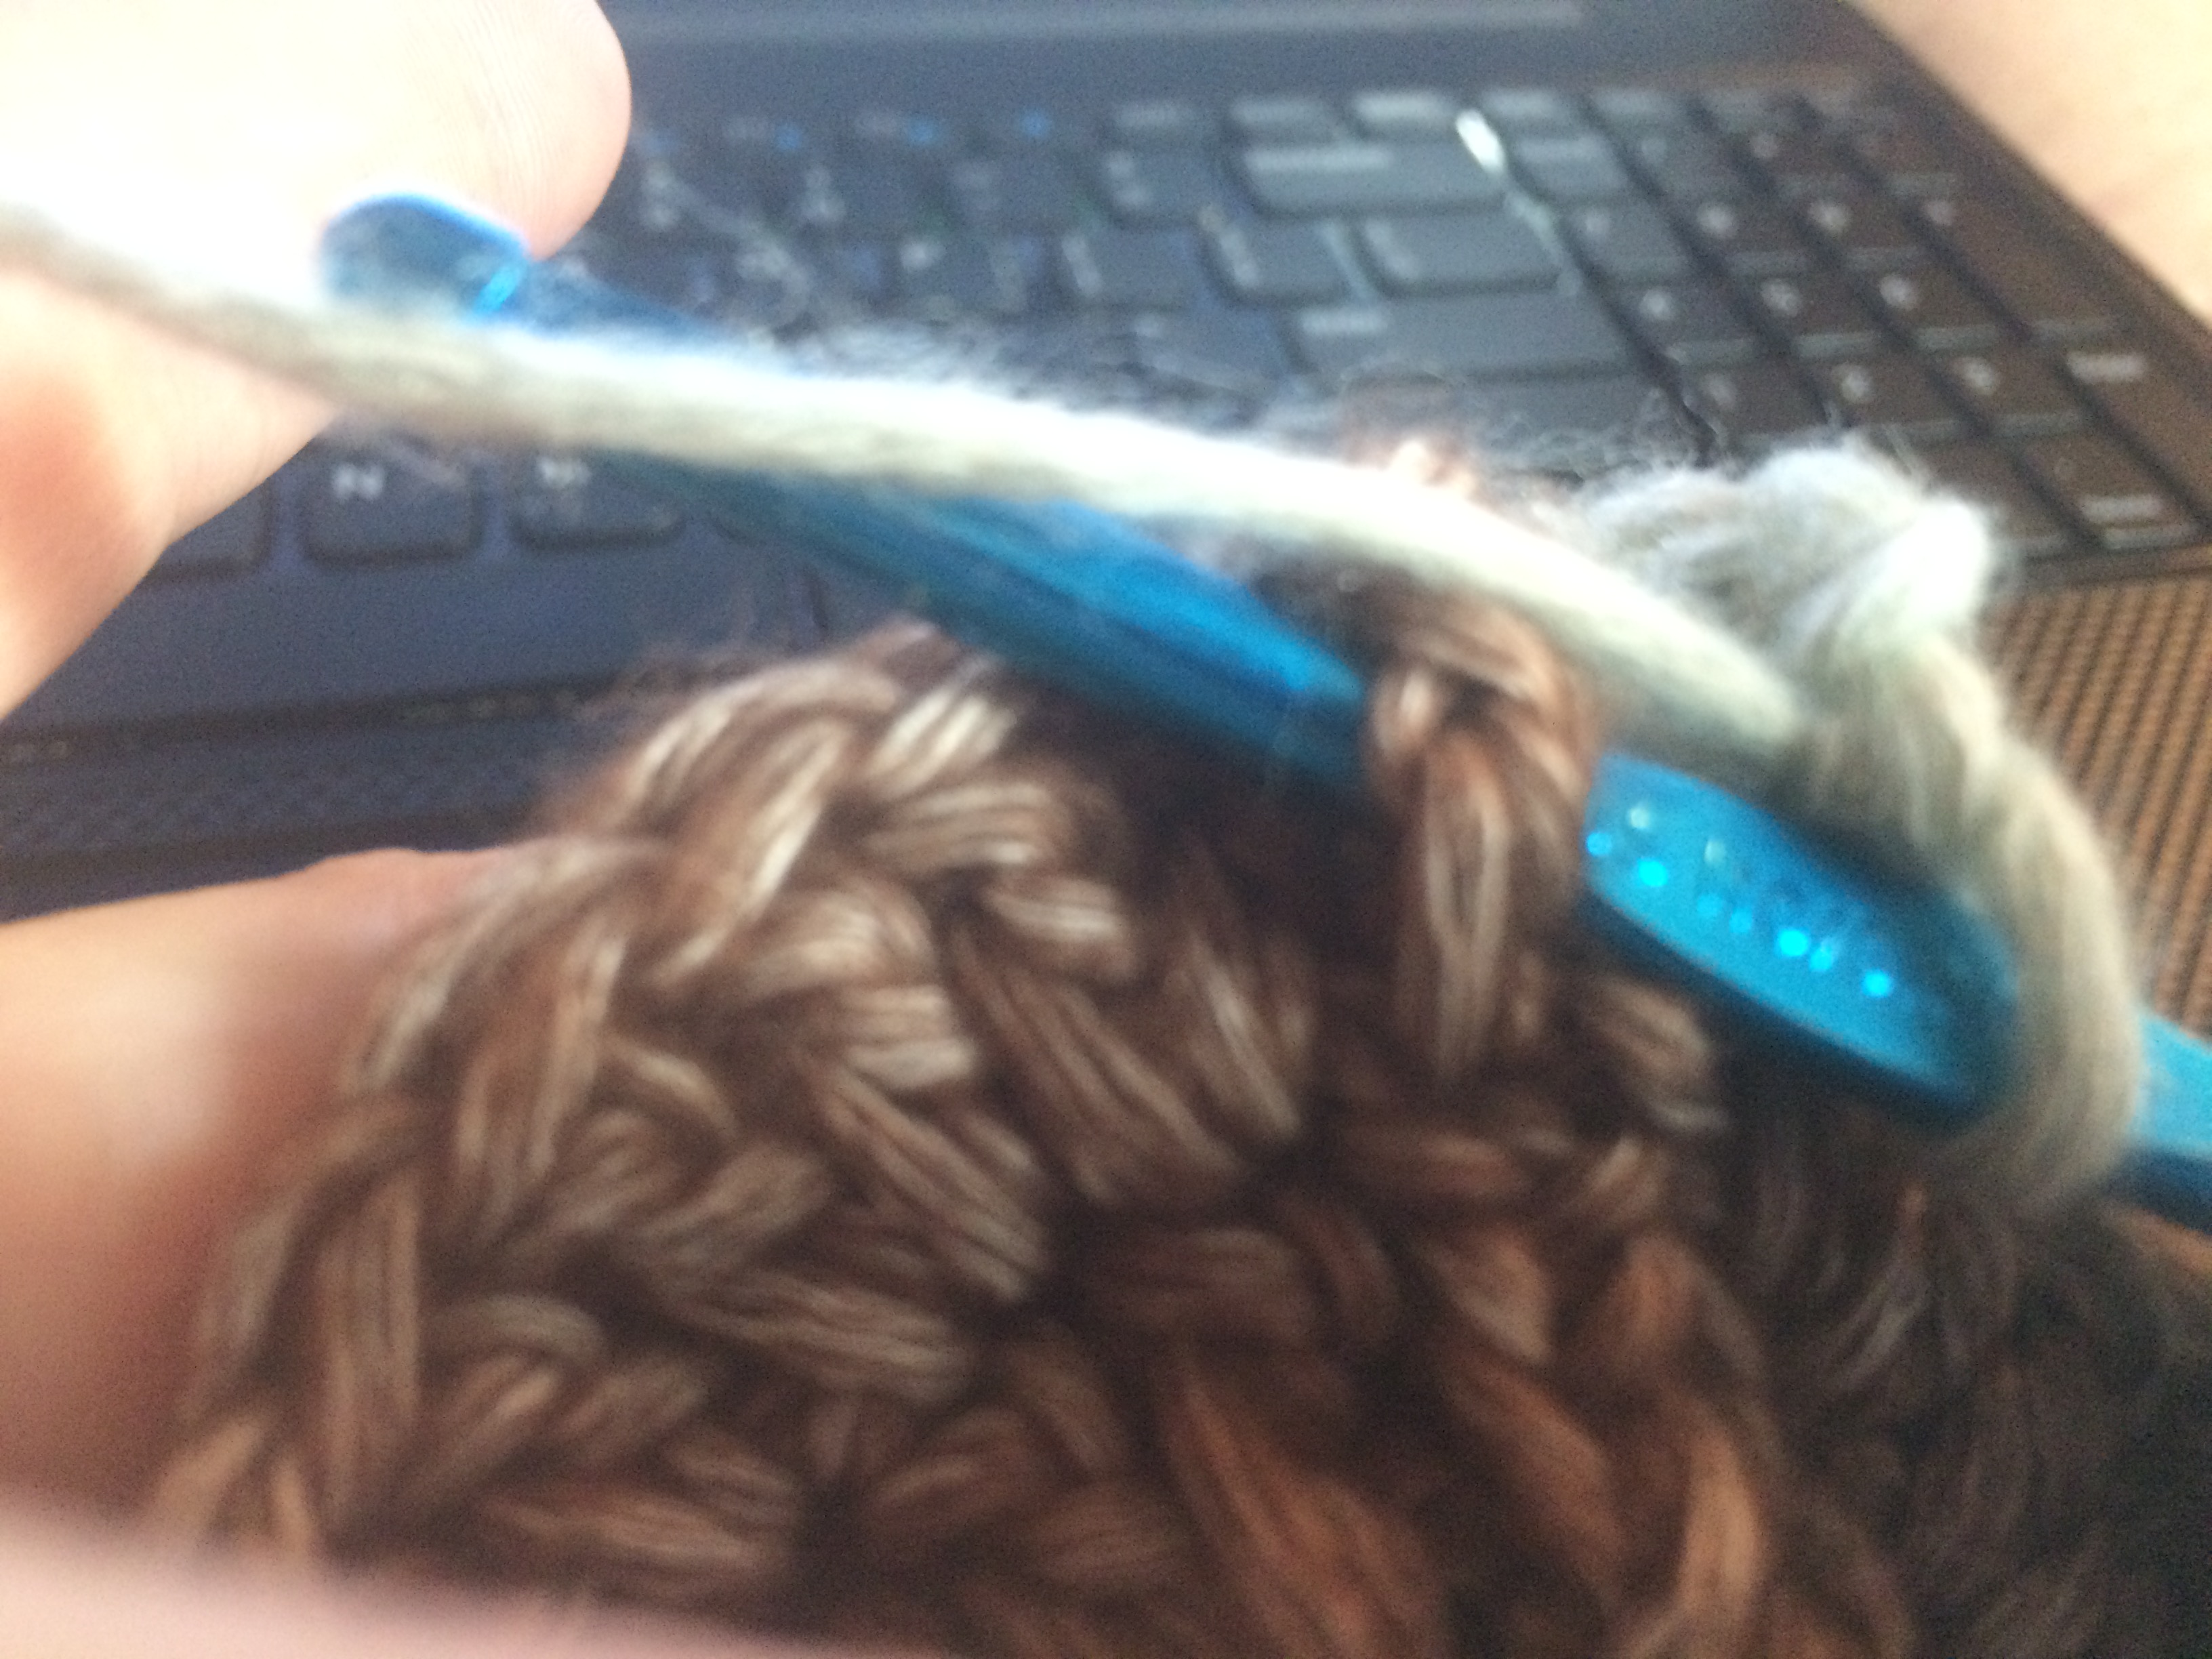
Round 1: With A, ch 5, sl st to first ch to form ring. Ch 2, dc,(counts as first cl) (ch 1, cl) x 11, ch 1, sl st to top of beg ch-2. Will be a tight squeeze. Fasten off A. (12 cl, 12 ch)

Round 2: Join B with sc in any ch-1 sp, (fpsc around cl, 2 sc in ch-1 sp) x 11, fpsc around cl, sc in same ch-1 sp as beg sc, sl st to beg sc. Fasten off B. (36 st)

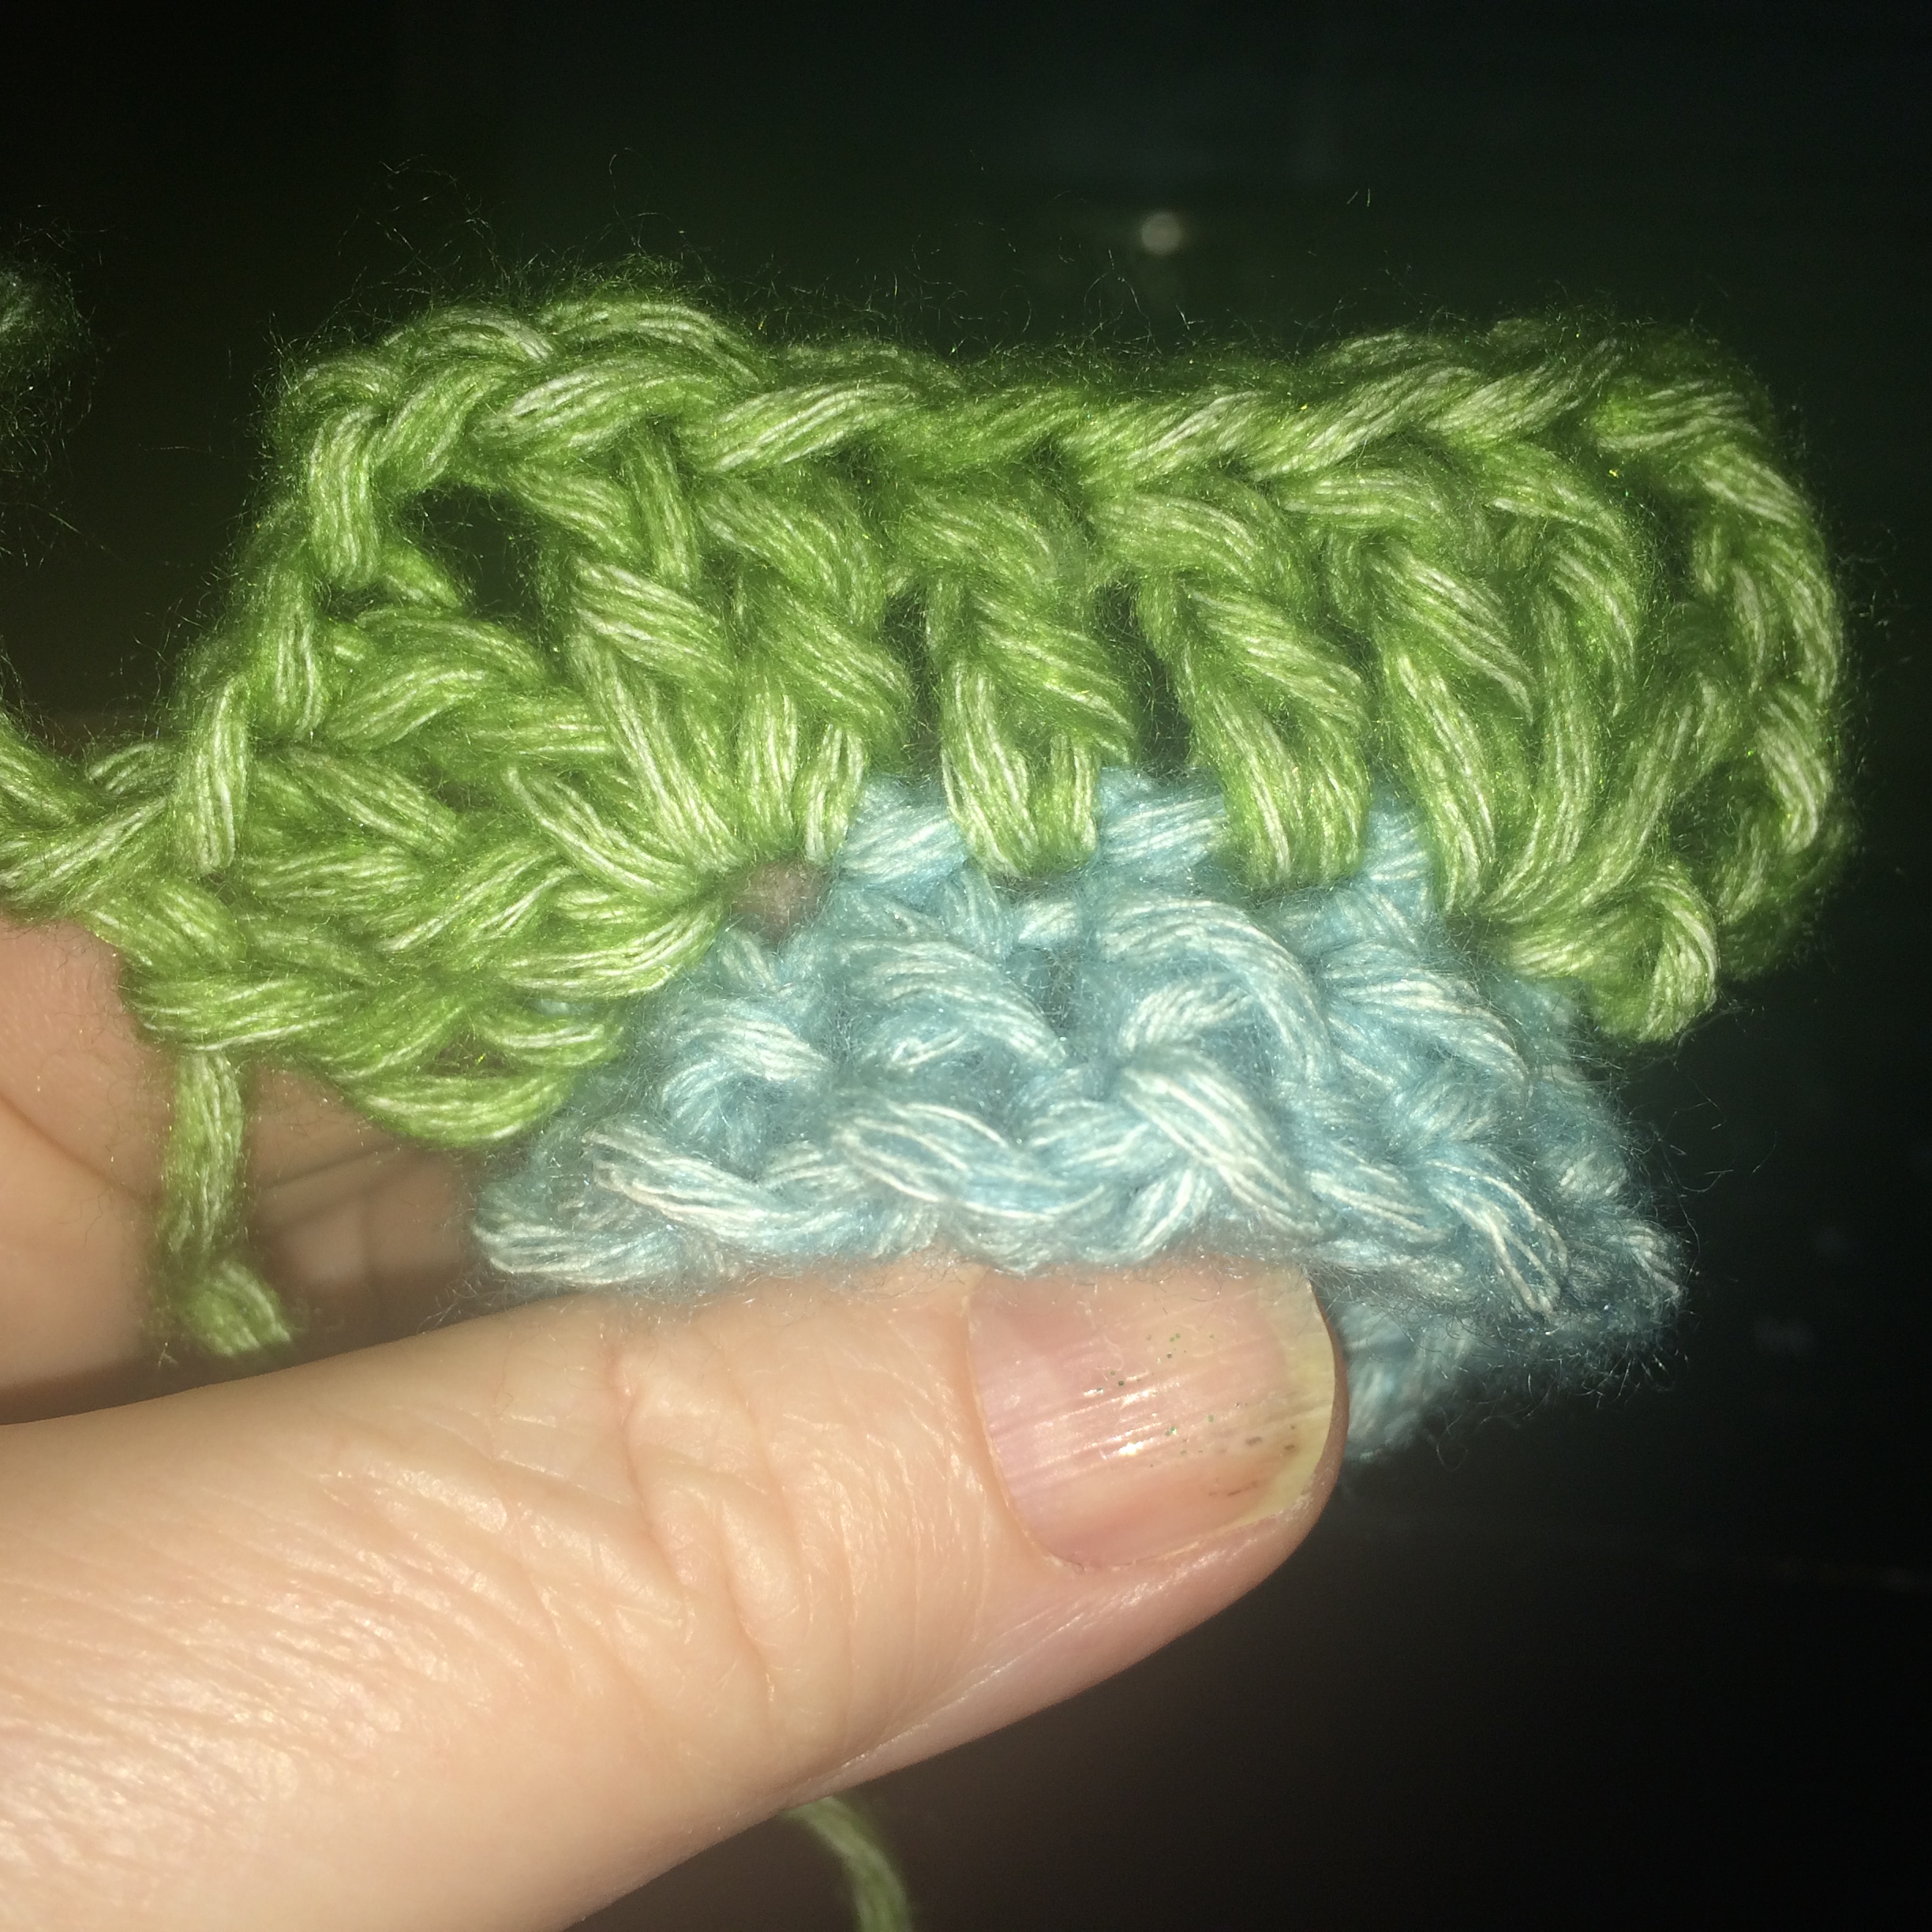
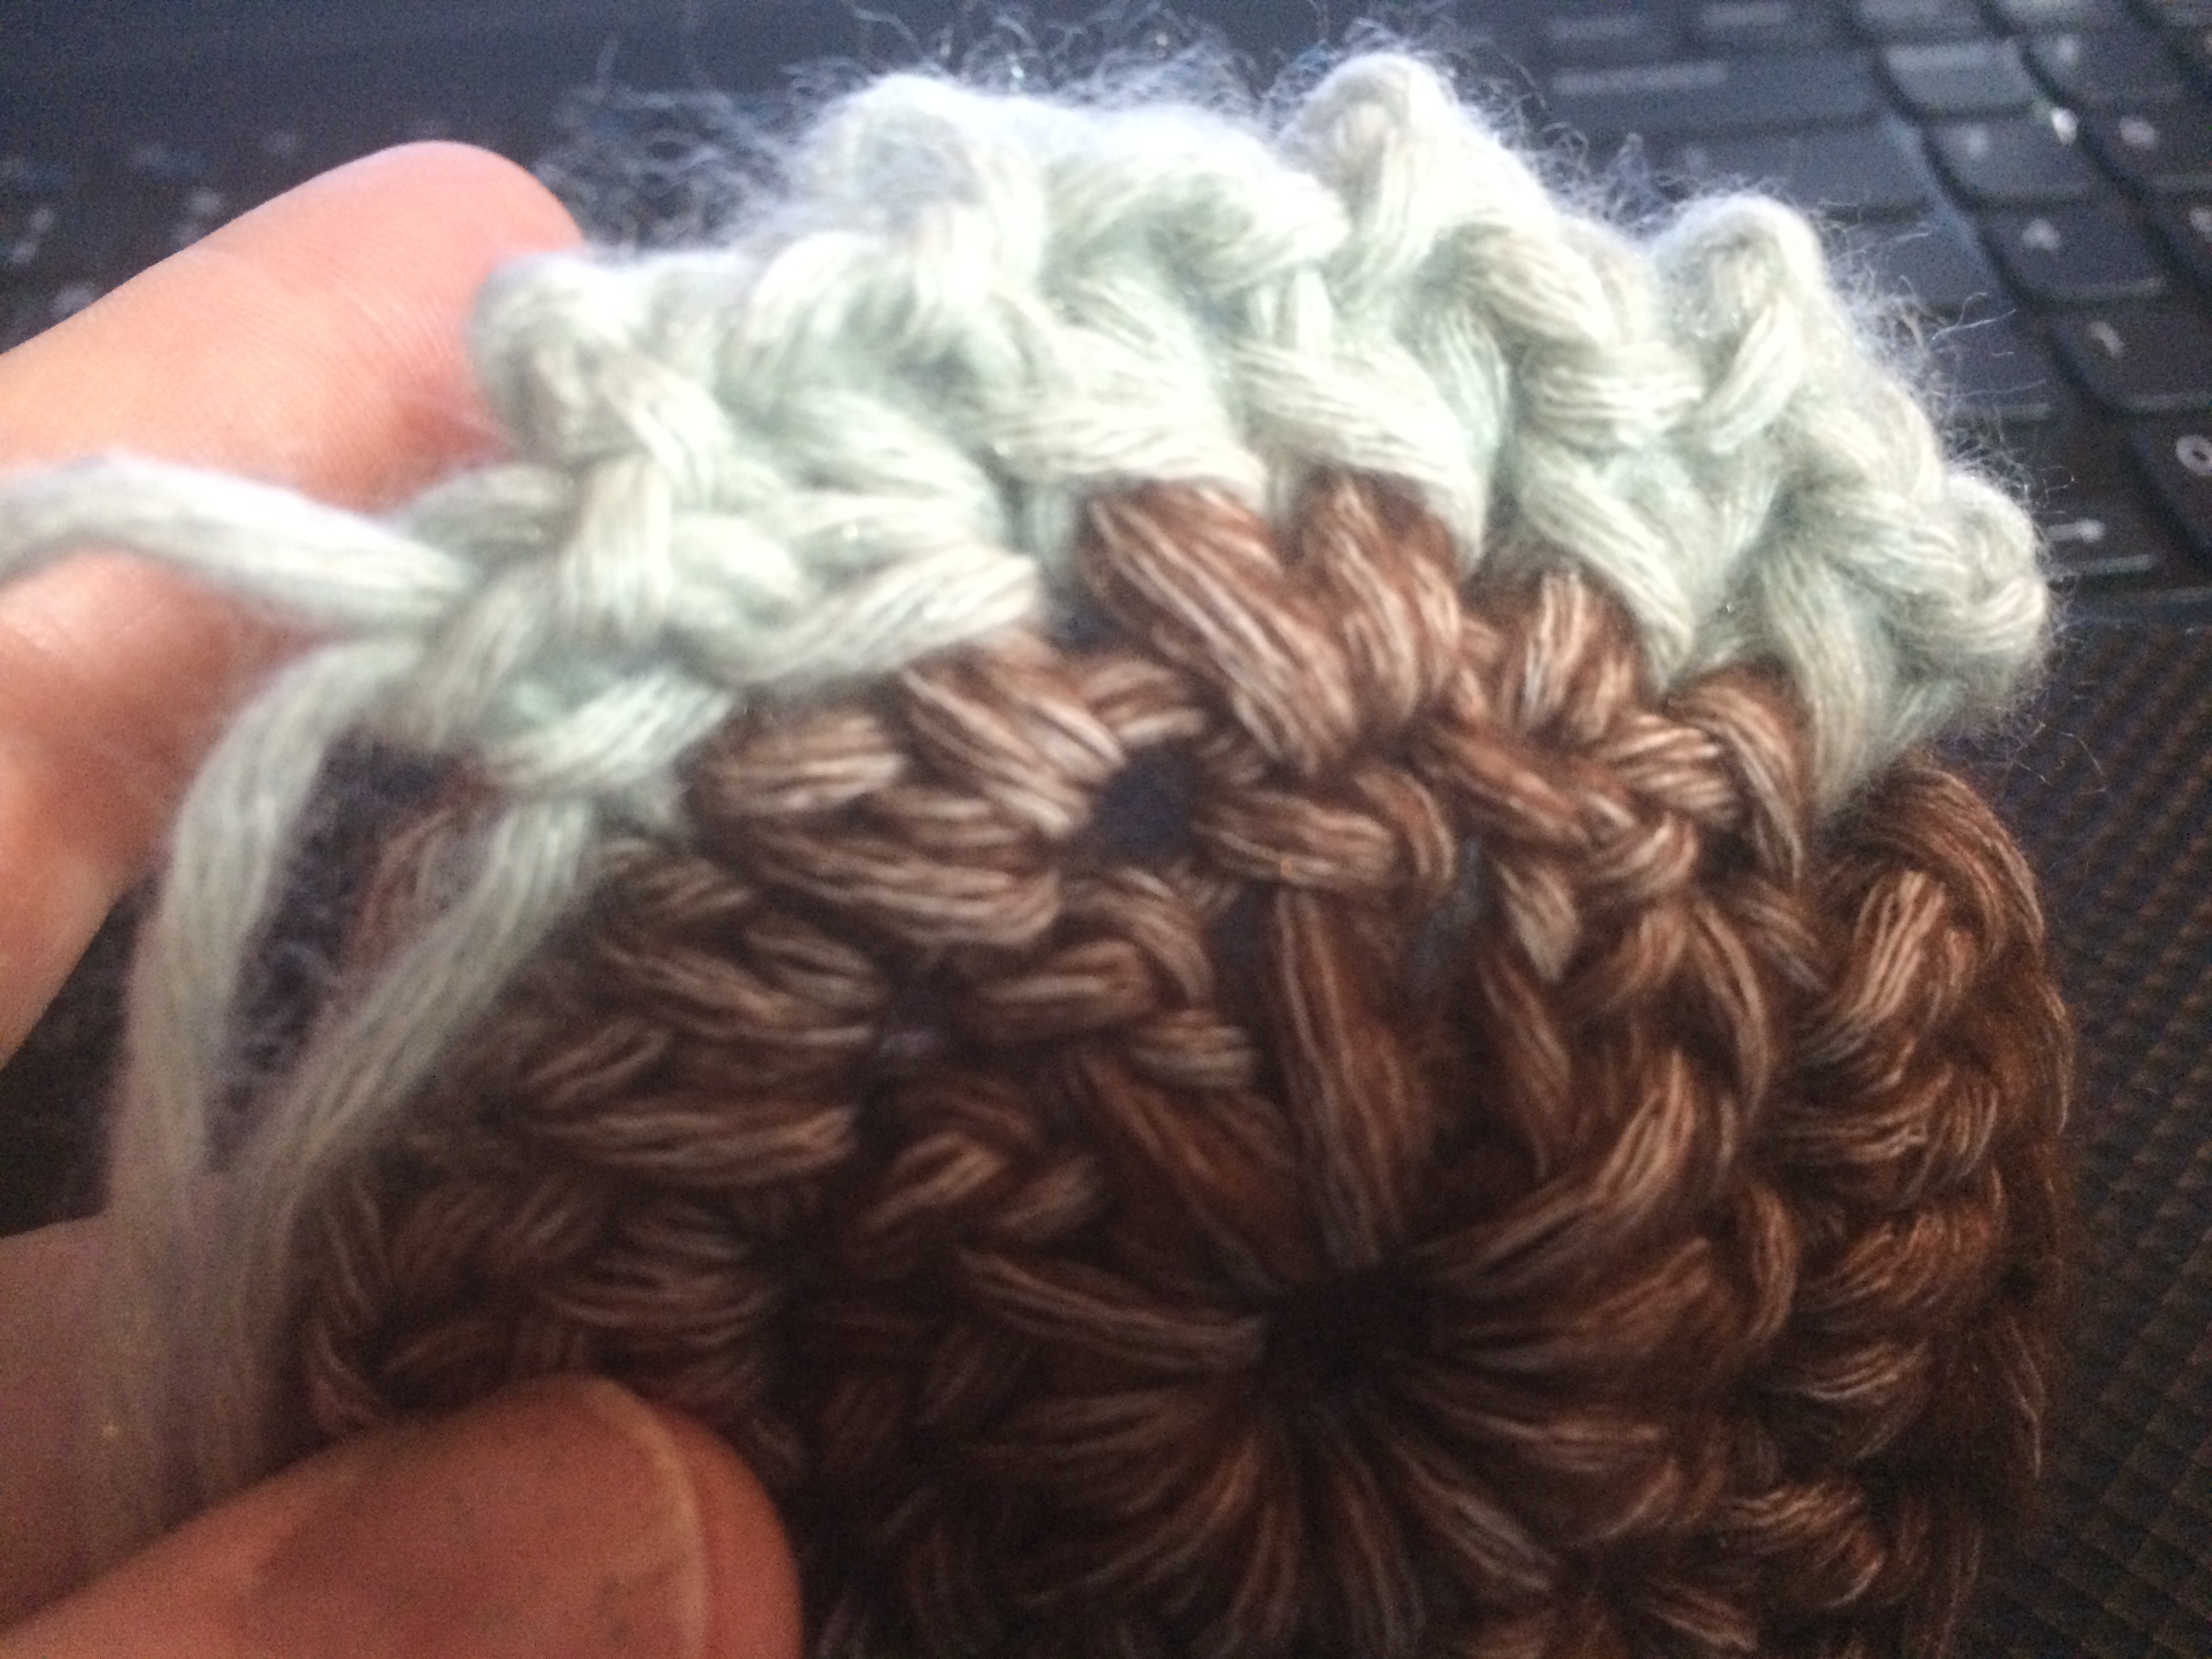
Round 3: Join A with sl st to 2nd sc of any 2 sc group, ch 3, 2 dc in same st, (ch 1, sk 2 st, 3 dc in next st) x 11 , ch 1, sl to top of beg ch-3. Fasten off A. (36 dc, 12 ch)

Round 4: Join B with sc in any ch-1 sp, (fptr around fpsc in Round 2, sc in same sp as previous sc, ch 3, sc in next ch-1 sp) x 11, fptr around fpsc in Round 2, sc in same sp as previous sc, ch 3, sl st to first sc. Fasten off B. (12 tr, 24 sc, 12 ch-3 sp)

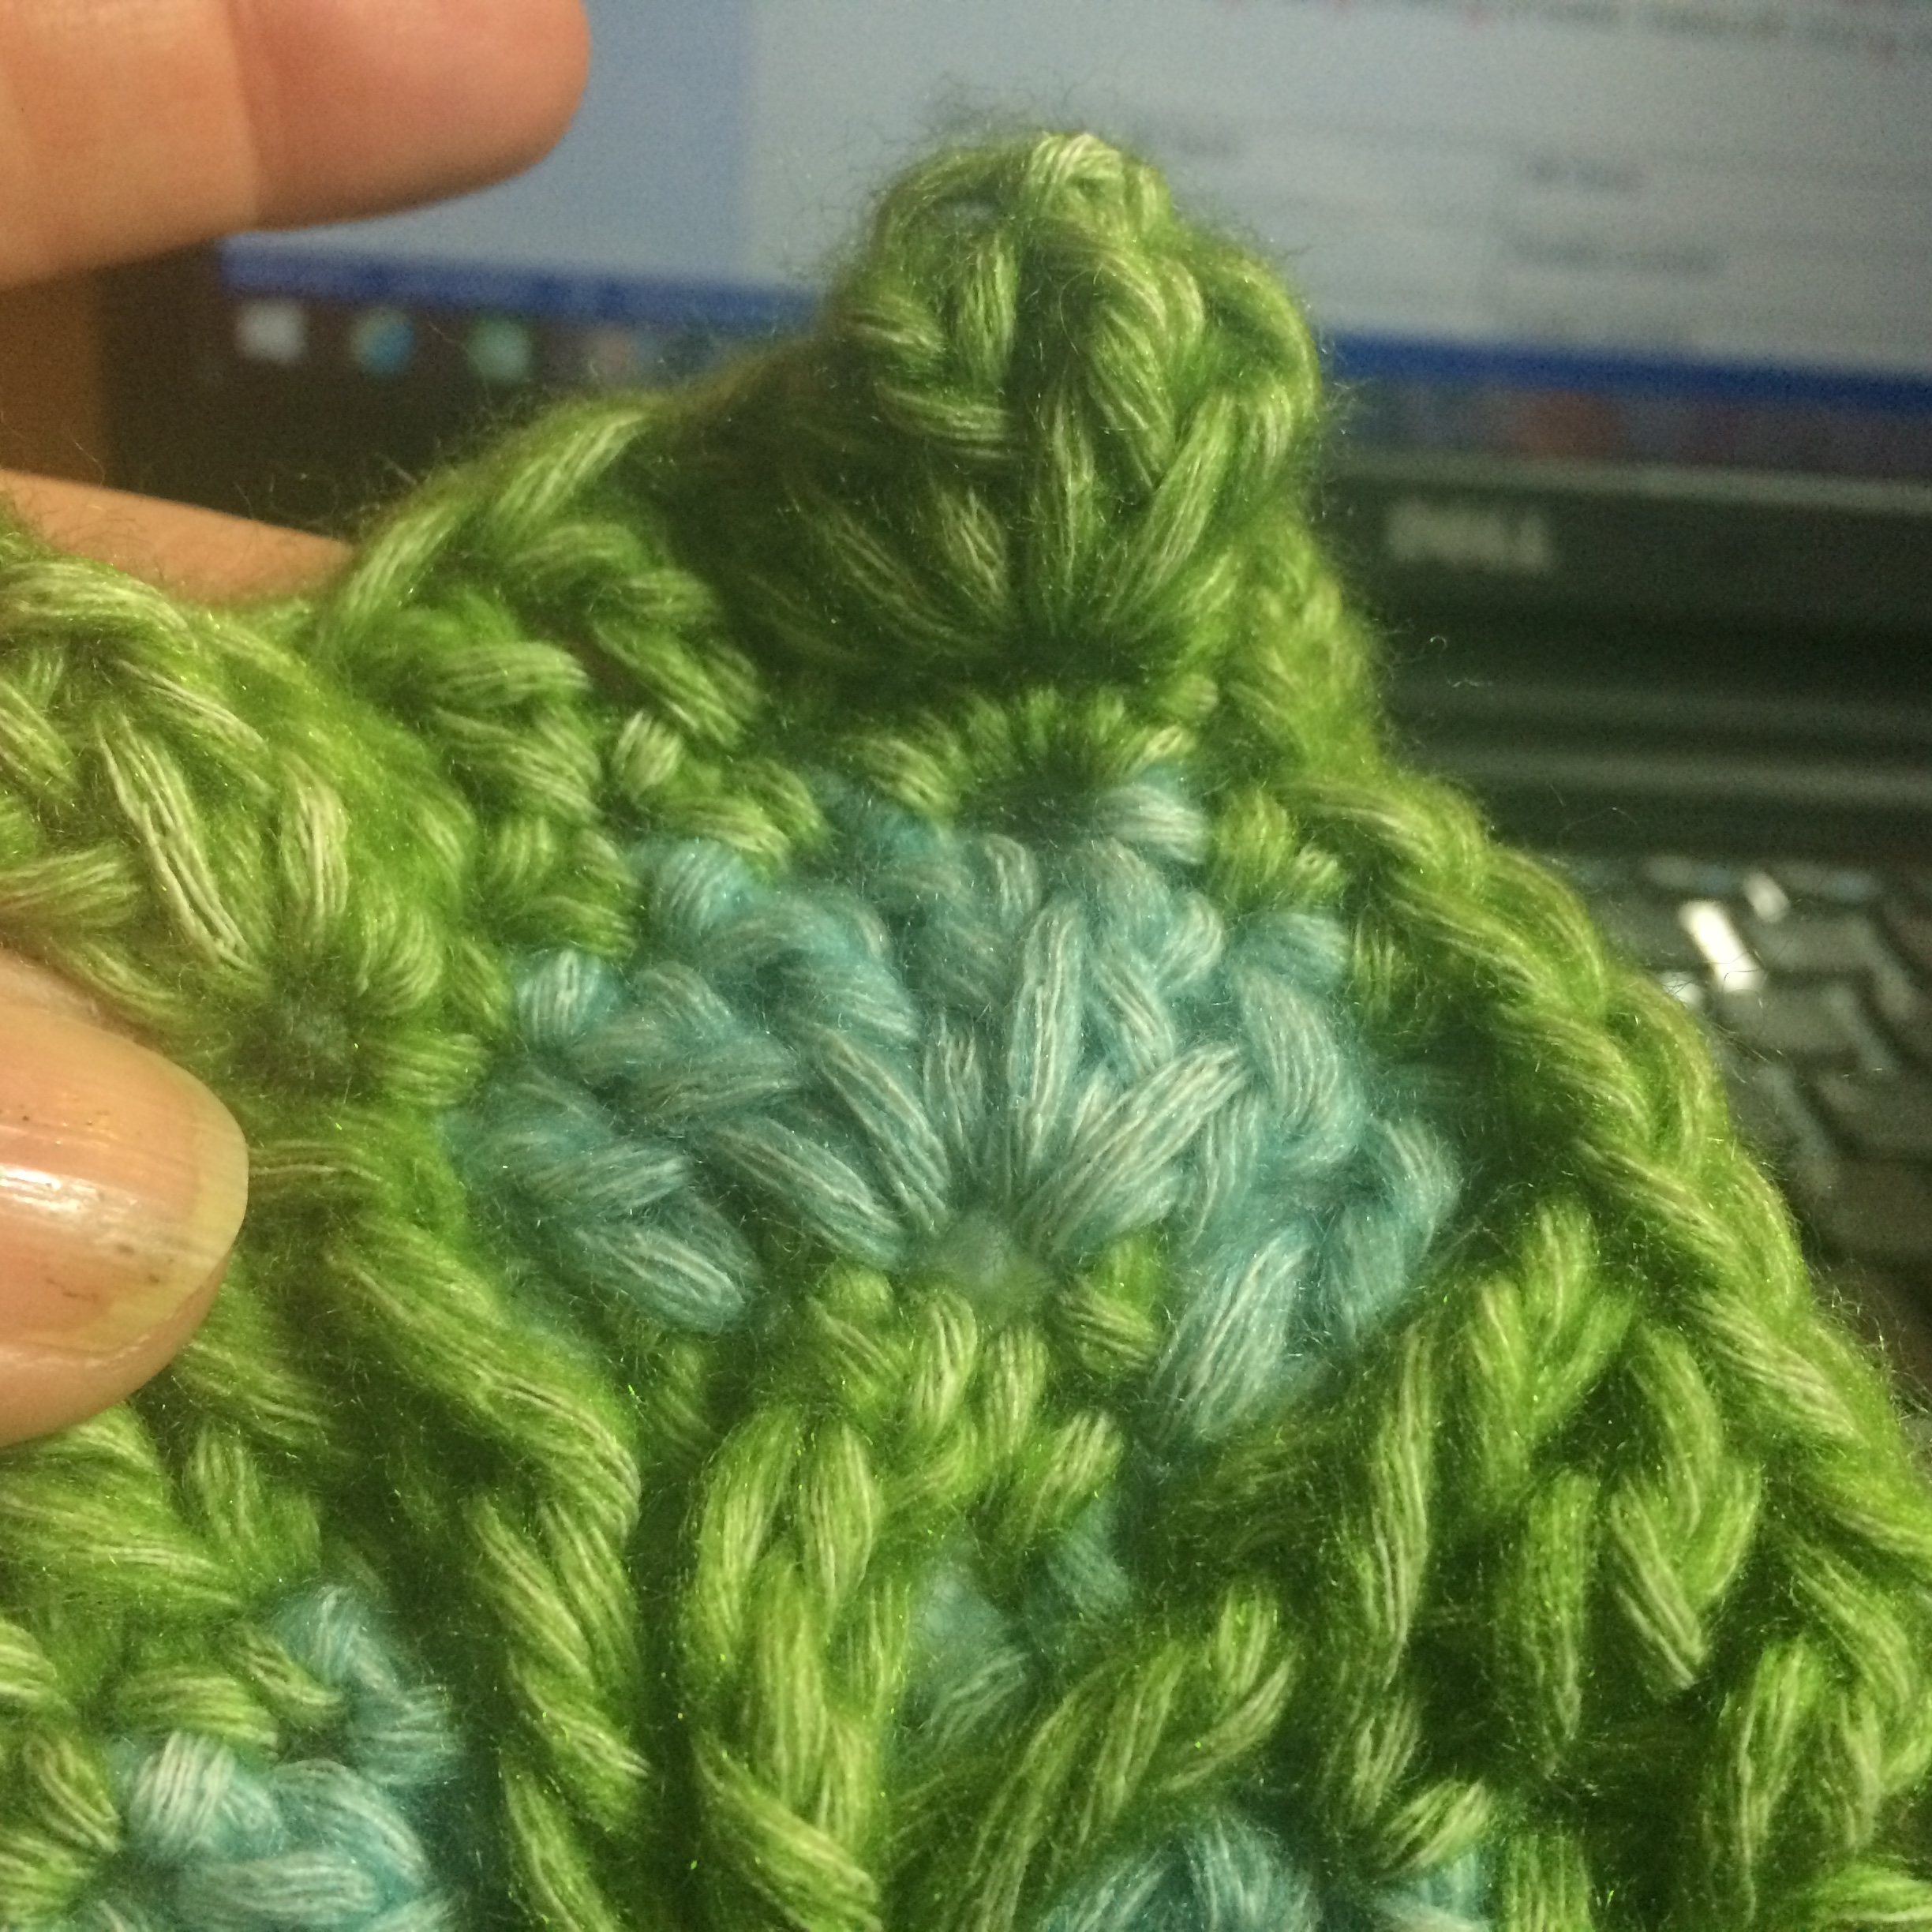
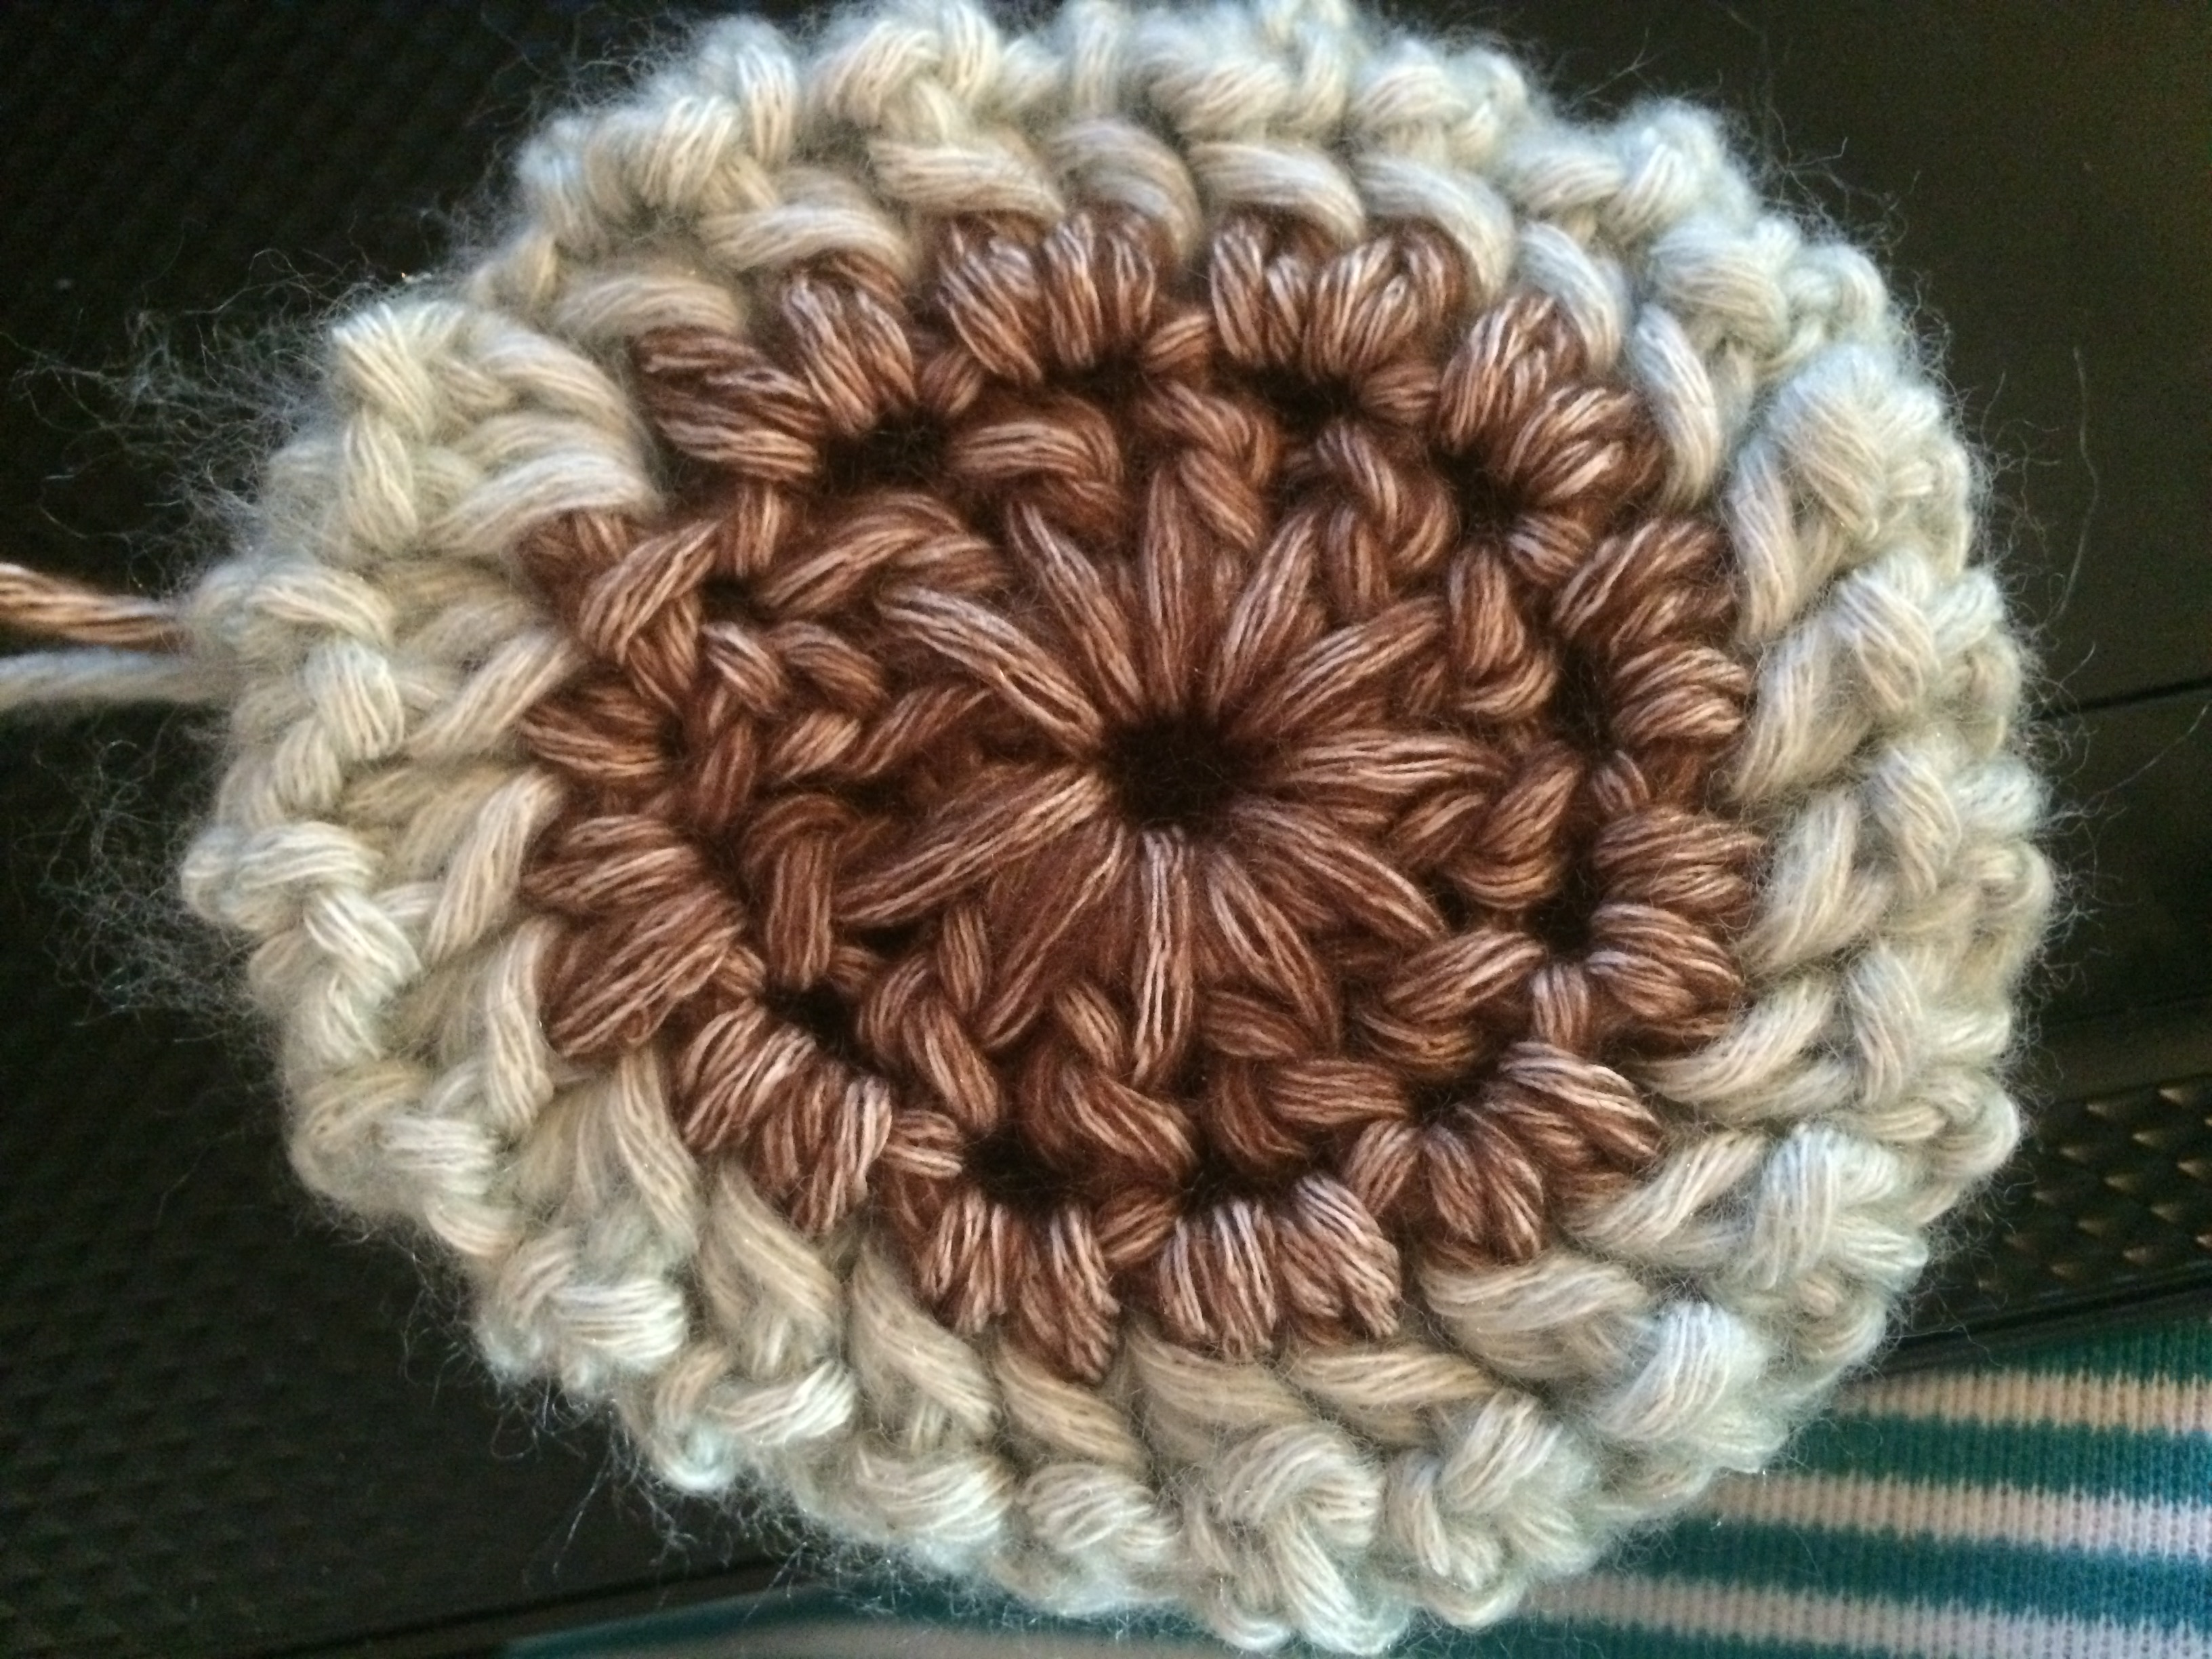
Round 5: Working into Round 3 behind stitches of Round 4, join A with sl st in first dc of any 3-dc group.  Ch 3, (2 dc in next st, dc in next st, ch 1, dc in next st) x 12, omitting last st, sl st to top of beg ch-3. Fasten off A. (48 dc, 12 ch)

Round 6: Join B with sc in any ch-1 sp, (fptr around fptr below in Round 4, sc in same sp as previous sc, ch 4, sc in next ch-1 sp) x 11, fptr around fptr below in Round 4, sc in same sp as previous sc, ch 4, sl st to first sc. Fasten off B. (12 tr, 24 sc, 12 ch-4 sp)

Round 7: Working into Round 5 behind stitches of Round 6, join A with sl st in first dc of any 4-dc group.  Ch 3, (dc in next st, 2 dc in next st, dc in next st, ch 1, dc in next st) x 12, omitting last st, sl st to top of beg ch-3. Fasten off A. (60 dc, 12 ch)

Round 8: Join B with sc in any ch-1 sp, (fptr around fptr below in Round 6, sc in same sp as previous sc, ch 5, sc in next ch-1 sp) x 11, fptr around fptr below in Round 6, sc in same sp as previous sc, ch 5, sl st to first sc. Fasten off B. (12 tr, 24 sc, 12 ch-5 sp)

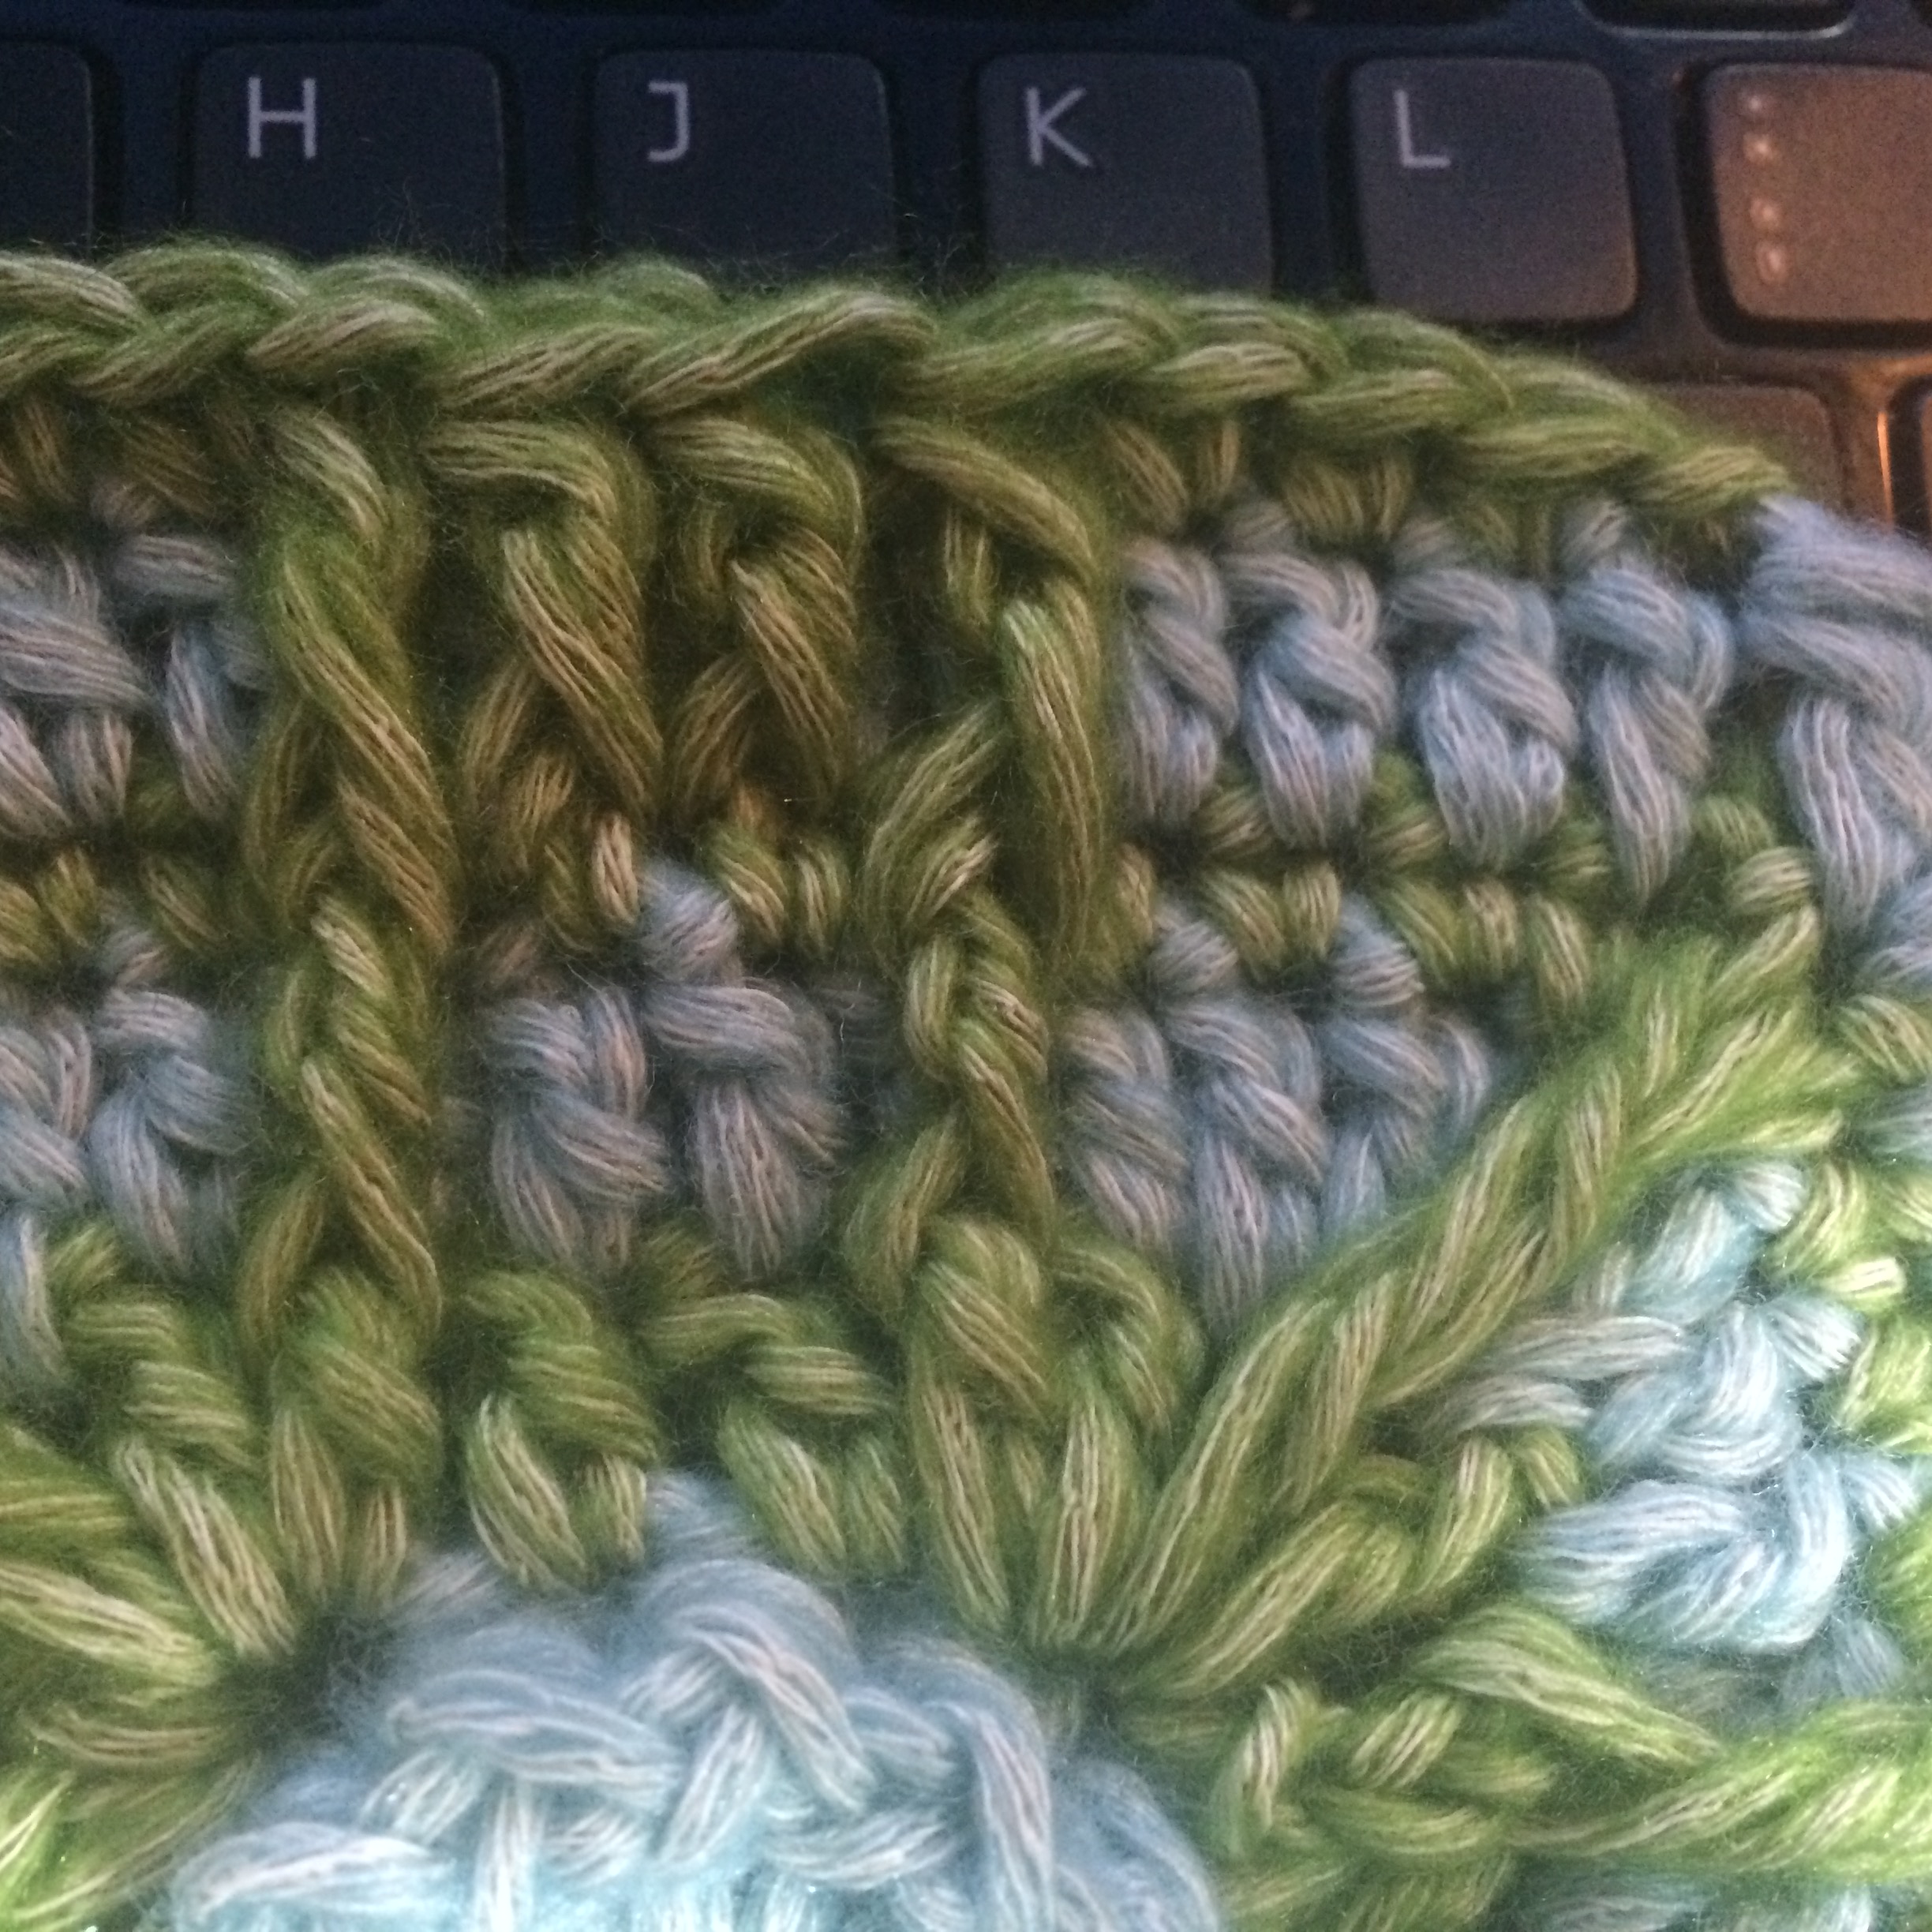
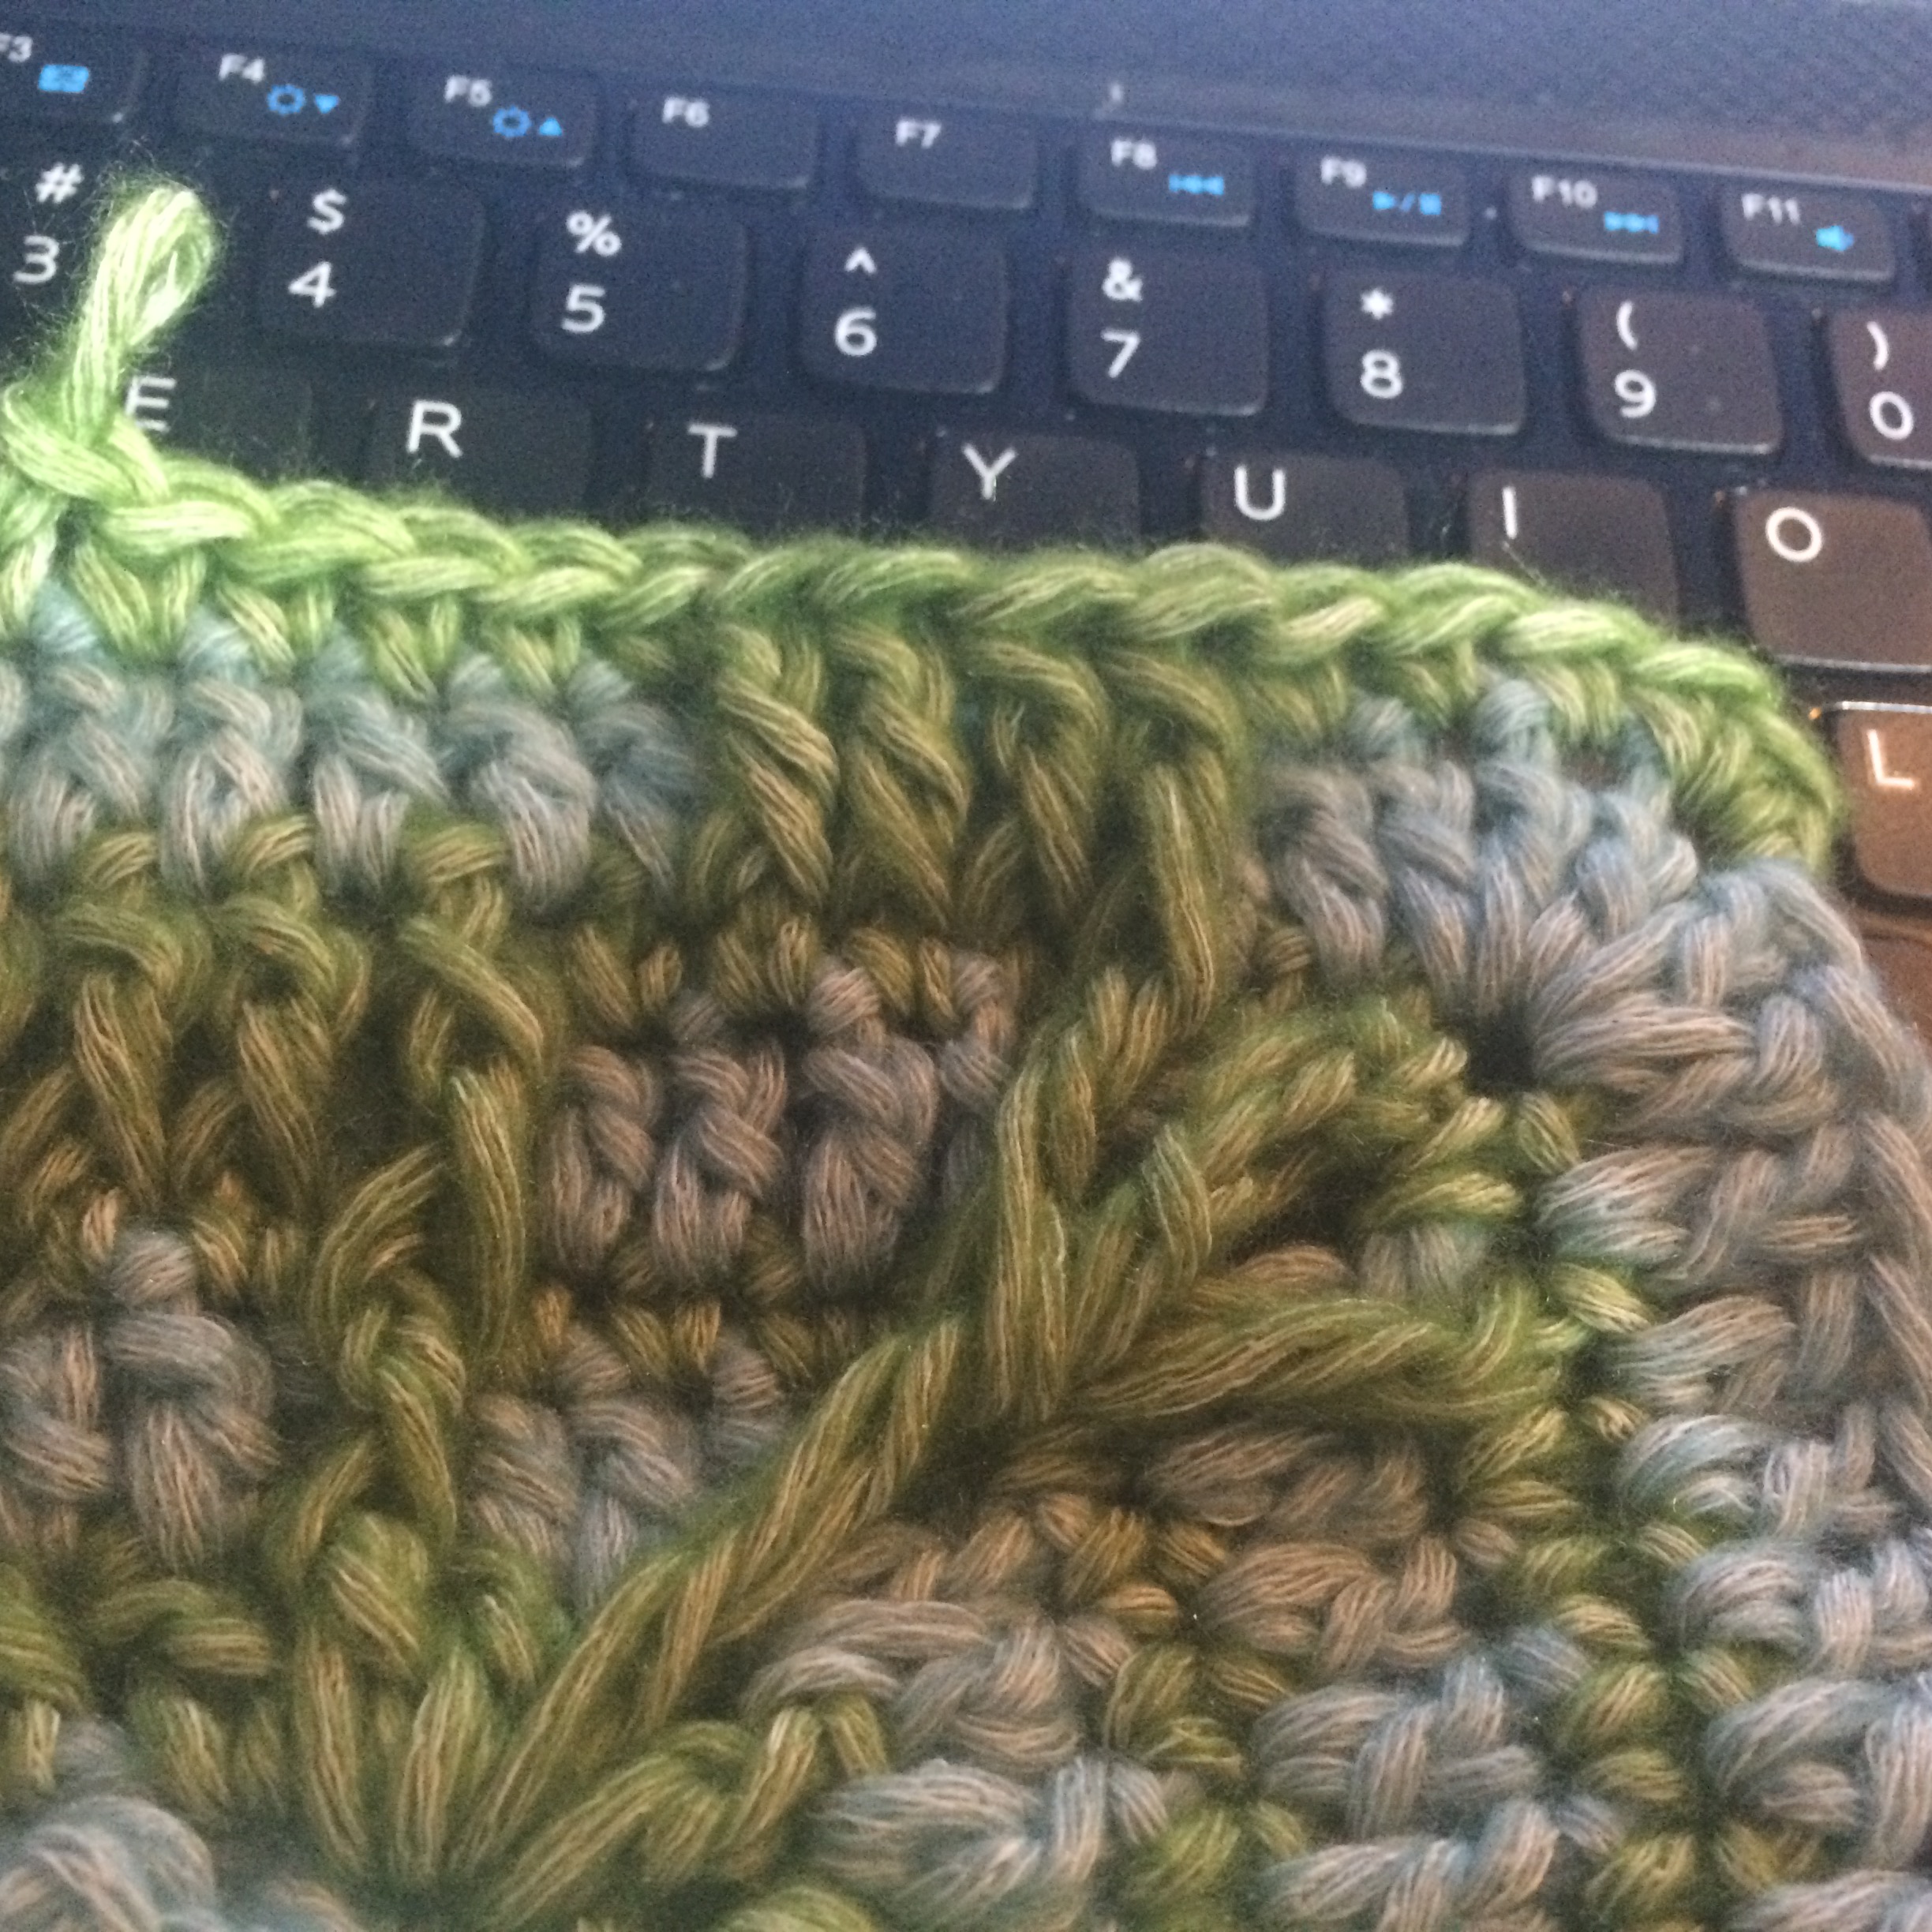
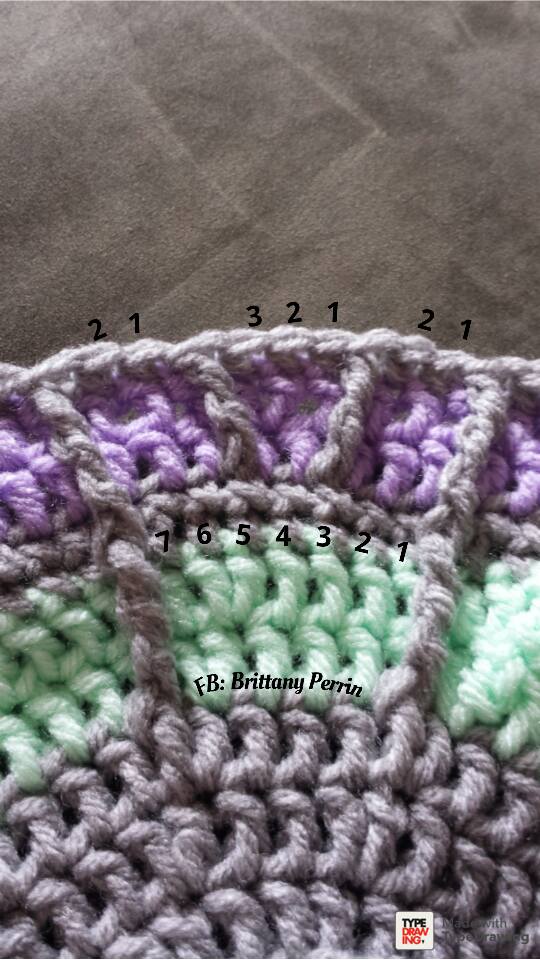
Round 9:  Working into Round 7 behind stitches of Round 8, join A with sl st in first dc of any 5-dc group.  Ch 3, hdc in next st, (sc, ch 1, sc) in next st, hdc in next st, dc in next st. *Dc in next fptr (of Round 8,) dc in next 2 st, (dc, ch 1, htr) in next st, tr in next 2 st.  (Tr, ch 1, tr) in next fptr (of Round 8), tr in next 2 st, (htr, ch 1, dc) in next st, dc in next 2 st,  dc in next fptr (of Round 8,)** dc in next st, hdc in next st (sc, ch 1, sc) in next st, hdc in next st, dc in next st.* Repeat * to * 2 times, * to ** once. Sl st to top of beg ch-3. Fasten off A.  (104 st incl ch)  There are 4 ch-1 sp on each side, 1 in the corner between trebles, then 3 more across.  Place Marker in the third ch-1 sp, the one between the dc and htr.

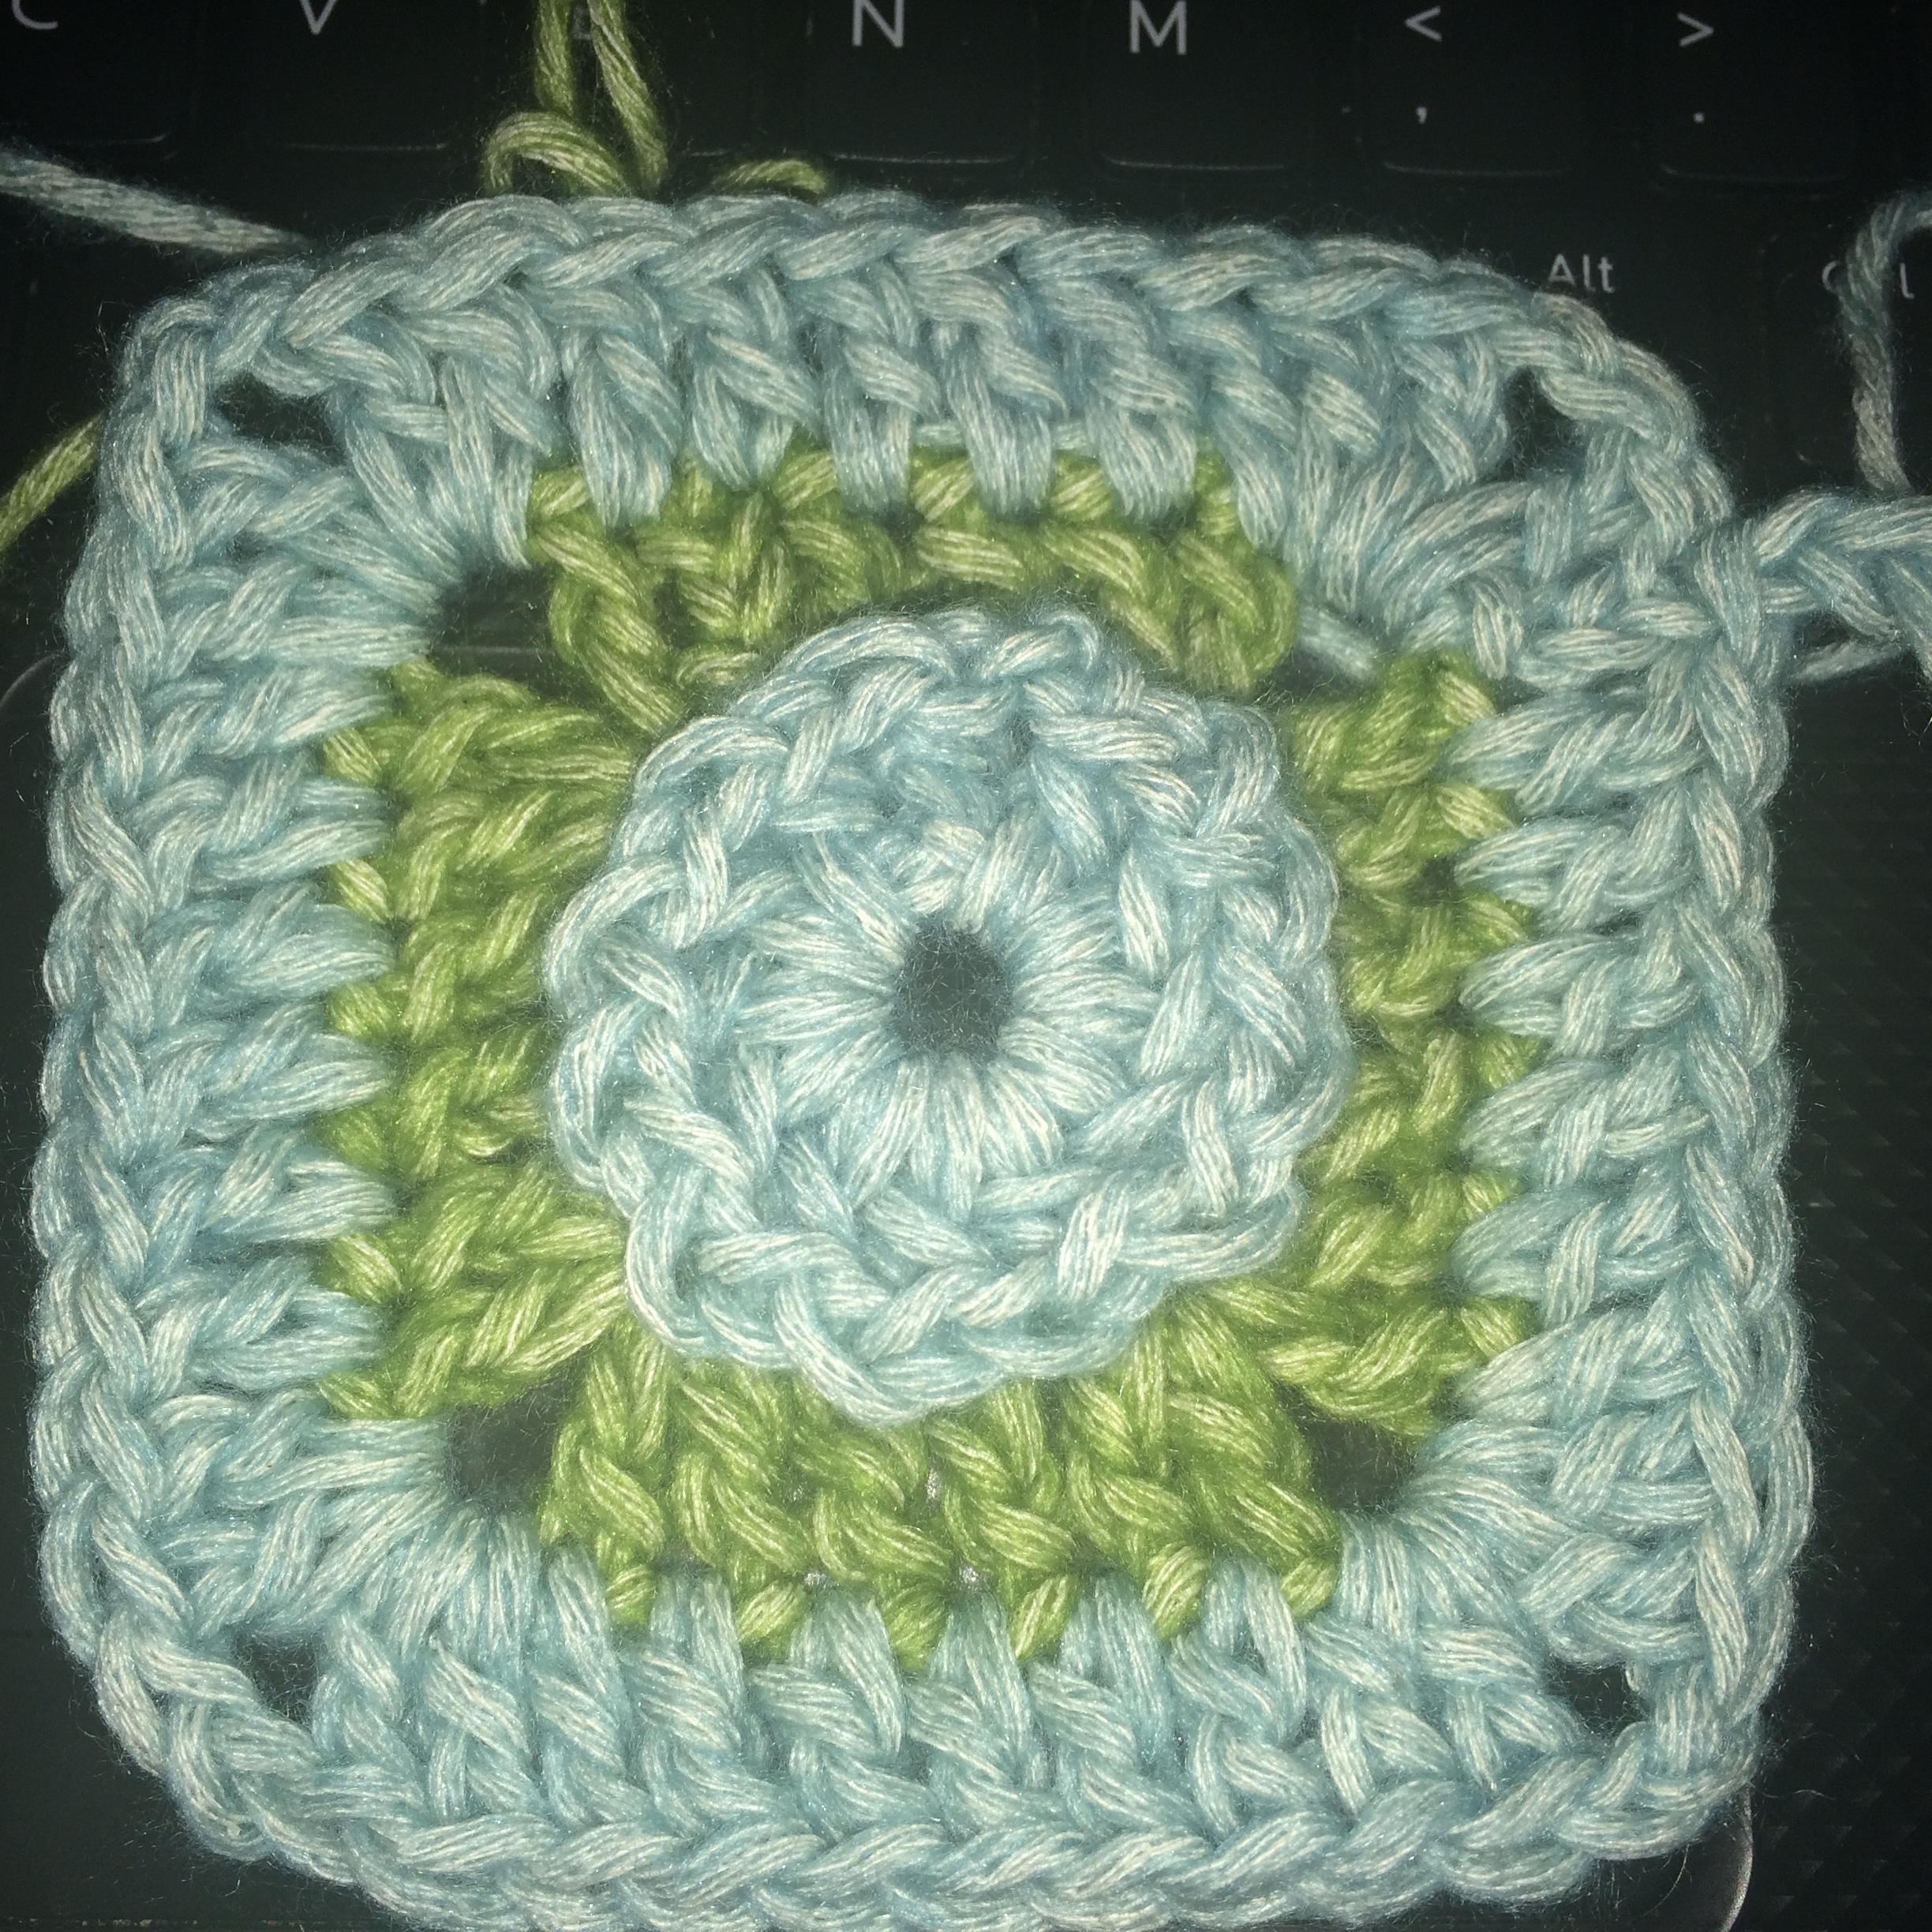
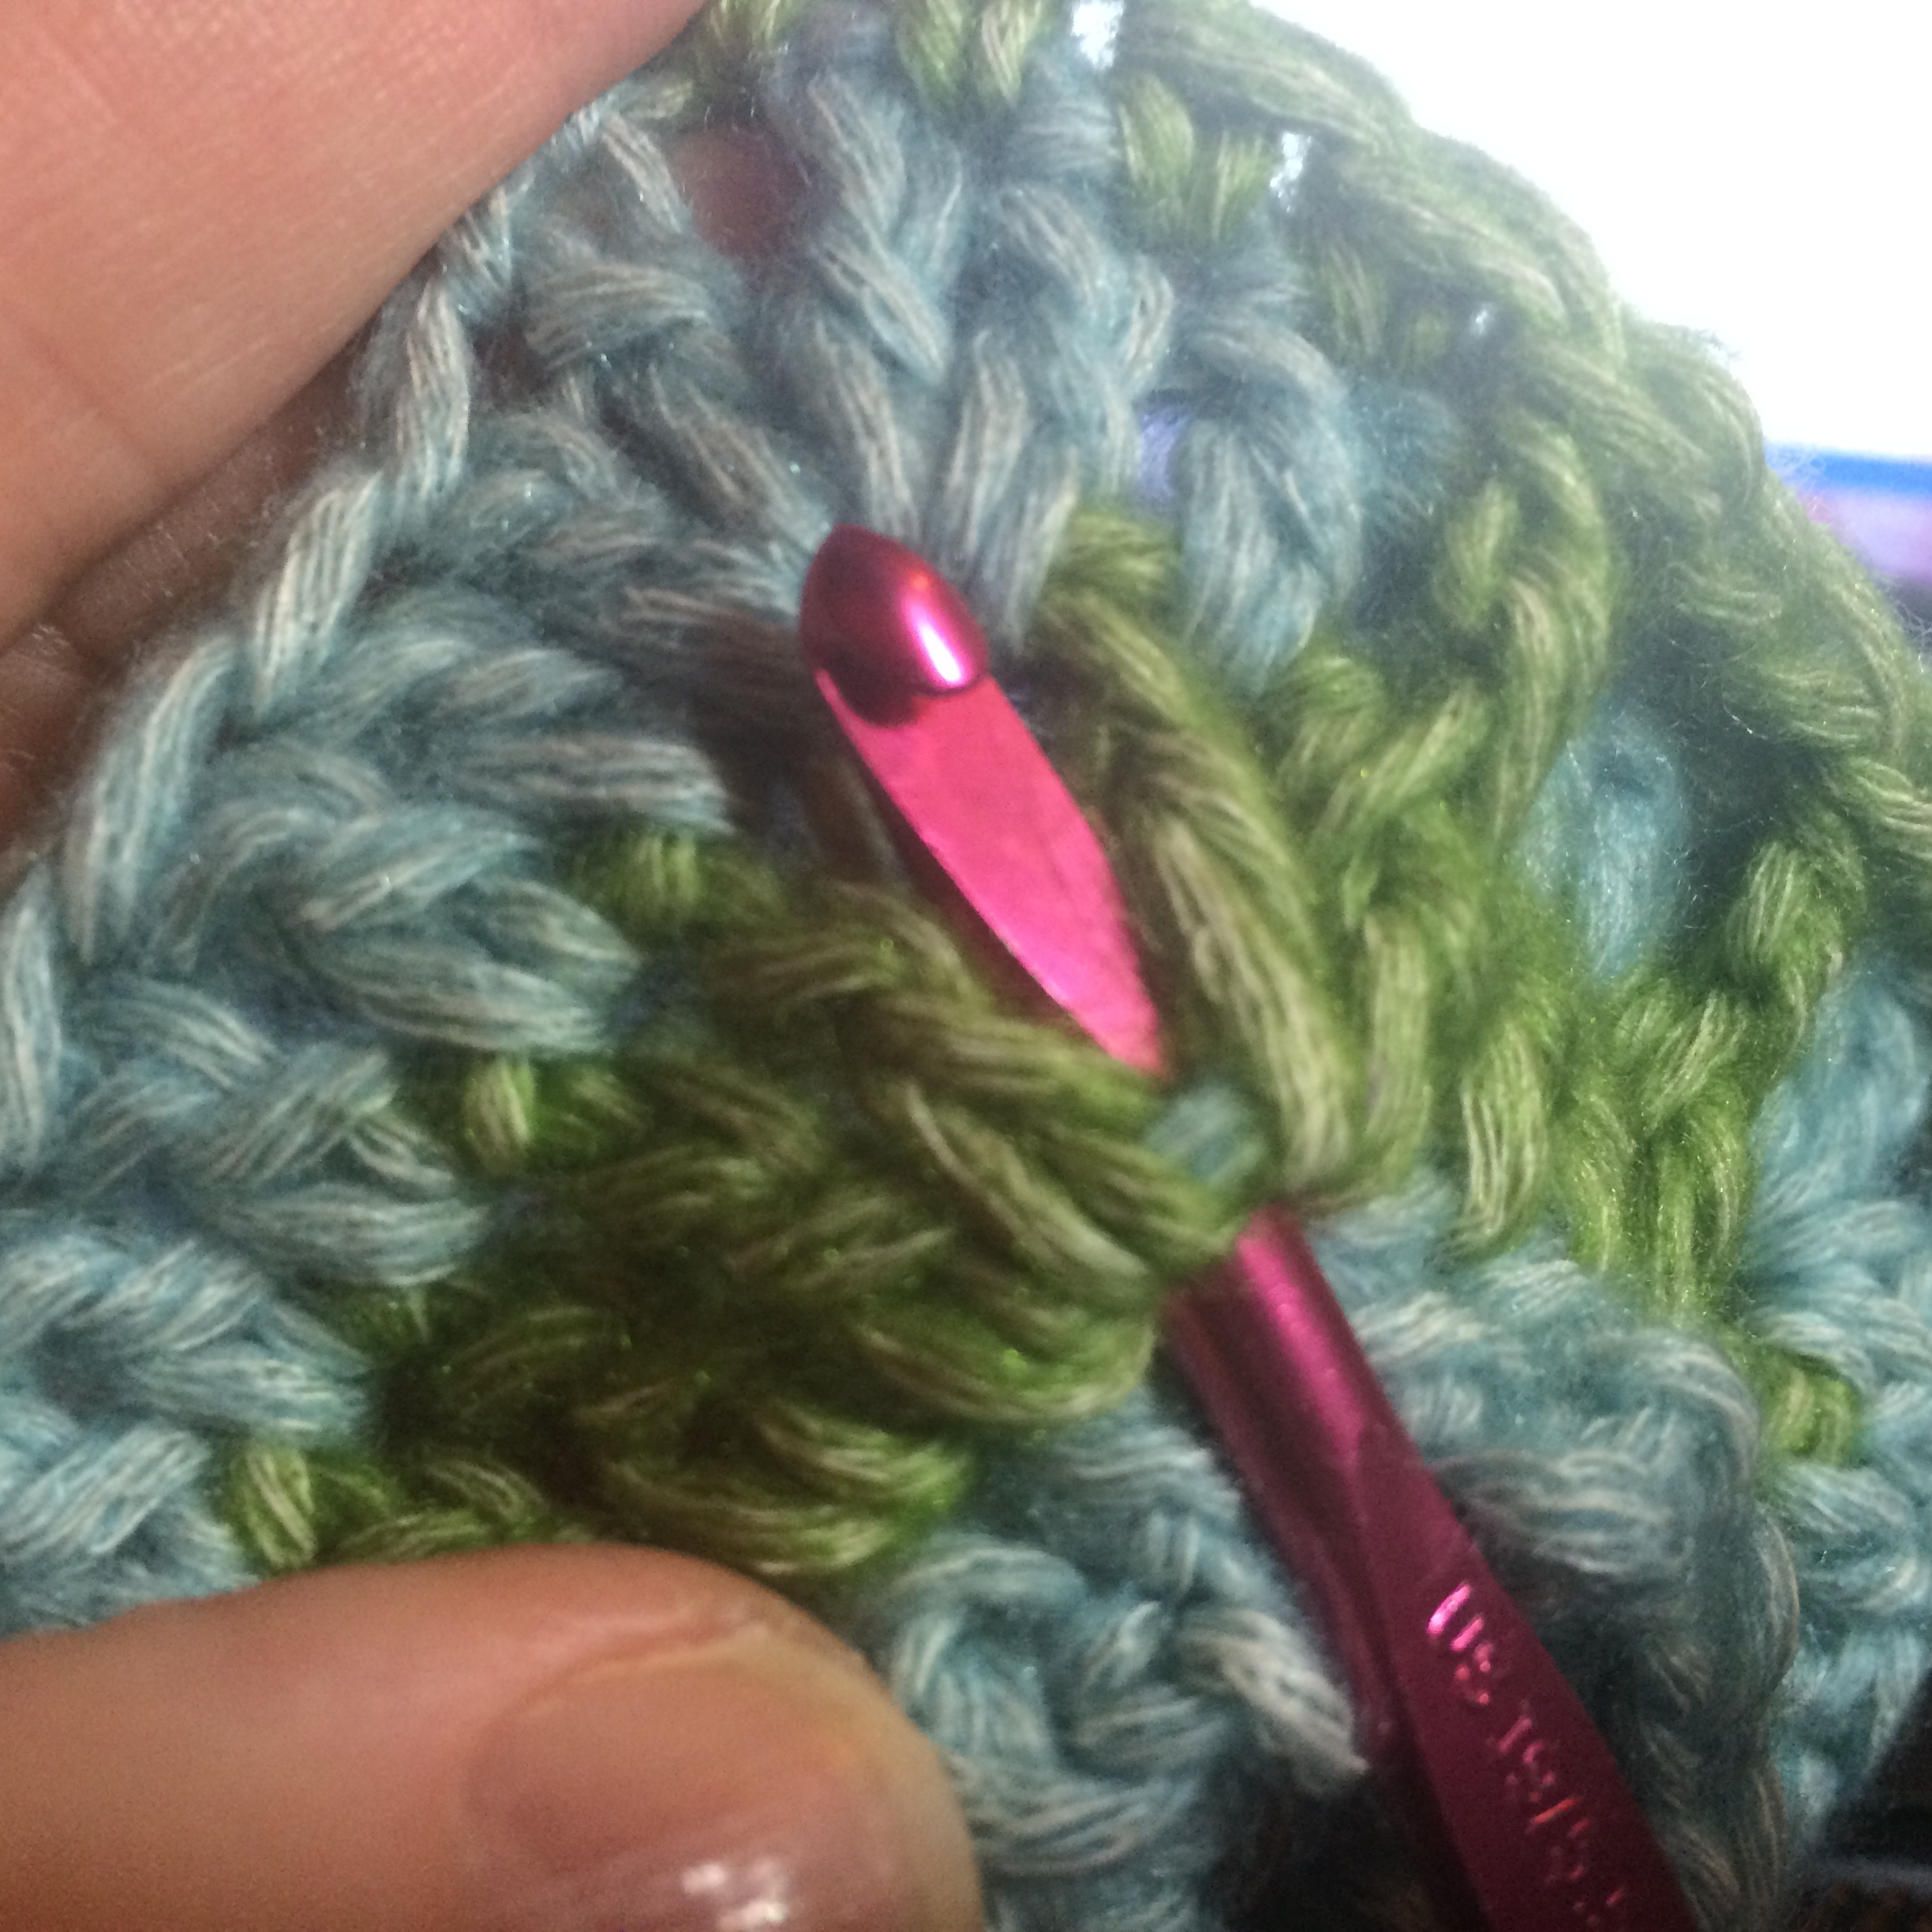
Round 10: Join B with sc in marked ch-1 sp, *fptr around fptr to the right in Round 8, fptr around fptr to the left in Round 8, sc in same sp as previous sc, ch 9, sk next 9 st (ch is a st), sc in next ch-1 sp, (fptr around fptr to the right in Round 8, fptr around fptr to the left in Round 8, sc in same sp as previous sc, ch 6, sk next 7 st**, sc in next ch-1 sp) twice.* Repeat * to * two times and * to ** once . Sl st to first sc. Fasten off. (24 sc, 4 ch-9 sp, 8 ch-6 sp, 24 fptr)

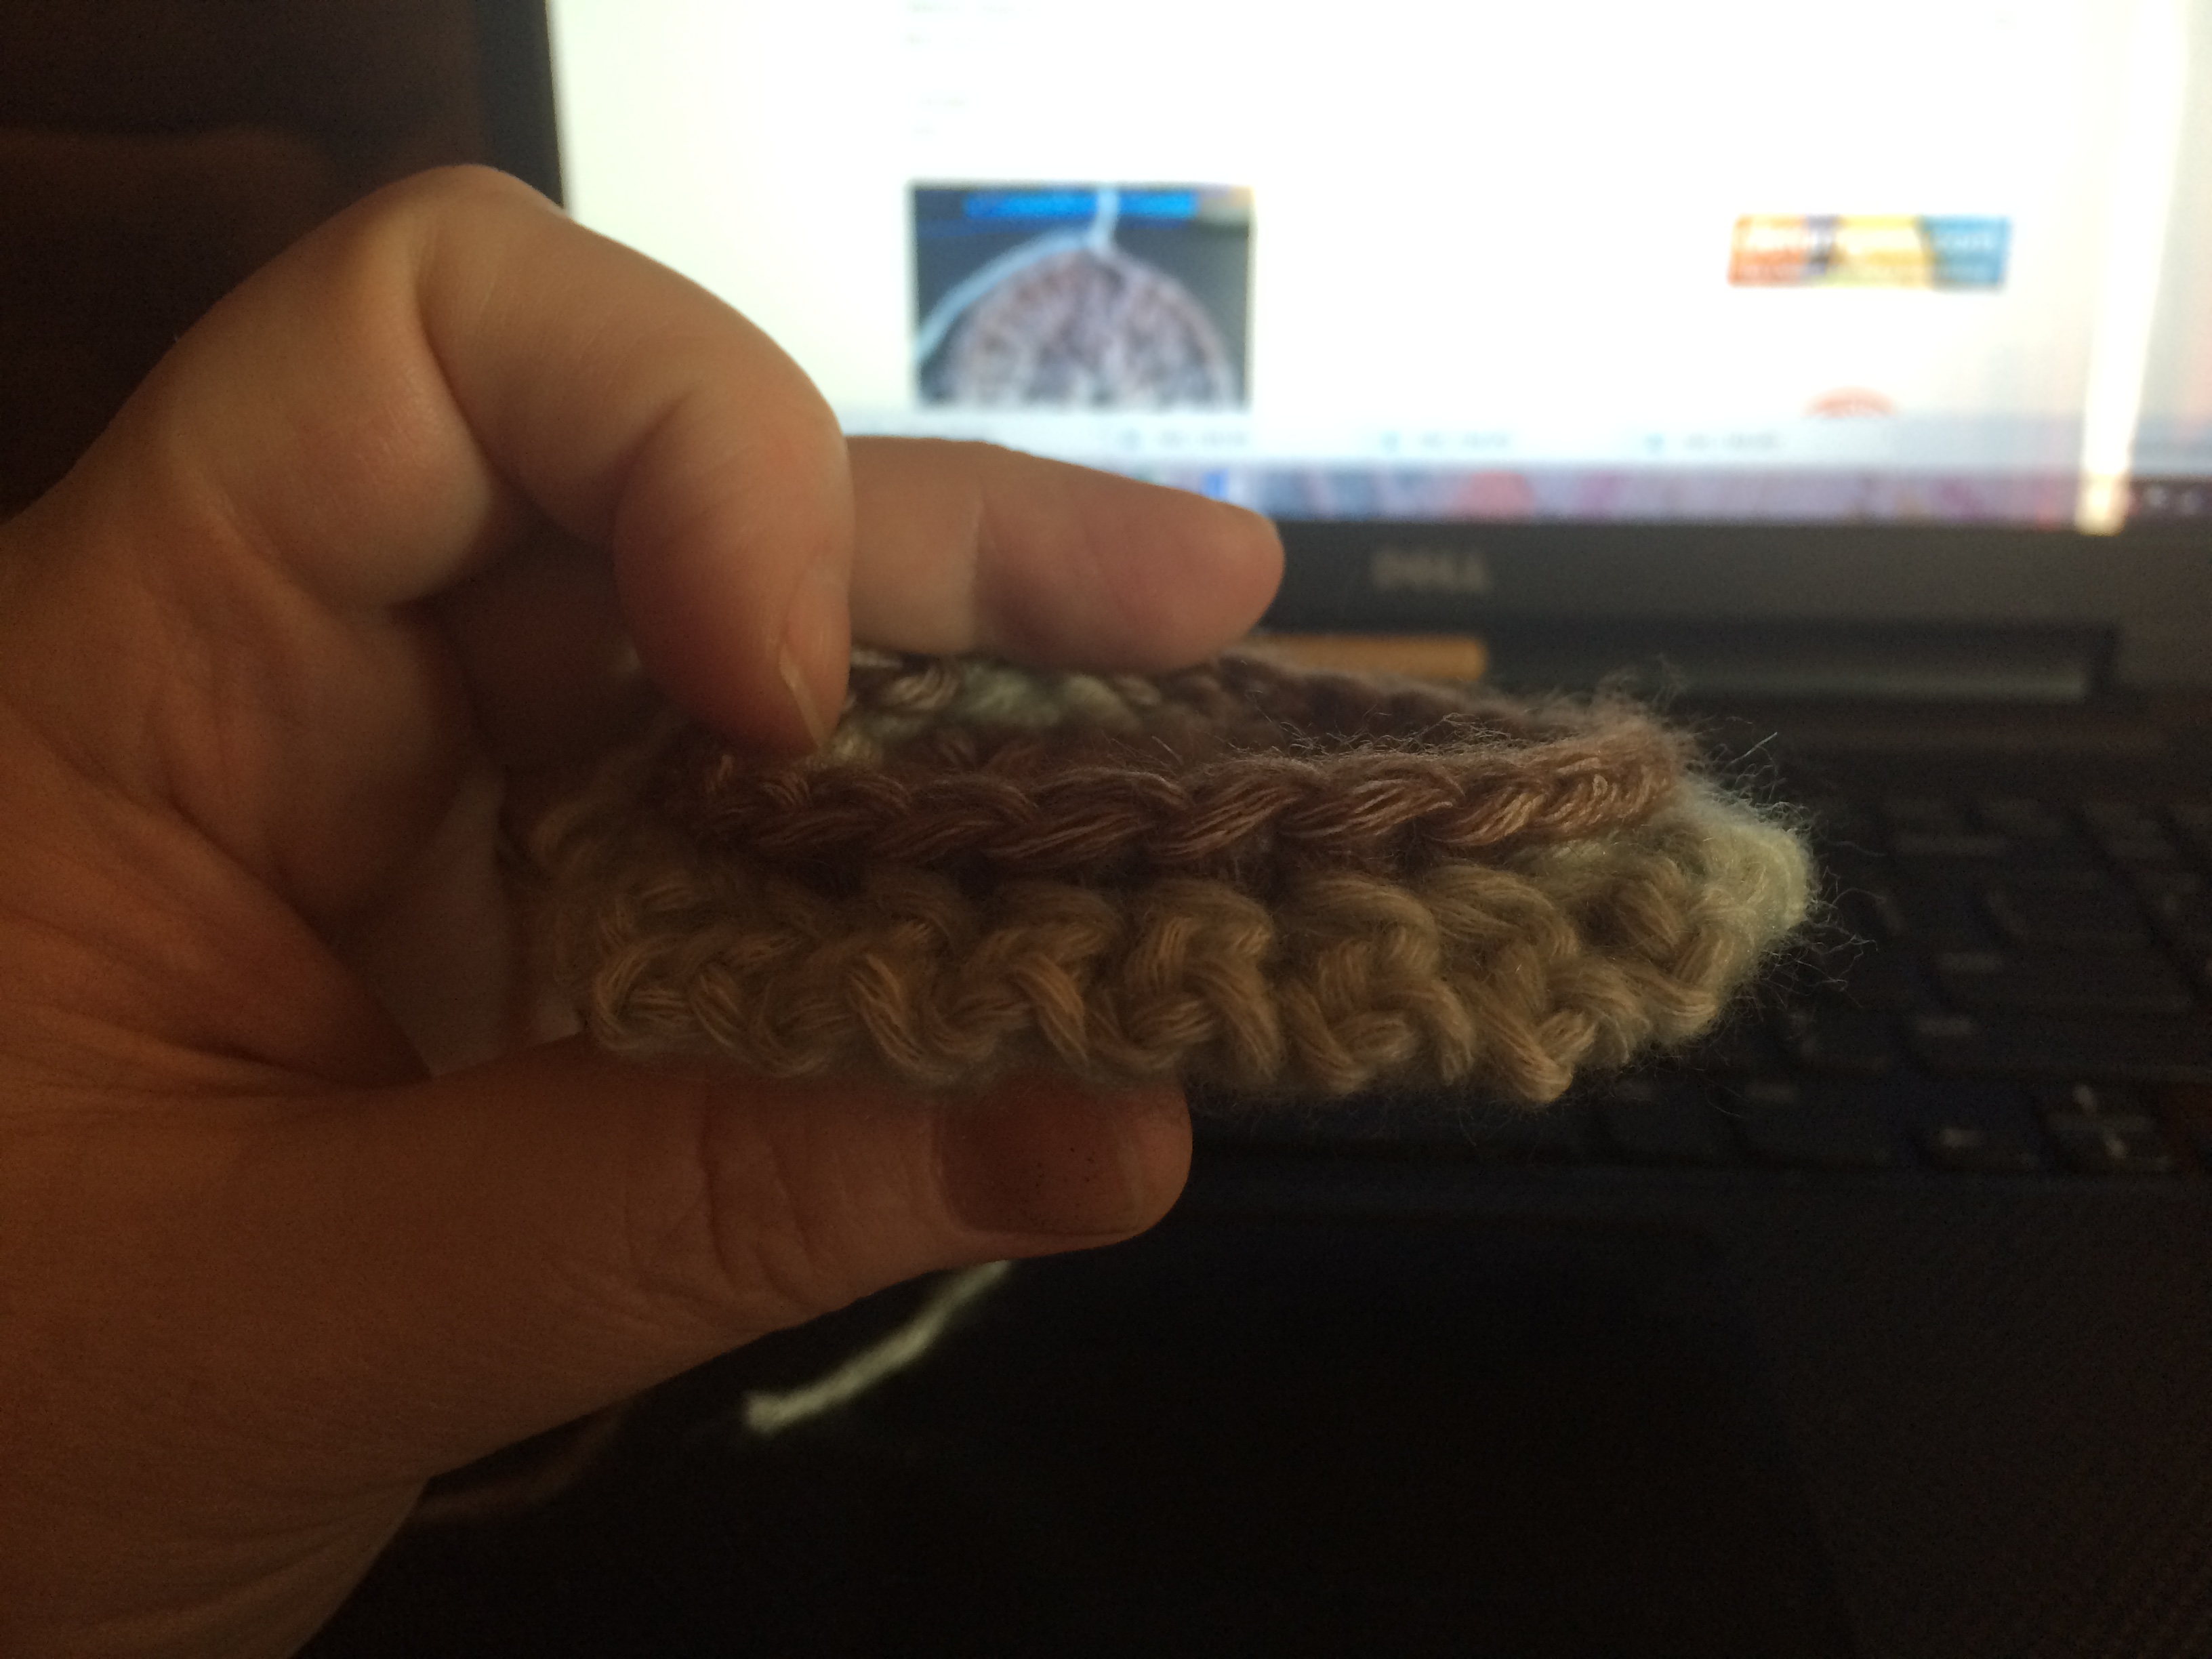
Round 11:  This round will be worked into the stitches of Round 9, working in front of the stitches of Round 10 unless specified.  Join A with sl st in any corner ch-1 sp (between the 2 tr.)  Ch 6 (counts as dc and ch-3), dc in same sp, working around and enclosing ch-9 sp from Round 10.  [Working in front of Round 10 loop, dc in next 4 st.  Fpdc around 2 fptr of Round 10 below at the point where they meet. Hdc in next st, sc in next 5 st, sk 1 st, fpsc around 2 fptr below at the point where they meet, sk 1 st, sc in next 5 st, hdc in next st, fpdc around 2 fptr below at the point where they meet, dc in next 4 st, (dc, ch 3, dc) in next ch-1 sp, working around and enclosing the ch-9 sp from Round 10,] x 4, omitting last corner.  Sl st to 3rd ch of beg ch-6.  (112 st incl ch)

Piece measures about 8.5 inches now.

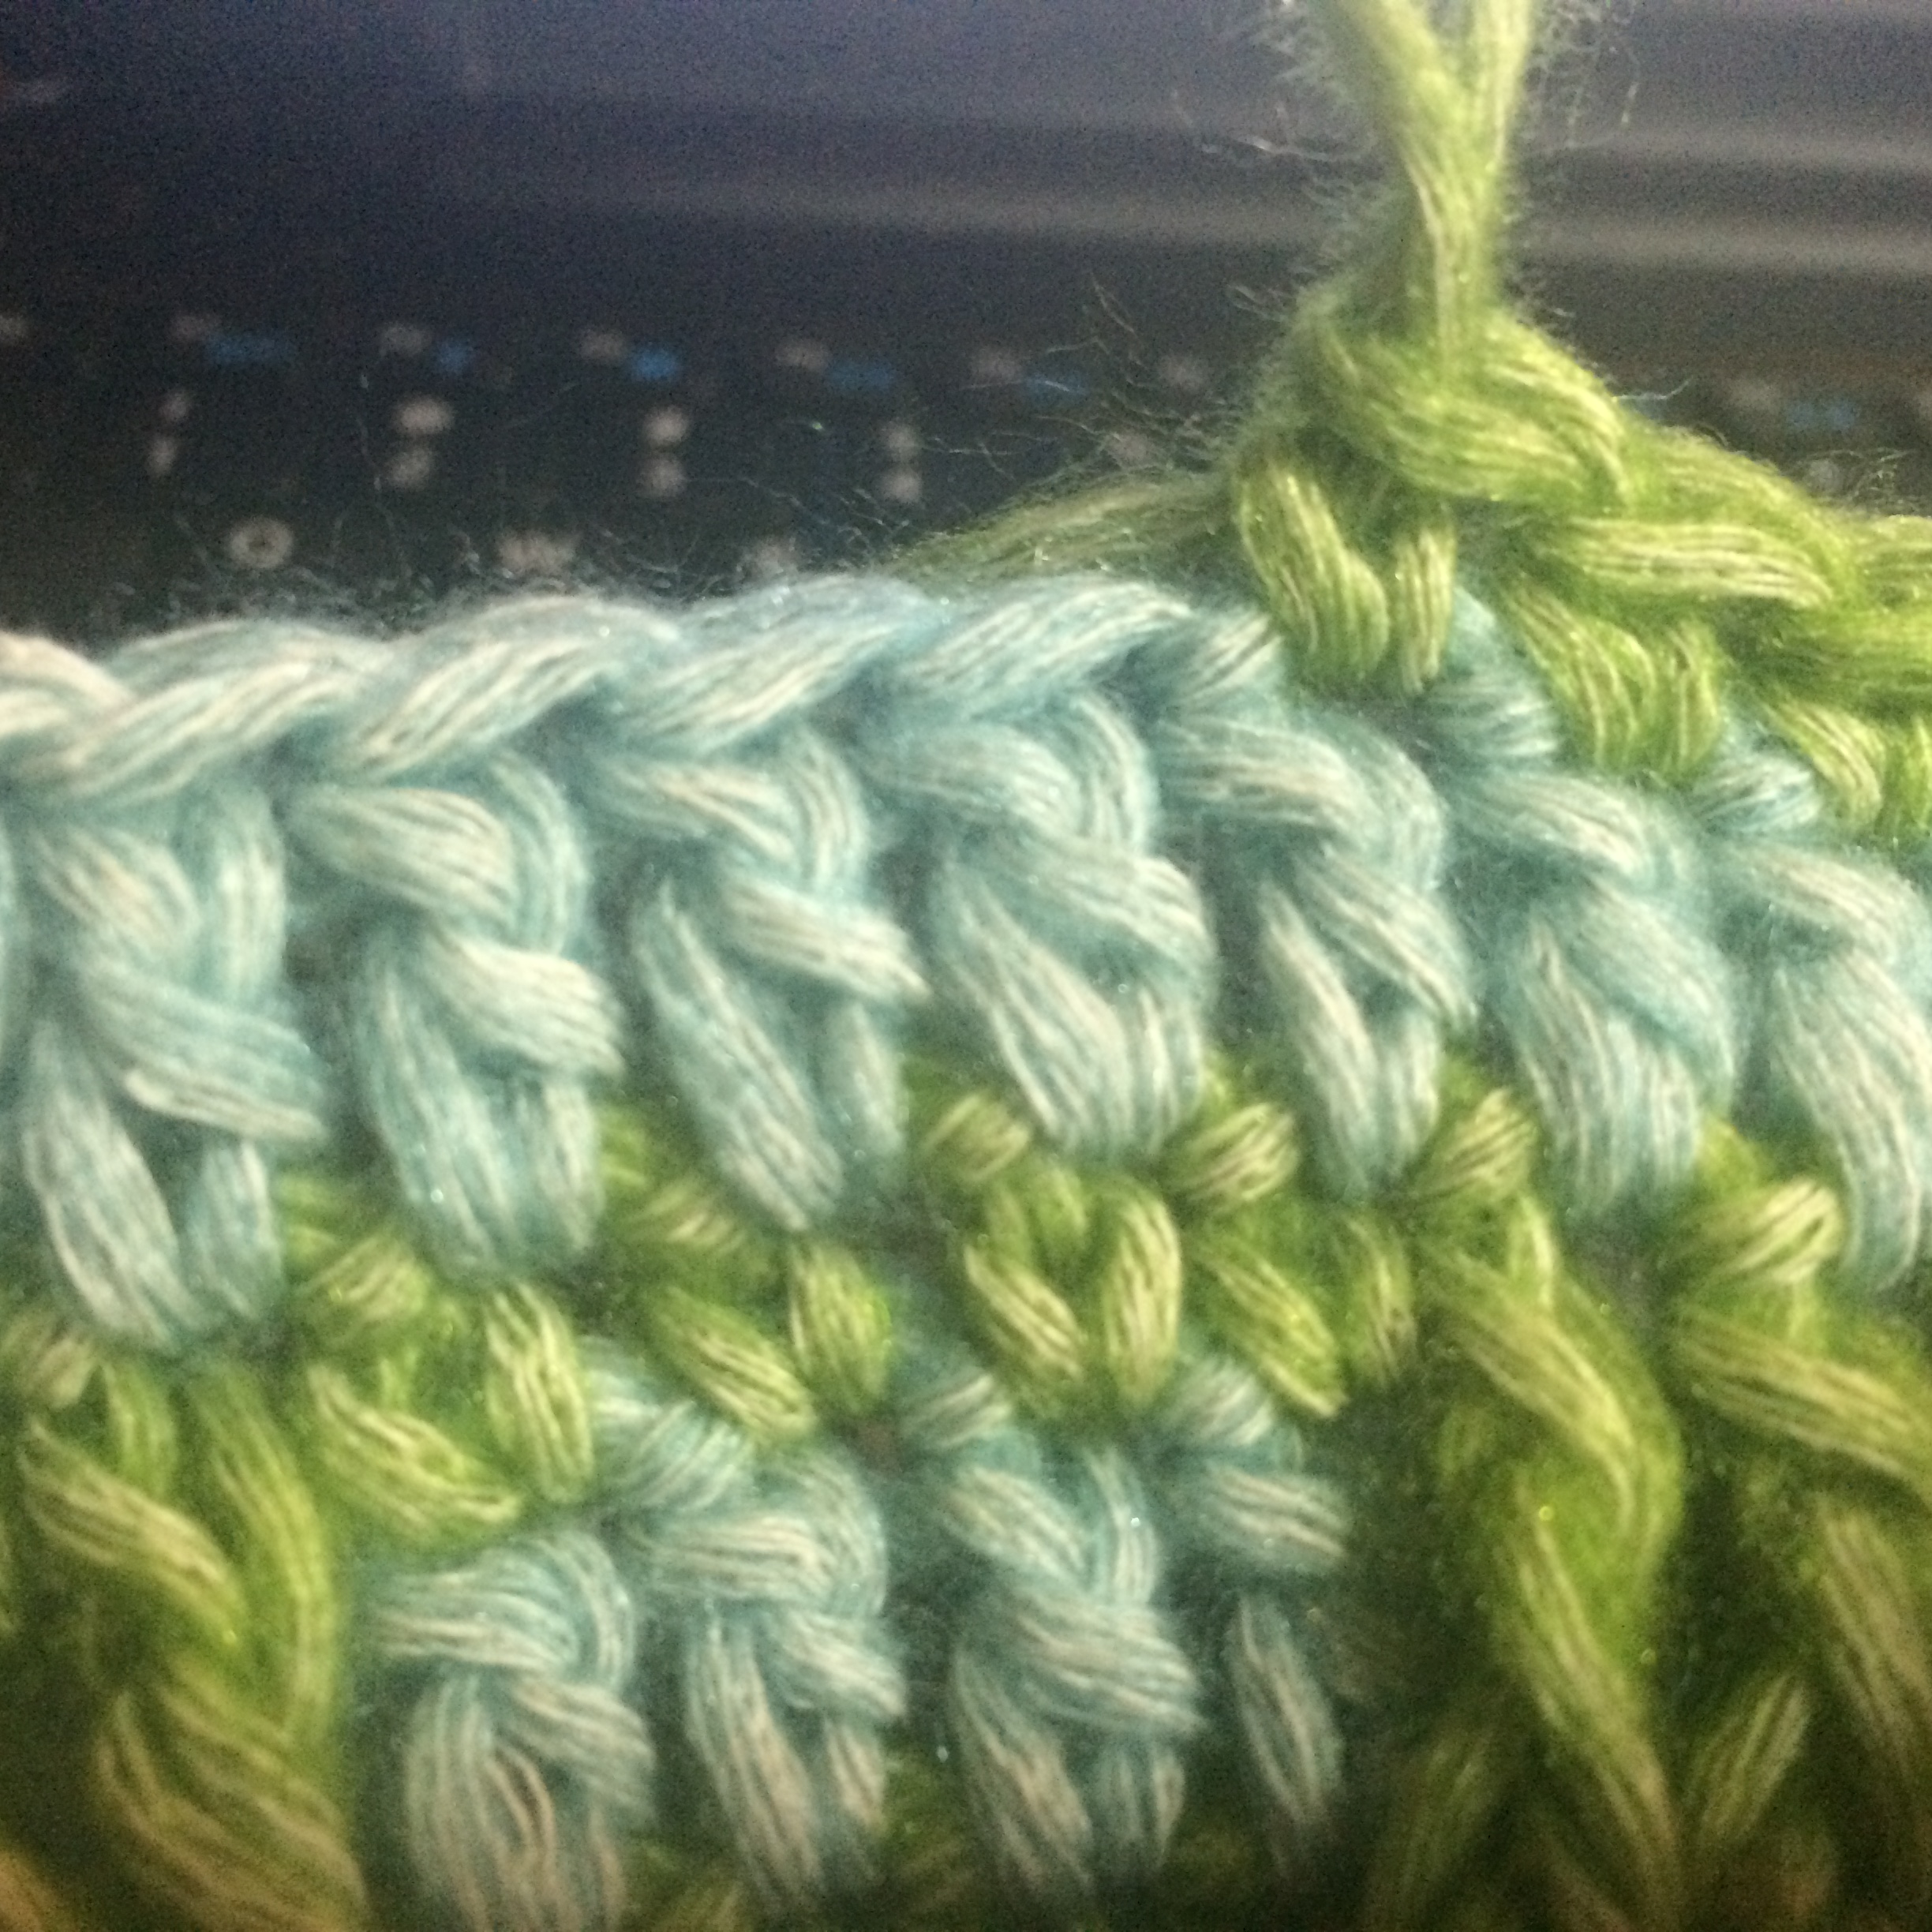
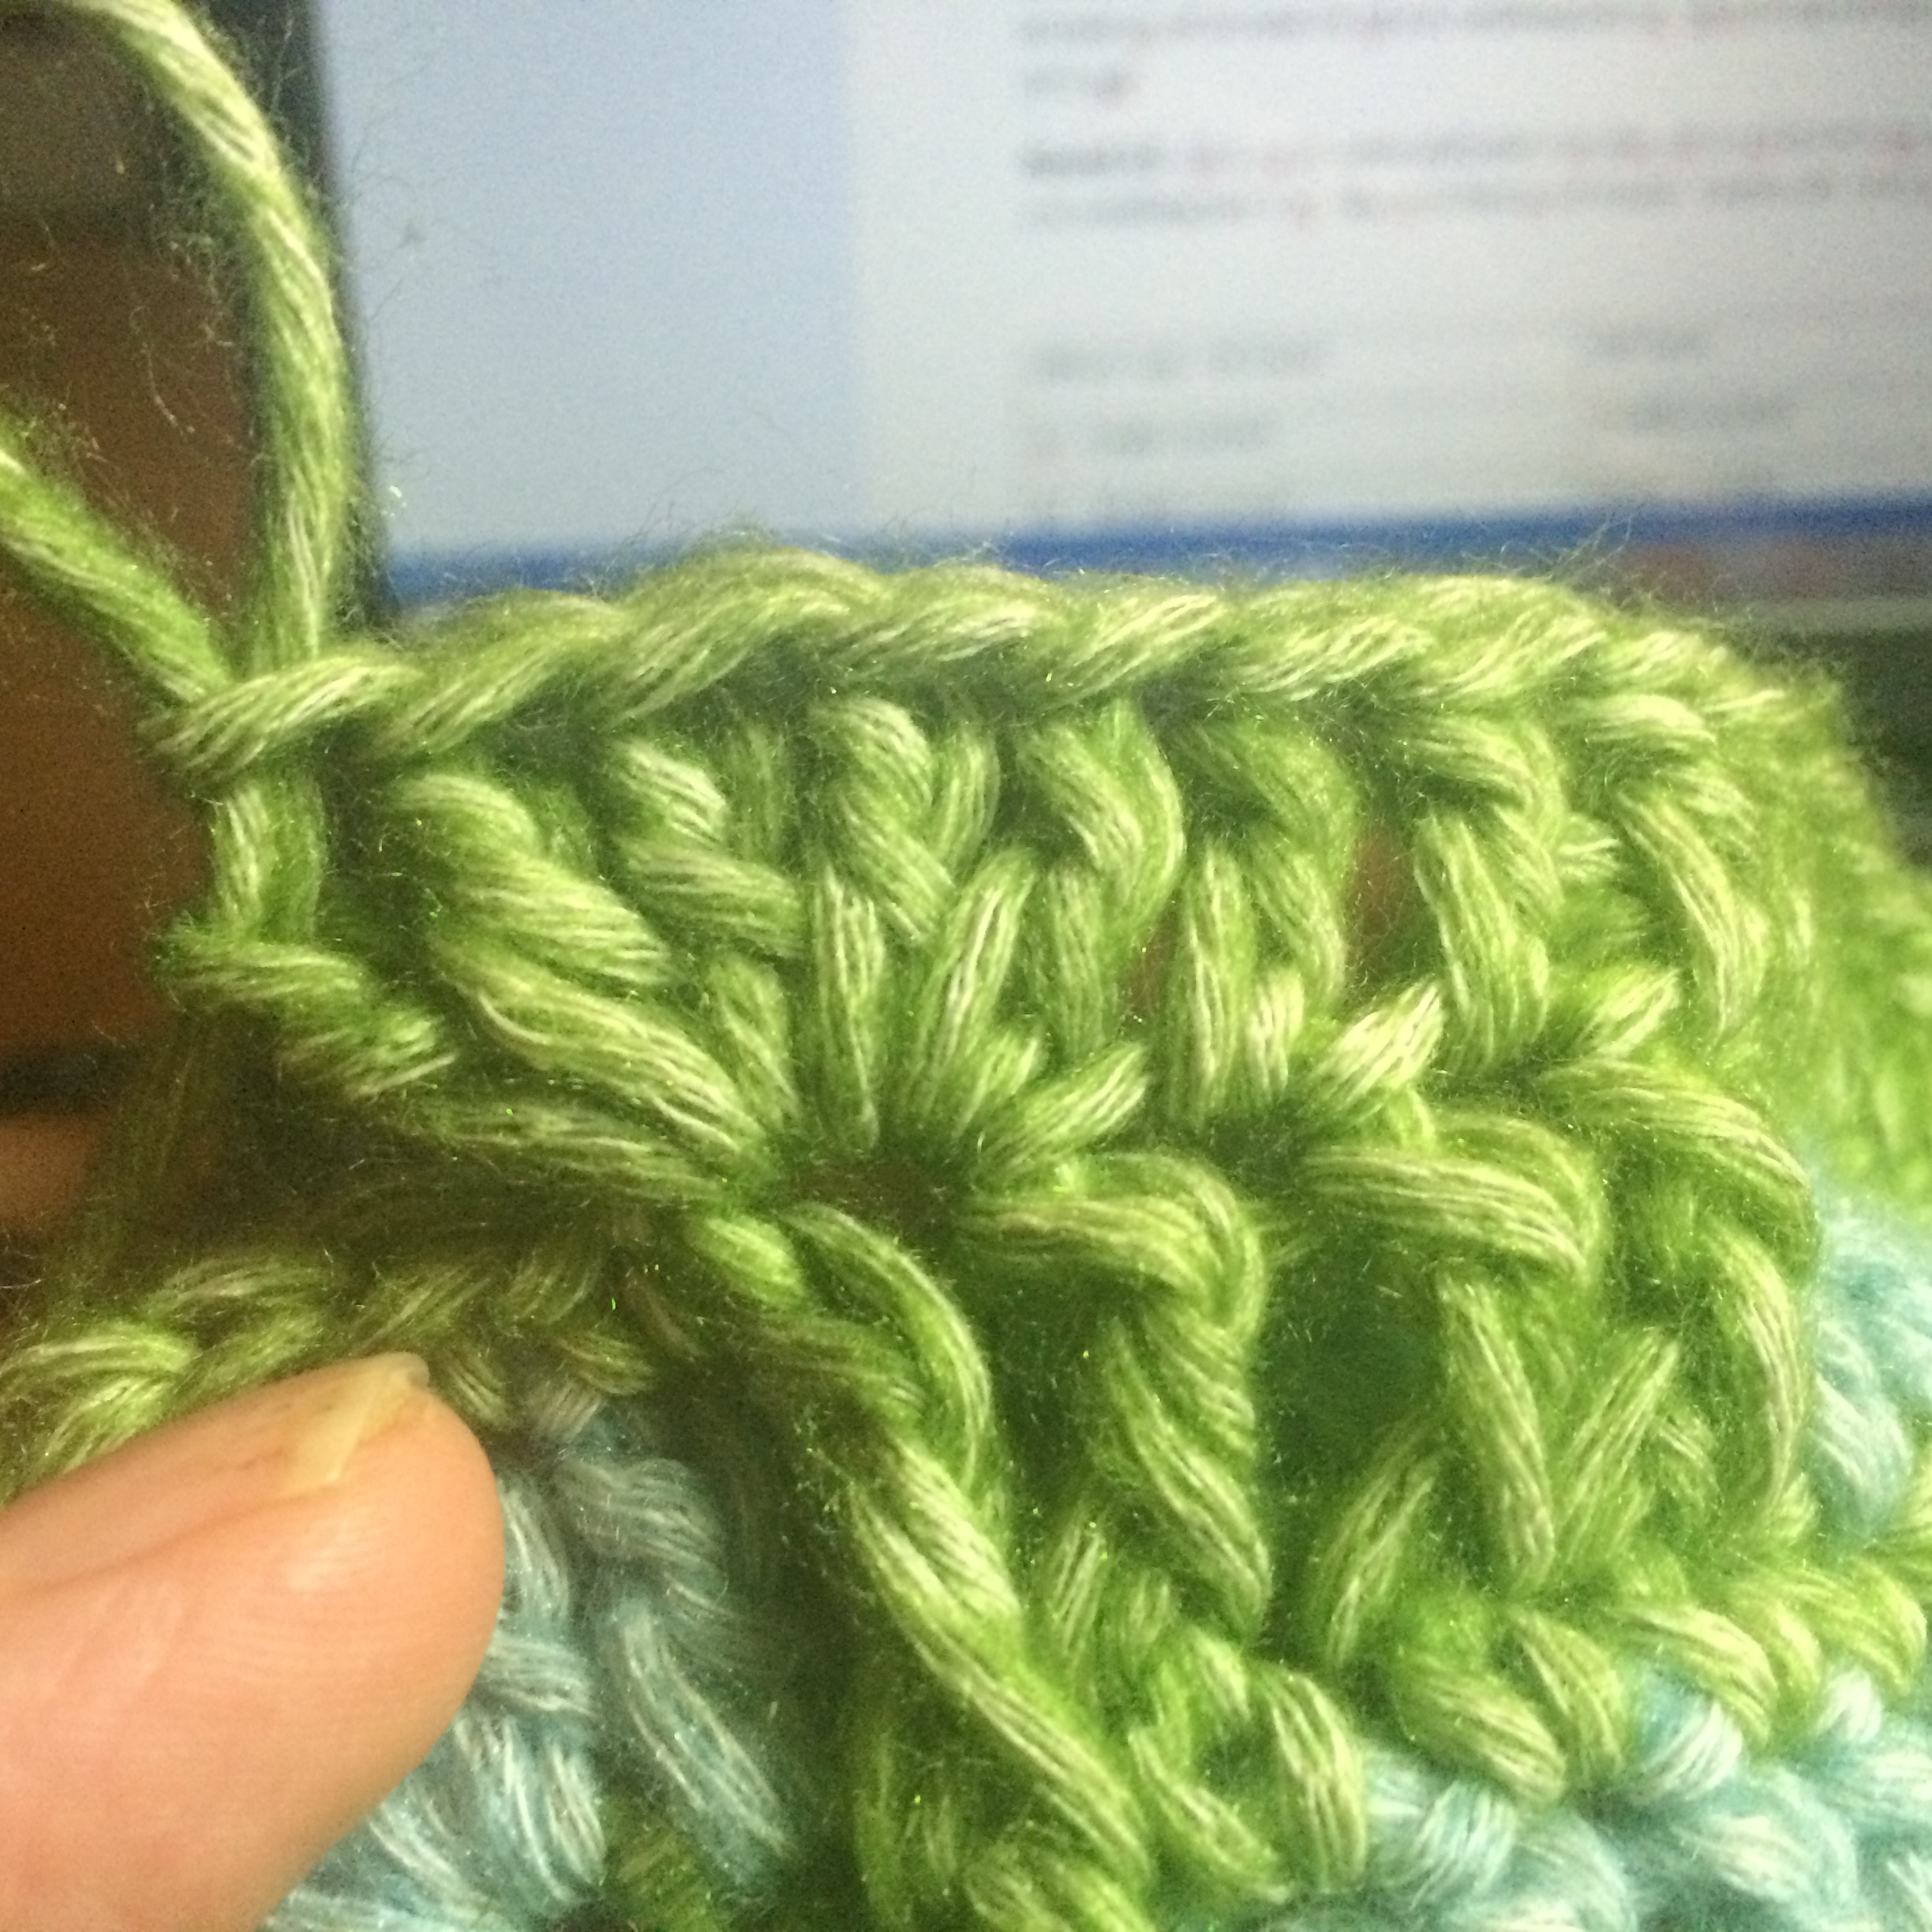
Round 12: Ch 3, [(2 dc, ch 2, 2 dc) in next sp, dc in next 25 st] x 4, omitting last st. Sl st to top of beg ch-3. Fasten off. (116 dc, 8 ch)

Round 13: Join B with sc in any ch-2 sp, ch 2, sc in same sp, [(ch 1, sk 1, sc in next st) x 14, ch 1, (sc, ch 2, sc) in next sp] x 4, omitting last corner,  sl st to beg sc. Fasten off. (64 sc, 60 ch-1 sp, 4 ch-2 sp, )

Round 14: Join C with sc in any corner ch-2 sp.  Ch 2, sc in same sp. [(Ch 1, sk next sc, hdc in next st of Round 12 that had been skipped in last round) x 15, ch 1, sk next sc, (sc, ch 2, sc) in next ch-2 sp for corner] x 4, omitting last corner.  Sl st to first sc of round, fasten off.  (60 hdc, 8 sc, 4 ch-2 sp, 64 ch-1 sp)

Round 15:  Join A with sl st in any ch-2 corner sp.  [(Ch 3, dc, ch 2, 2 dc) in same sp.  (2 dc in next ch-1 sp) x 16, (2 dc, ch 2, 2dc) in corner sp] x 4, omitting last corner. Sl st to top of beg ch-3, fasten off.  (144 dc, 4 ch-2 sp)
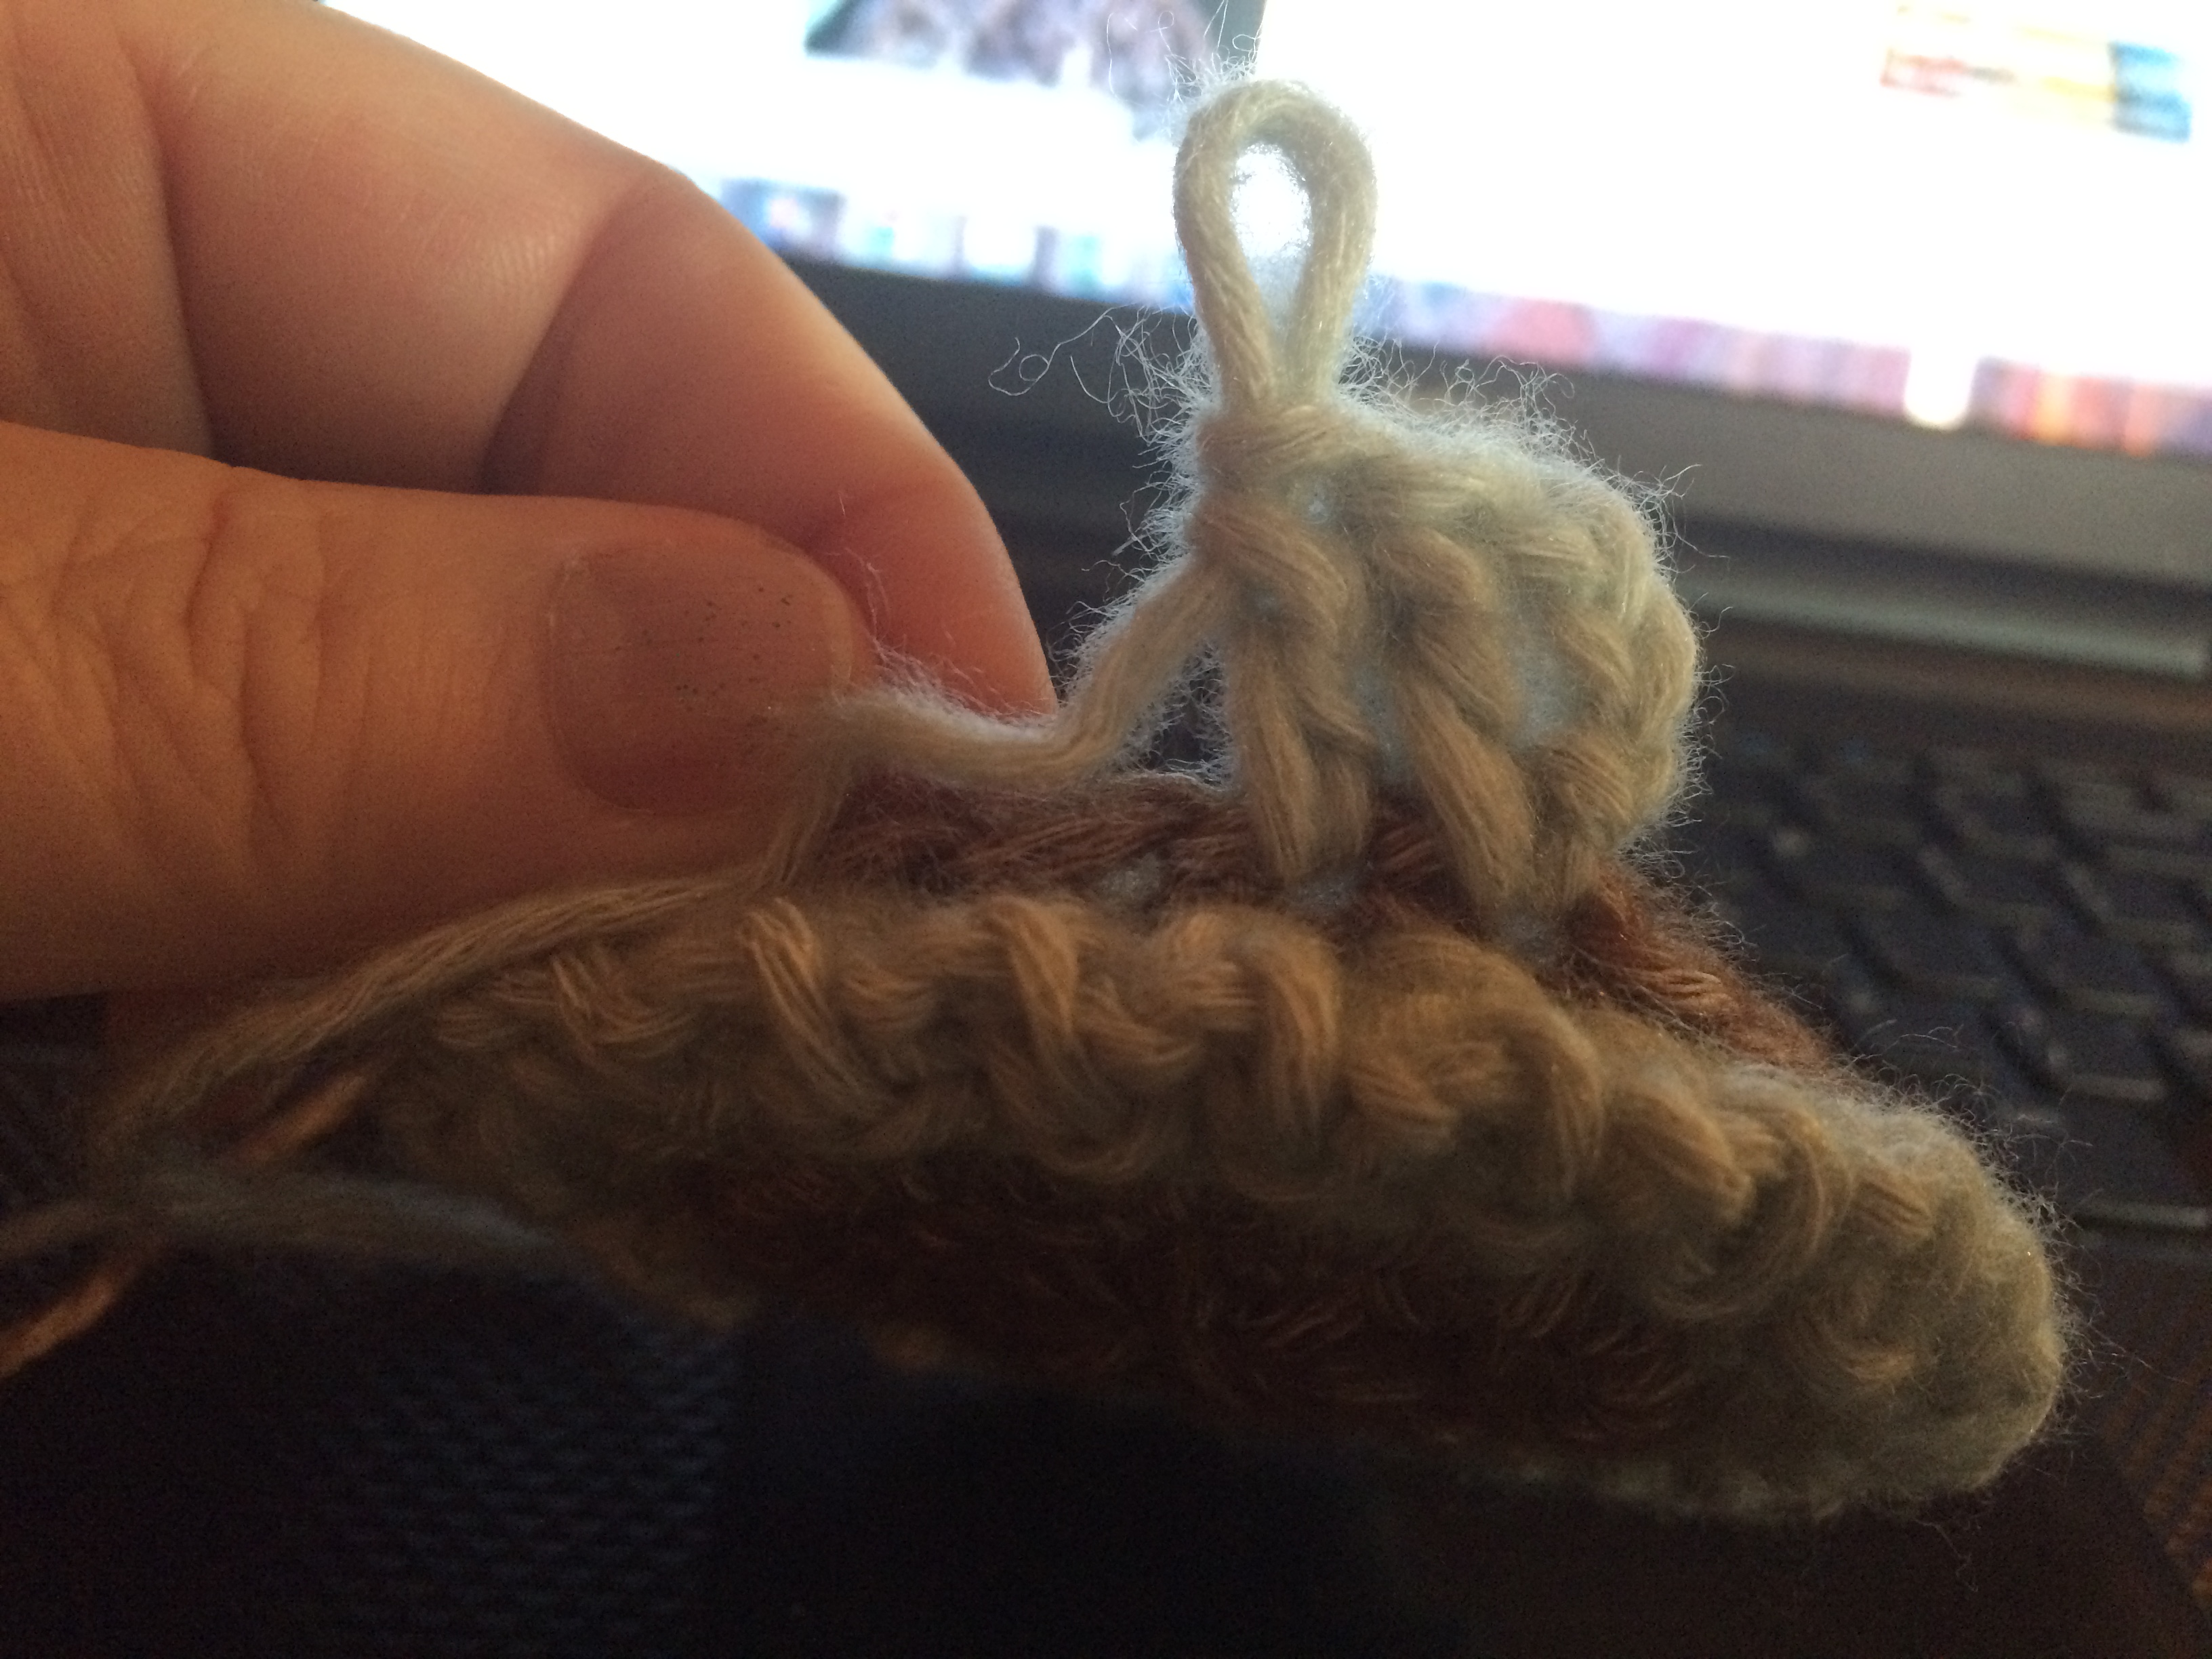
 

Spider Applique

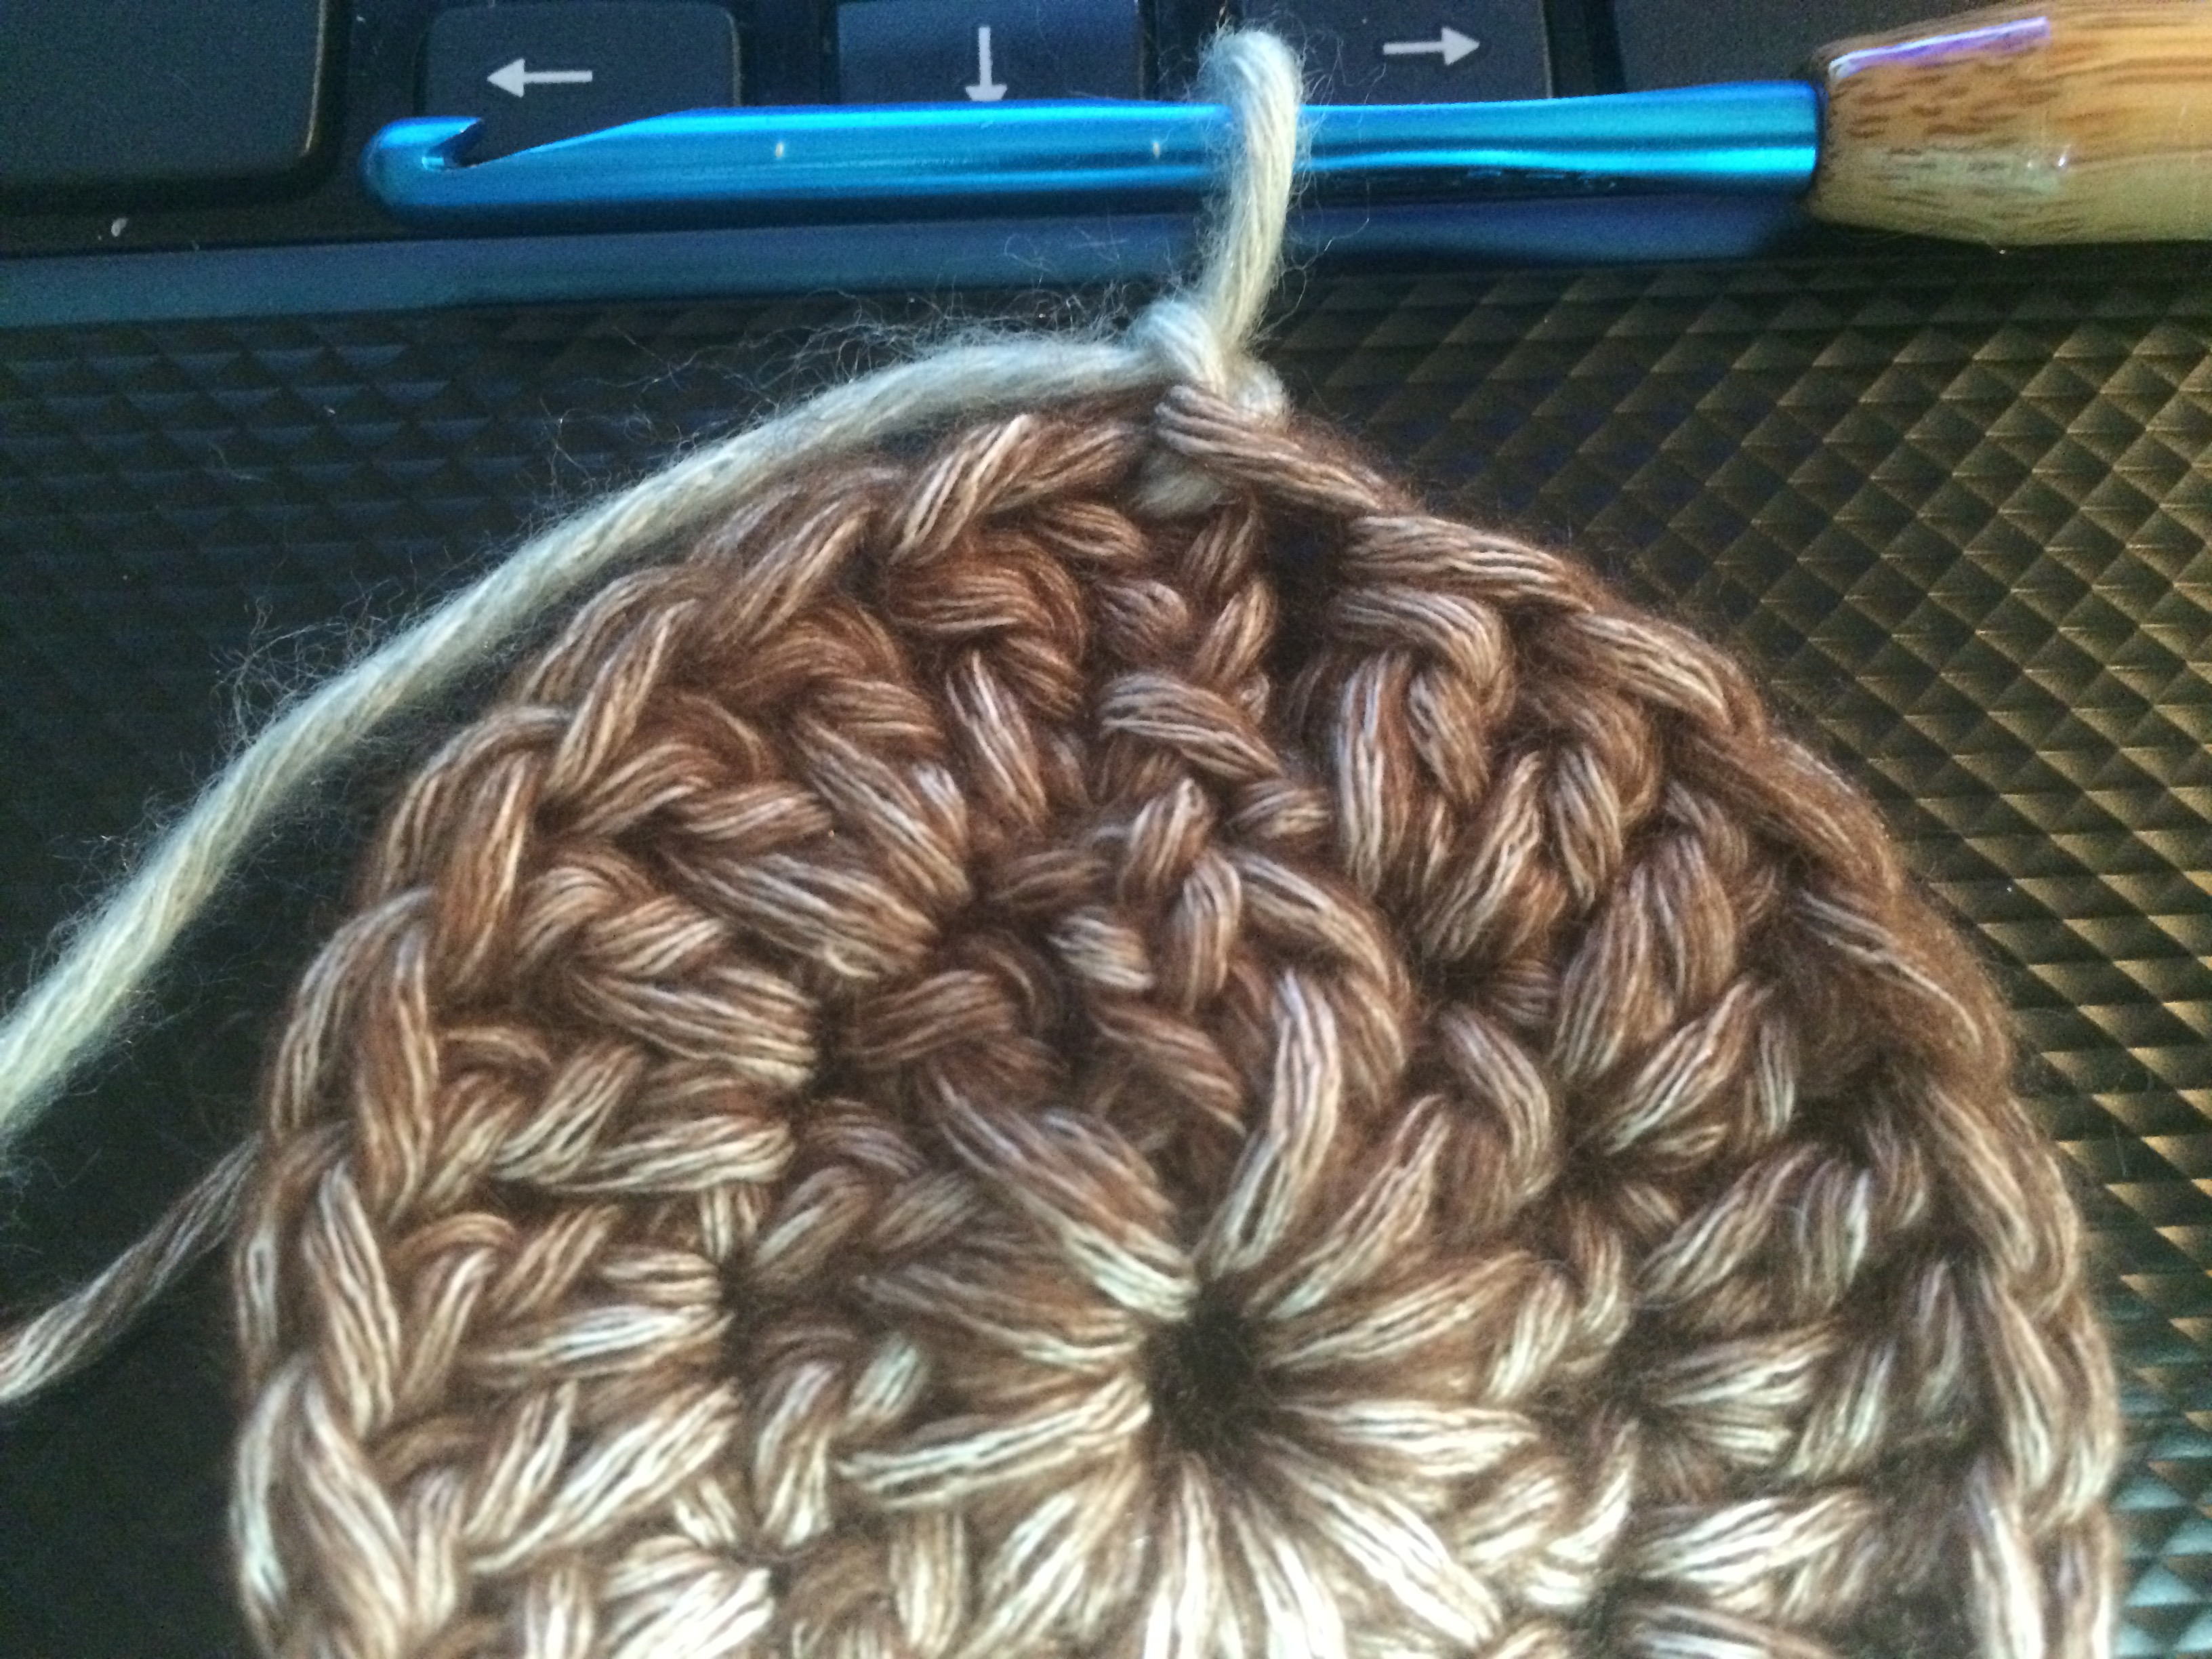
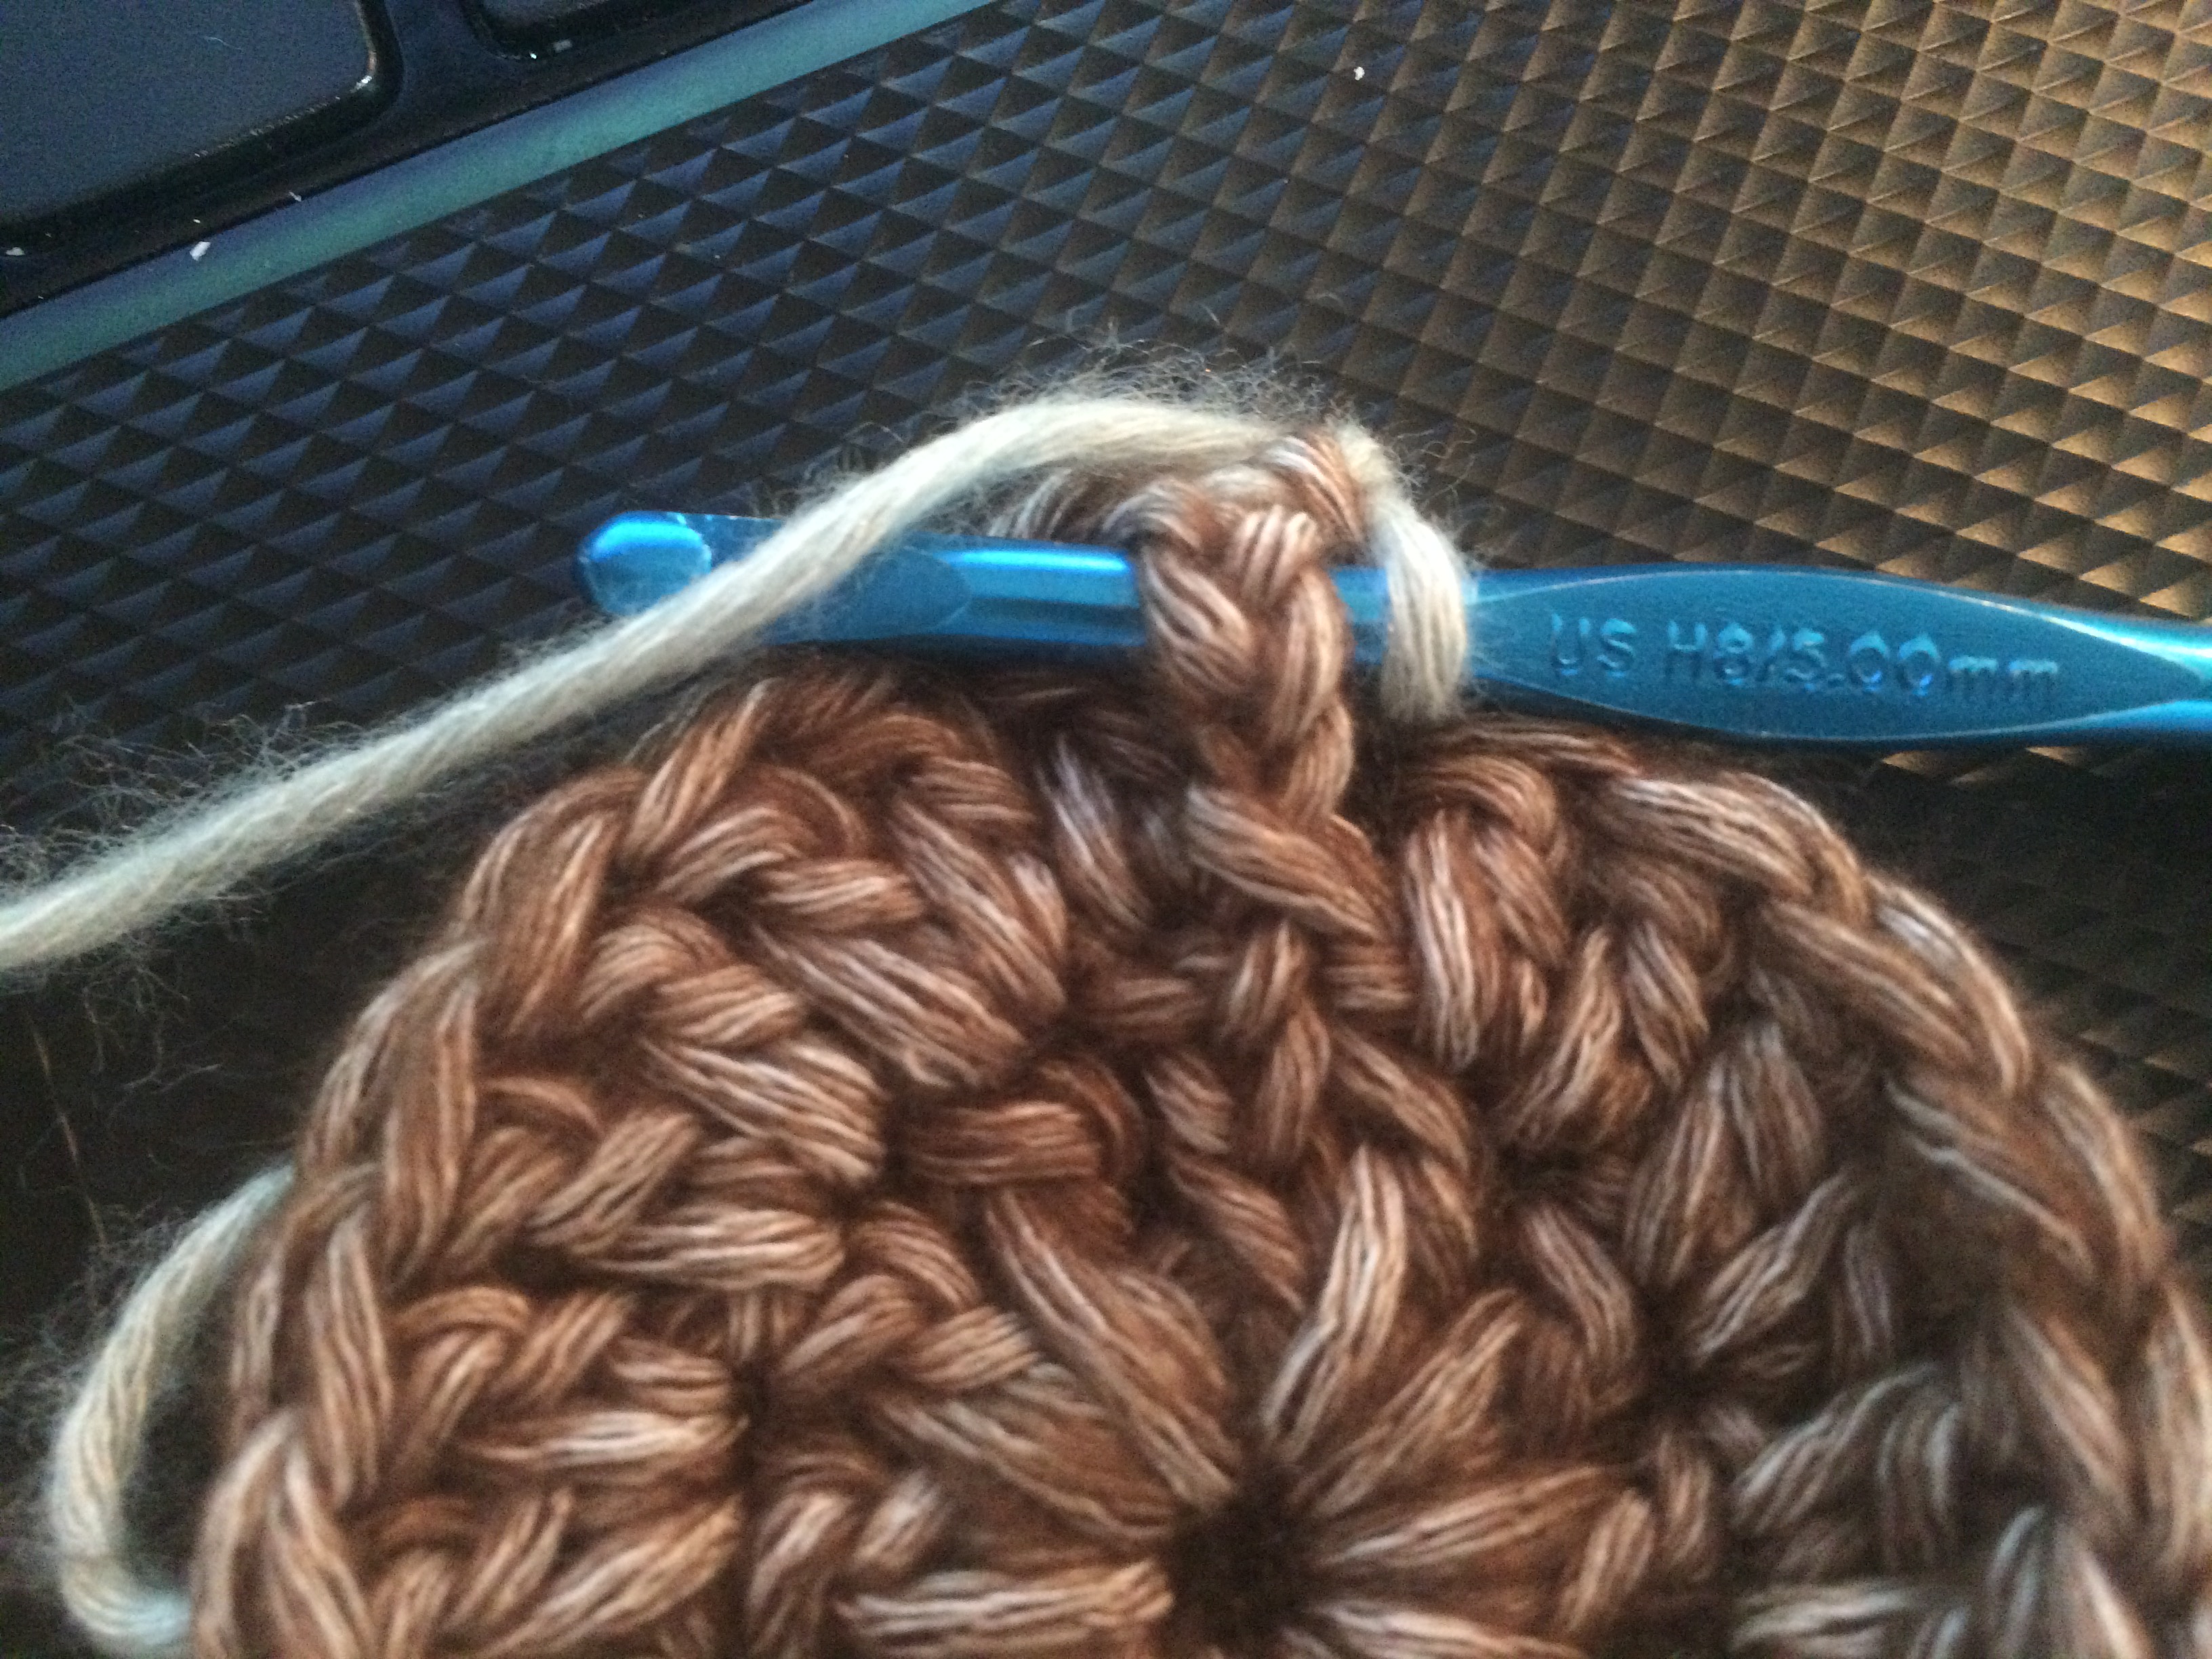
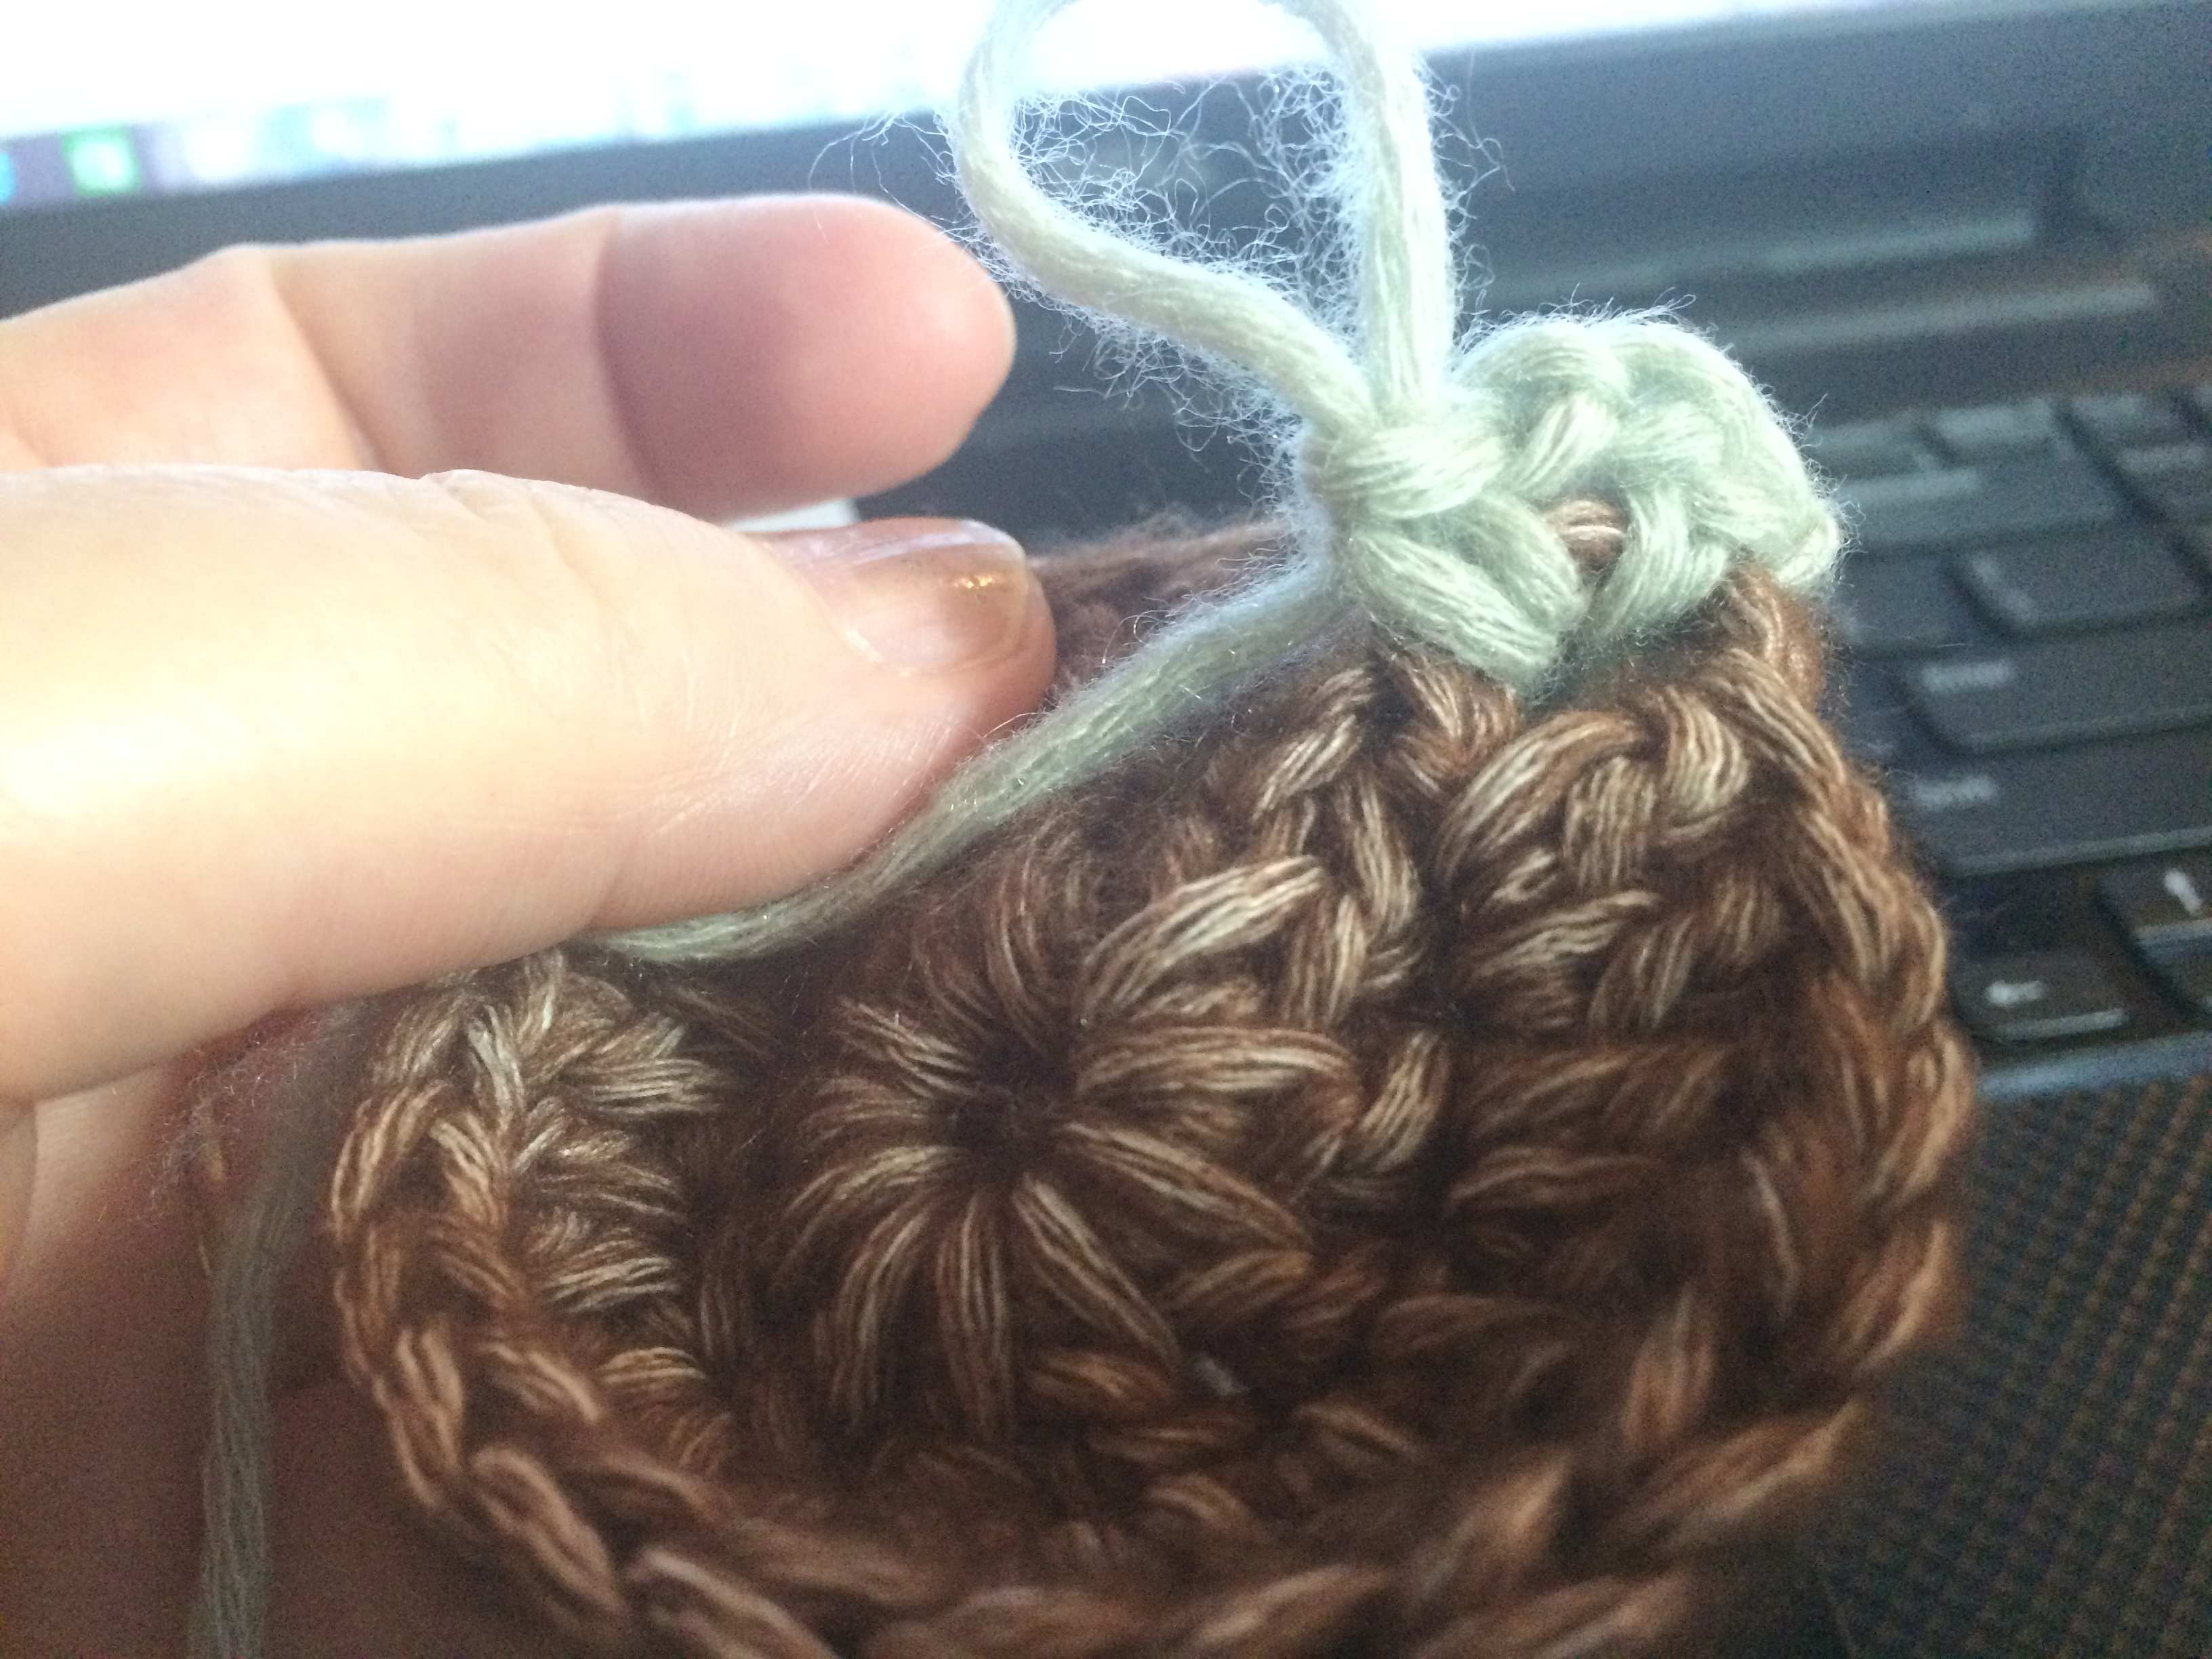
Round 1:  With C, ch 4, join with sl st to form ring.  Ch 3, 13 dc in ring, sl st to top of beg ch-3.  (14 dc)

Round 2:  *(Ch 11, sl st in 2nd ch from hook, sl st in next 9 ch, sl st in next st of ring) x 4,* sl st in next 7 st of ring, turn, repeat * to *.  Fasten off.  Sew applique to web.

Copyright 2015 Julie Yeager Designs

Please do not post this pattern on the internet, even if it was obtained as a “free pattern.”  Post the link to my website – https://julieyeagerdesigns.com, or my Ravelry store – where you can see all my patterns – http://www.ravelry.com/stores/Julie-yeager-designs.  Contact me via e-mail at [email protected].  LIKE my Facebook page – Julie Yeager Crochet and Knit Designs.


NEW PATTERN and CAL – “FADED LOVE”

FullSizeRender (17)

Introducing my new crocheted blanket pattern – “Faded Love ” – now available for purchase on Ravelry.com .

Stunning in its simplicity, this versatile granny square blanket can blend in with any decor, from vintage to modern.

The square itself is easily learned, with basic crochet stitches and a few front-post stitches. For a 47” x 56” throw, you will need 20 skeins; for 56” x 83”, you will need 36. Once you master the pattern, sit back and enjoy many evenings of relaxing crochet with an impressive result. Suitable for the beginning crocheter.

Use your artist’s eye to put together your own color combinations, or follow my lead with the luscious shades of Stonewashed XL, a chunky cotton/acrylic blend.  Update:  Yarn Packs in the Stonewashed XL are available at Deramores.  Use this link (US) or this (UK) or this (Canada)  and I will get a commission. (Use the pulldown menu for other countries.)  Try mentioning my name at checkout for a 20% discount too.  If you purchase the yarn pack through my link I will send you the pattern for free  – send me a private message or email with your order number and Ravelry name.

Directions for a stretchy join are included; this join is excellent when squares vary a little in size. ”

I used 36 skeins of Stonewashed XL for this blanket in the following amounts:

18 skeins Crystal Quartz, 2 skeins Corundum Ruby, 2 skeins Amazonite, 1 skein each Red Jasper, Yellow Jasper, Garnet, Deep Amethyst, Lemon Quartz, Green Agate, Smokey Quartz, Boulder Opal, Blue Apatite, Canada Jade, Coral, New Jade, Lilac Quartz, Brown Agate

Or put together your own combination.  If you purchase from Deramores using this link US or UK or click the banner on the right side of my blog I will get a commission on your purchase.  Thanks!  First-time buyers can mention my name at check-out for a 20% discount.

I am planning to start the CAL on September 21, 2015, with pattern support on my Ravelry board, and also in my Facebook CAL group.

IMG_1377

Summer Mosaic Clue 3 Photos

Ignore my colors.  In this piece, the MC is green.

Round 3, Turn your piece and see the 12 stitches of Round 1.  Slip stitch into one of these. IMG_1303 IMG_1306


Round 3 complete.IMG_1307

Round 4 complete:IMG_1308

Round 5 BeginningIMG_1310 IMG_1311

Trying to show that pesky treble in the corner in Round 5.IMG_1313 IMG_1314 IMG_1316 IMG_1317

End of Round 6.IMG_1318


Round 7:IMG_1319

The skipped stitches of Round 6 that you skip in Round 7.  You will not use them again, just leave them be.IMG_1320

Round 7 corner with fpdc, fptr, fpdc all around the same st.IMG_1322

End of Round 8.  IMG_1325

Round 9:IMG_1326 IMG_1328

End of Round 9. IMG_1330 IMG_1331 IMG_1332 IMG_1333 IMG_1334

New Mystery Lapghan CAL

mcal

I am excited to be participating in a new Mystery Lapghan CAL with Crochet Memories and The Country Willow, in which 36 designers will offer a free 6″ afghan square over a period of 3 months (on second thought some are doing more than one so maybe not 36 but a bunch.)   My square will be coming up September 14, but go now to see more information and the first square of the CAL by Cylinda Mathews at crochetmemories.com.

I’m planning to participate with this CAL – three 6″ squares a week shouldn’t be too bad!   I am going to choose my yarn now – always the fun part. 🙂  How about you?

Sunday Crocheting

IMG_1280

Today I’m taking a break from designing to crochet something fun and learn new techniques.  I’m following Chi-Chi on her keitopalette blog as today is the first part of her new pattern release called Around the Bases.  I thought it would be a good way to use some of my Vanna’s Choice Baby Colors, since they are being discontinued and I can’t use them for designing anymore.  For my center square, I’ve chosen the square from The Enchanted Garden by Courtney Laube as it combines the work of two of my favorite designers, Joyce Lewis and Dedri Uys.  There is so much exciting crochet these days!

Summer Mosaic Clue 2 Photos

Where to join yarn in Round 10.

Some people joined with invisible join and cannot find the first stitch of the round.  I usually say to join to the first stitch of the round or the first stitch of any increase for ease of directions, but since the last two rounds had no increase stitch it is a little tricky.

So let us join to the third stitch to the right of the stitch that goes into the fpdc. Line it up over the increase in Round 7. There is no increase in 8 and 9 which makes it tricky but go to your first st of the increase in 7, move your finger up to 8, then to 9.  It’s the 3rd st to the right of the stitch that goes into the fpdc.  Thanks to Brittany Perrin for this photo:

11041191_1174946422532495_8187768989625794660_n

If you start Round 10 in the wrong stitch you can adjust in Round 12. Round 10 is even, Round 11 is an increase round with 2dc in one st, dc in next 7. Once you get going in Round 12 you can easily see if you’re in the wrong place and you can adjust.

IMG_1254


Round 12 can get a little tricky; read the directions carefully.  You are increasing in this round, and also placing the post stitches a little off-line.   Reading from right to left, each repeat consists of a fpdtr around the fptr below in Round 8, then you skip the st behind the post, sc in next 2, fptr around 3rd of 7 sc below in  Round 9, DO NOT SKIP, sc in next 3, fptr around 5th of 7 sc below in Round 9, skip the st behind the post, sc in next 2.  So each repeat contains 3 post stitches and 7 sc for a total of 10 st, x 12 repeats is 120 st.  Remember, you only skip behind 2 posts.  This is how the increase is made.  2 sc, 3 sc, 2 sc.

IMG_1255


Here is a nice photo by Brittany Perrin:

round 12


Summer Mosaic Clue 1 Photos

Here are a few photos for Clue 1.  Round 3 Front and Round 3 Back which also appeared in the mini-clue are a little tricky.  In Round 3 Front you have to put a front post single crochet  around the post of the stitch below in Round 2, then chain 2, then another front post single crochet around the same post.  Without skipping or chaining, you move on to the second stitch with the same (fpsc, ch 2, fpsc) around the post, and repeat for each of the  remaining 22 st in the round.

I changed color to make it more clear.  This is the ch-1 to start the round (but in a different color.)

IMG_1182

After the ch-1 you insert your hook from front to back to front around the post of the first st of the round (in this case the first st is the ch-3 which counts as a dc.)

IMG_1183


Here is what it looks like after the first fpsc around the ch-2 post:

IMG_1184


After the (sc, ch 2, sc) around the first post:

IMG_1185:


Here we are going right on to the second dc from Round 2, and working the fpsc around it:

IMG_1186


Here are 6 stitches with the (fpsc, ch 2, fpsc) worked.IMG_1188


Completed Round 3 Front:

IMG_1197


Now for Round 3 Back, hold piece toward you and peek behind these last completed stitches.  This is in two colors so it is easier to see, but you can see the unworked loops of Round 2 behind.  It is into these unworked loops of Round 2 that we will work Round 3 Back.  Easy peasy.

IMG_1198

Now join your yarn with a slip stitch and carry on.

IMG_1200

Later in Round 8, here is a photo of where you place your Fptr.  If you find it hard to keep your post stitch loose, you can add an extra “yo” and make it a Fpdtr.

11709655_10153110381148131_1611610622054141162_n


Summer Mosaic Mystery Clue Schedule

DERAMORES UPDATE JULY 24, 2015 – Some yarnpack orders were delayed due to a huge warehouse move. I have been assured that all pending orders were being worked on today and that further orders are available for same day dispatch.

It is almost time for the beginning of our Mystery Afghan Crochet-a-Long!  I will start sending out the clues at the end of next week.  I had originally said August 1, but then I thought of changing to July 31 so that everyone would have the clue on Friday for weekend crocheting.  So I think I’ll actually send it out Thursday night my time (EST – New York) so everyone will have it on Friday (Hello, Australians!)

I will post photo tutorials for the tricky parts here on the blog. (Not too many; it is an easy pattern.) We can discuss the pattern here, on my Facebook page (CAL group,) and on my Ravelry board.  On Ravelry I have a Spoiler thread where photos are welcomed, and a No Spoiler thread for people who have questions but do not want to see yet how the mystery develops.

I hope you enjoy the Mystery aspect; I’m trying to keep you on your toes and guessing as long as possible as to what the afghan is going to look like.

Please “LIKE” my Facebook page ( I have 4,500 likes and some crochet bloggers have 200,000, so I am seriously slacking here,) post photos everywhere, and spread the word about Julie Yeager designs!

Clue 1:  July 31, 2015

Clue 2:  August 7, 2015

Clue 3:  August 14, 2015  (short clue, catch-up time)

Clue 4:  August 21, 2015

Clue 5:  August 28, 2015

Clue 6:  September 4, 2015

Clue 7:  September 11, 2015 (short, optional clue, catch-up time)

Clue 8 (Final Clue):  September 18, 2015


What is a Mystery’Ghan?

What can be expected with a Mystery’ghan? Well, this is the Fifth year I have designed a Mystery Afghan. I release the pattern a little bit at a time, over a period of 6 – 8 weeks, in a series of “Clues.” The clues are carefully written to preclude the use of photos. You will feel a sense of accomplishment as you complete the clue without any idea of what it is supposed to look like! It is great fun if you enjoy mysteries! If you can’t wait, photos show up within a day or so! I am going to have dedicated threads on my Ravelry board for “spoiler photos” and for “no spoilers.” After the clues are released, I can’t control that spoiler photos won’t appear, especially since we are on Facebook and other social media outlets now, so if you do not want to be spoiled, you have to be careful just to download your clue and avoid Ravelry and Facebook until you are done! I will post tutorial photos for tricky parts (if any) and you can always ask for help and you will always find an answer with all the helpful people in my group.