This month I am excited to be participating in the 2019 Celebrate Mom Blog Hop hosted by Pattern Paradise hosted by Maria Bittner. Each day in May, a different crochet designer will be featured and share a new free pattern in honor of Moms everywhere. There are lots of fun prizes too, so come join the fun! For the list of designers and all the details, go to this post =>2019 Celebrate Mom Blog Hop & Giveaway” Check in daily for new free pattern and prize details.
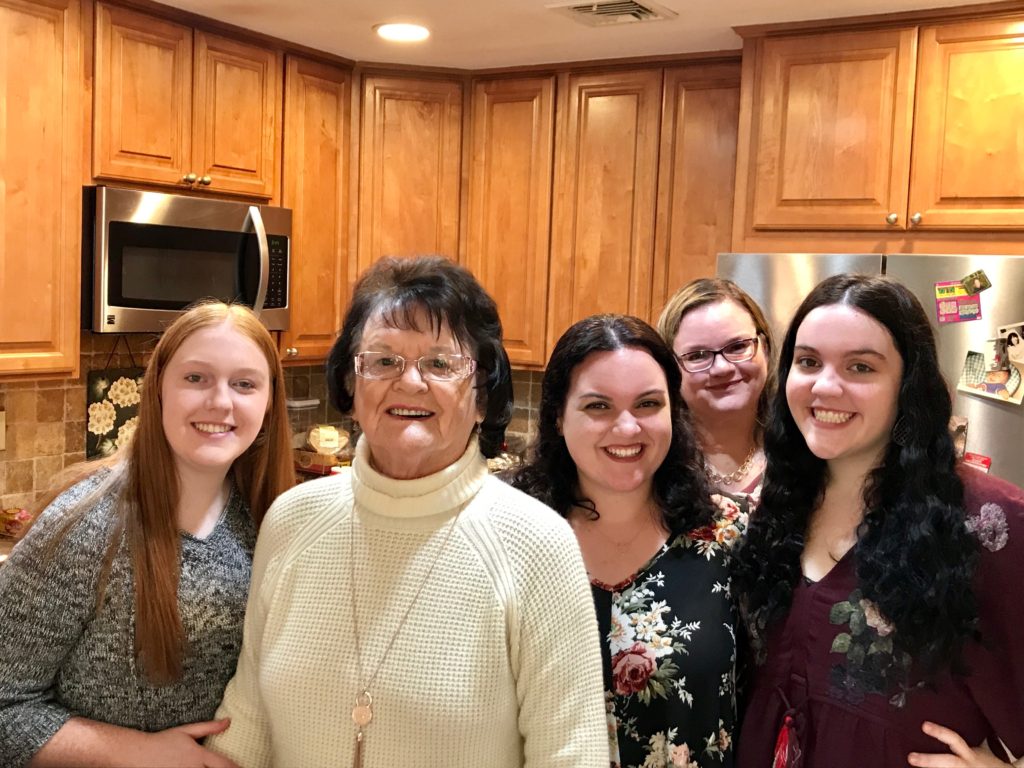
I am pleased to offer Nana’s Textured Pillow today in honor of my sweet Mother, Sheila. My mom remains very stylish at 90 years of age, both in dress and in home decorating. She prefers a neutral palette and solid colors, and this textured pillow will fit right in on her sofa. Here’s Mom at Thanksgiving with the lovely granddaughters and a stray daughter who didn’t realize the photo was supposed to be just granddaughters. Happy Mother’s Day! Follow along all month at Pattern-Paradise.
Please make a project page on Ravelry so I can see what you do with the pattern! Tag with #crochetalongwithjulieanny or #nanastexturedpillow
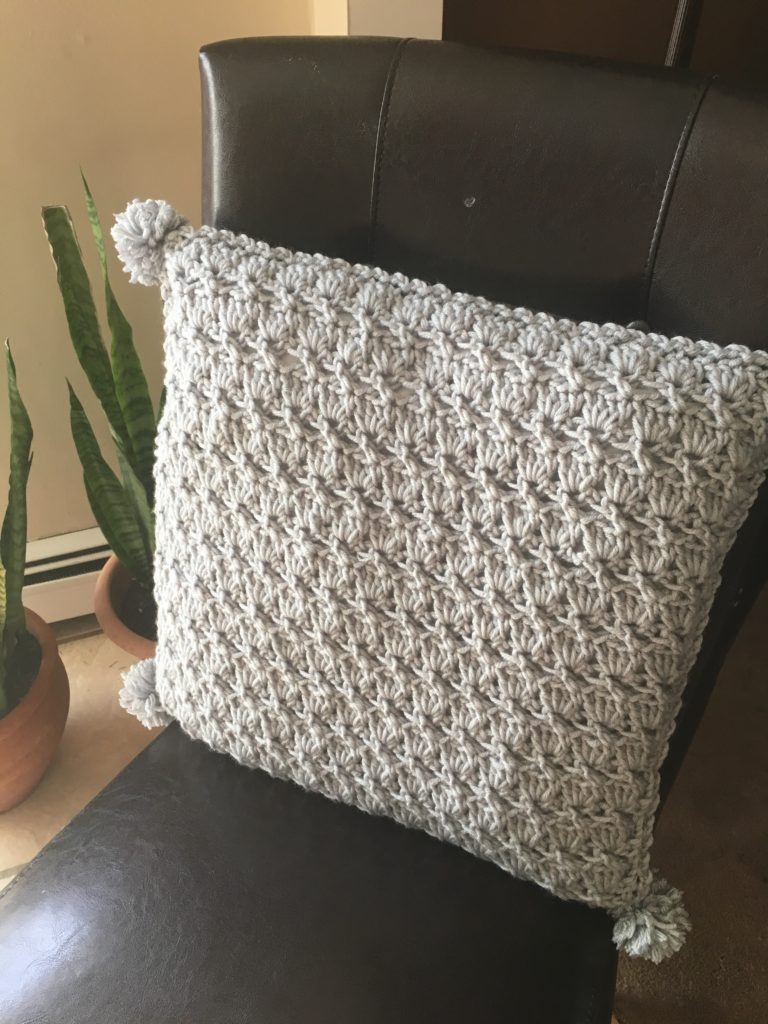
Nana’s Textured Pillow
by Julie Yeager Designs
Finished Size 16 ½” Square – will stretch to fit 18” pillow form
U.S. Crochet Terms
Instructions are given for Bulky yarn, with Aran yarn in parentheses
Lion Brand Color Made Easy (100% Acrylic, Bulky 5, 7 oz/200g/247 yd/226 m) 2 skeins
Hook Size: K-10.5 (6.5mm)
Or
Lion Brand Vanna’s Choice (100% Acrylic, Aran 4, 3.5 oz/100g/170 yd/155 m) 3 skeins
Hook Size: I – 5.5 mm
Make 2 Squares (same color or two different colors for a reversible look)
Row 1: RS Ch 63 (71), 4 dc in 5th ch from hook, (sk 3 ch, 4 dc in next ch) 14 (16) times, sk 1 ch, dc in next ch, turn.
Row 2: Ch 3, sk 1st st, [sk 3 st, dc in the fourth dc of the 4-dc group, ch 2, go back and dc in the first dc of 4 dc group] 15 (17) times, dc in top of turning ch, turn.
Row 3: Ch 3, (4 dc in ch-2 sp) 15 (17) times, dc in top of turning ch, turn.
Repeat Rows 2 and 3 for a total of 24 (26) rows, ending with Row 2. Fasten off.
Place two squares with WS facing. Pin together if desired, makes it easier especially on raw edges. Join three sides with slip stitch (see below), place pillow insert inside, finish up with slip stitch along fourth side, fasten off. Tip for raw edges: Pick up just one strand, to mimic the front loop.
Option 1: Slip stitch through front loops only. (Place hook in front loop of first square, then front loop of second square. Since the wrong sides are facing, you do not use the two back loops which are facing each other.) Add an extra stitch or two in the corners.
Option 2 (In my sample): Slip stitch through front loops only, skipping every other stitch with a ch-2 in between sl st. (Join with sl st in any corner, ch 2, sl st in same corner st, (ch 2, sk 1 st, sl st in next st) about 29 times, (sl st, ch 2, sl st) in corner, repeat around.)
Add a pom-pom to each corner. I used Bucilla 1.5” Pompom Maker.

Gorgeous, I can’t wait to make this. Thank you for sharing. ❤️?