Hello, Mooglyblog Afghan Square CAL 2023! Every year, Tamara at Mooglyblog.com does a wonderful job curating the work of 24 crochet designers as we produce a unique and varied sampler afghan. Follow along on her blog and Facebook page for the CAL.
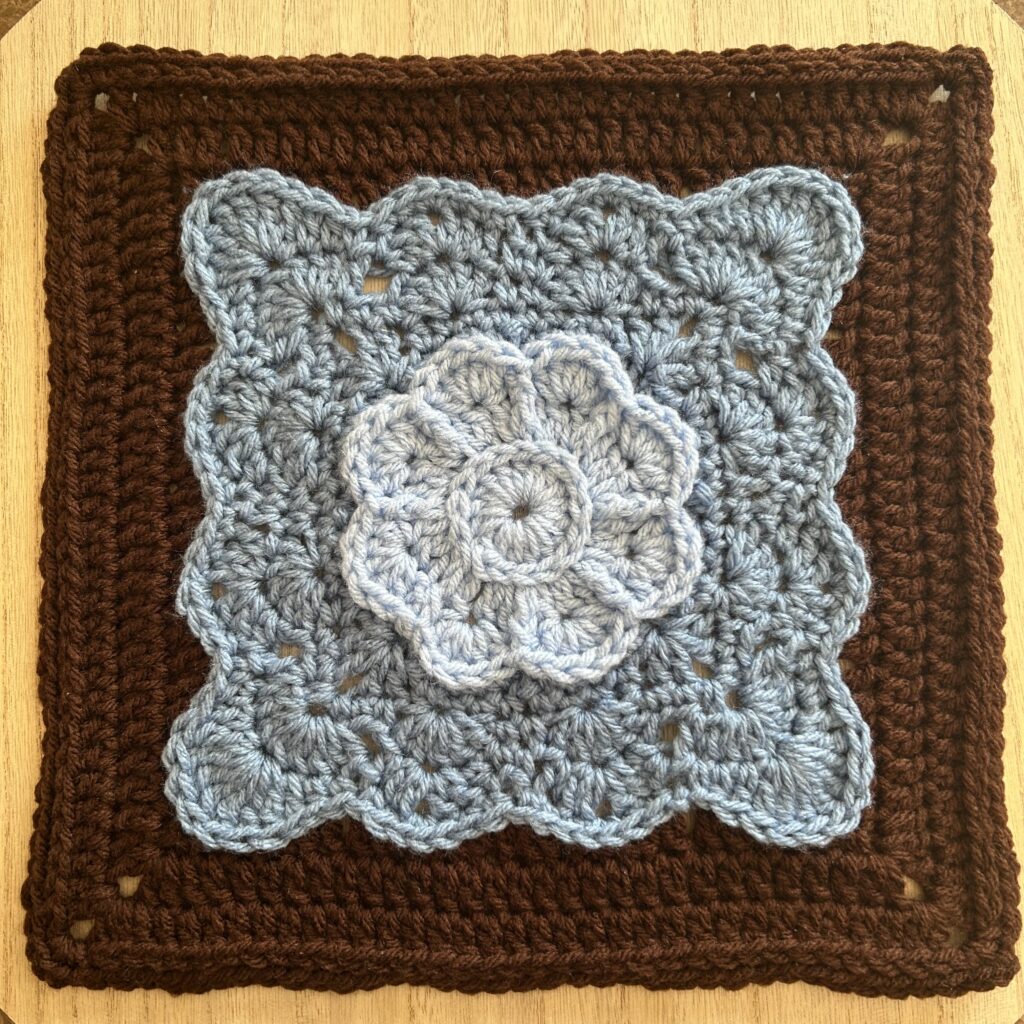
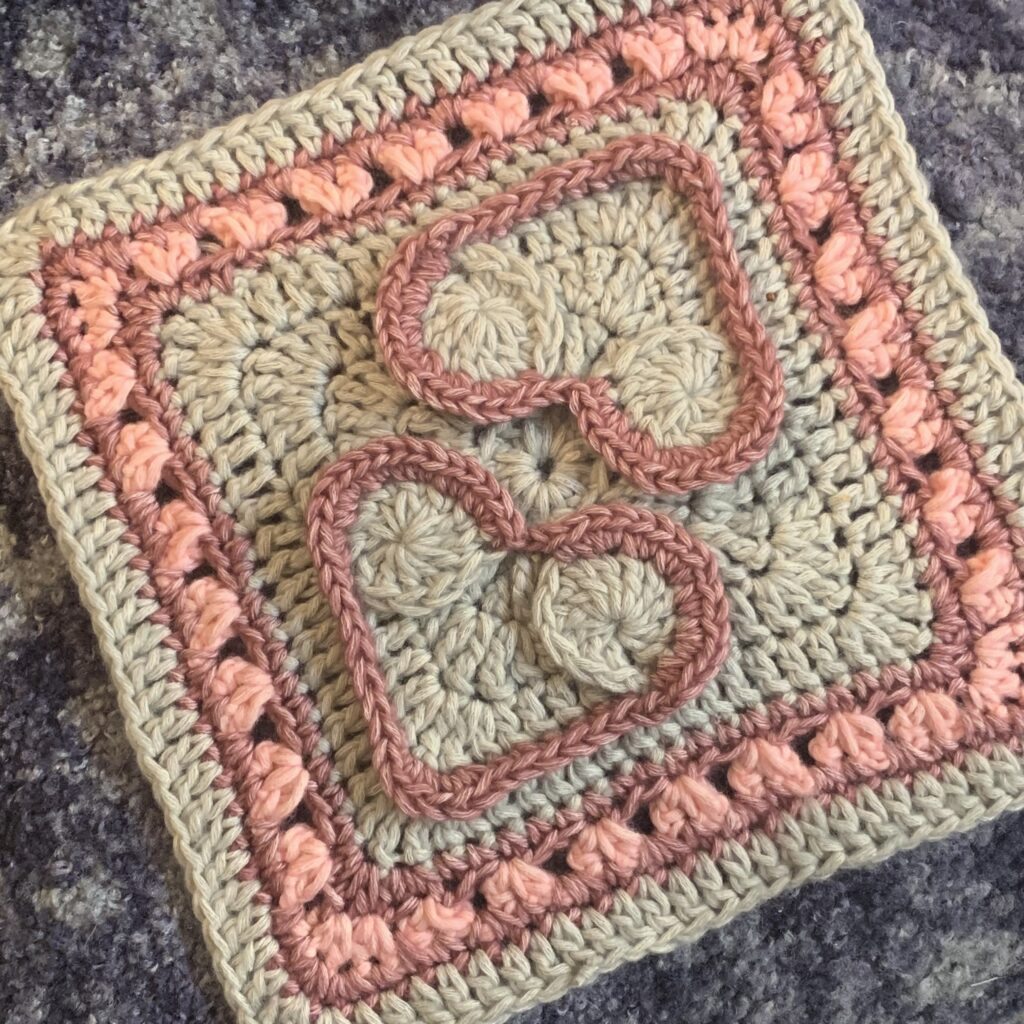
Bluebell Afghan Square is a straightforward design that can look floral, retro, or modern depending on color changes. The subtle three-dimensional effect is made by working into the “third loop” in a few rounds. I think the third loop technique is worth learning as I really like the way it turns the stitch and give the look of an outline. If you really do not like the stitch you can substitute BLO – back loop only, or just work as normal into the two loops.
Pattern will remain free here on the blog – print friendly version available. If you’d like to add the pattern to your Ravelry library, it is available there at a nominal fee, but here is a free coupon to use for a limited time: Bluebell. (Expires April 20, 2023.)
Check out all my patterns on Ravelry and Etsy, and please make a Ravelry project page and tag me to spread the word about my designs. Coupon Code: HOLIDAY to get $10.00 off any $20.00 purchase.

Bluebell Afghan Square by Julie Yeager
12” Afghan Block U.S.Crochet Terms Crochet Hook size I (5.5 mm)
Materials: Red Heart with Love (100% Acrylic, #4, 7 oz/198 g; 370 yds/338 m)
Color A: Bluebell, Color B: Country Blue, Color C: Chocolate
Beg – beginning BLO – Back loop only Ch – chain dc – double crochet FPsc – front post single crochet hdc – half double crochet sc – single crochet sk – skip sl – slip sp – space st – stitch 3rd loop – third loop tr – treble crochet
Notes: Ch-3 at the beginning of a round counts as a dc. Ch-1 at the beginning of a round does not count as a stitch. “Omitting last stitches” means that those stitches were already completed at the beginning of the Round.
Third Loop – Three dimensional effect is made by stitching into the “third loop” rather than into the two loops of the stitch as normal. The third loop is located directly behind the two loops. If you do not wish to use this stitch, try stitching into BLO or stitch into normal two loops for a less textured look.
Changing colors: Many new looks can be achieved by changing colors every round or randomly.
Round 1: With Color A, ch 5, sl st to first ch to form ring. Ch 3, 15 dc in ring, sl st to top of beg ch-3. (16 dc)
Round 2: Working this Round into 3rd Loop, ch 3, dc in same st, 2 dc in each st, sl st to top of beg ch-3. (32 dc)
Round 3: Ch 1, FPsc in same st, (sk 1 st, 5 dc in next st, sk 1 st, FPsc in next st) eight times, omitting last st, sk 1 st, sl st to first st, fasten off. (40 dc, 8 FPsc)
Round 4: Working this Round into 3rd Loop, join Color B with standing sc in any FPsc, sc in each st around, sl st to first st. (48 st)
Round 5: Ch 3, (dc, ch 2, 2 dc) in same st for corner, [sk 1 st, hdc in next st, sc in next 3 st, sk 1 st, sc in next 3 st, hdc in next st, sk 1 st, (2 dc, ch 2, 2 dc) in next st for corner] four times, omitting last corner, sl st to top of beg ch-3. (12 st per side plus ch-2 corner)
Round 6: Sl st in next st and into ch-2 sp. Ch 1, [(sc, ch 2, sc) in same sp for corner, sc in next 2 st, sk 1 st, 5 dc in next st, sk 1 st, sc in next 2 st, sk next st, 5 dc in next st, sk 1 st, sc in next 2 st,] four times, sl st to first sc. (18 st per side plus ch-2 corner)
Round 7: Sl st into ch-2 sp, (ch 3, 6 dc) in same sp for corner, [hdc in next st, sk 3 st, hdc in next st, (2 dc, ch 1, 2 dc) in next st, hdc in next st, sk 1 st, sc in next 2 st, sk 1 st, hdc in next st, (2 dc, ch 1, 2 dc) in next st, hdc in next st, sk 3 st, hdc in next st, 7 dc in ch-2 sp for corner] four times, omitting last corner, sl st to top of beg ch-3. (23 st plus 2 ch-1 sp per side)
Round 8: Ch 1, sc in same st, [hdc in next st, dc in next st, 7 tr in next st (the 4th of 7 dc) for corner, dc in next st, hdc in next st, sc in next st, sk 2 st, sc in next 2 st, 2 sc in ch-1 sp, sc in next 3 st, sk 2 st, sc in next 3 st, 2 sc in ch-1 sp, sc in next 2 st, sk 2 st, sc in next st] four times, omitting last st, sl st to first sc, fasten off. (27 st per side)
Round 9: Working this Round into 3rd Loop, join Color C with standing sc into 4th tr of any 7-tr corner, (ch 1, sc) in same st, [sc in next 3 st, hdc in next st, dc in next st, sk 1 st, dc in next st, hdc in next st, sc in next 3 st, hdc in next st, dc in next 2 st, hdc in next st, sc in next 3 st, hdc in next st, dc in next st, sk 1 st, dc in next st, hdc in next st, sc in next 3 st, (sc, ch 1, sc) in next st for corner] four times, omitting last corner, sl st to first sc. (26 st plus ch-1 sp per side)
Round 10: (Note: Do not miss the first st of each side which is a “hidden” st.) Sl st into ch-1 sp, (ch 3, dc, ch 1, 2 dc) in same sp for corner, [dc in next 26 st, (2 dc, ch 1, 2 dc) for corner] four times, omitting last corner, sl st to top of beg ch-3. (30 st plus ch-1 sp per side)
Round 11: Sl st into next st and into ch-1 sp, (ch 3, dc, ch 1, 2 dc) in same sp for corner, [dc in next 30 st, (2 dc, ch 1, 2 dc) for corner] four times, omitting last corner, sl st to top of beg ch-3. (34 st plus ch-1 sp per side)
Round 12: Sl st into next st and into ch-1 sp, (ch 1, sc, ch 1, sc) in same sp for corner. Working remainder of this Round into 3rd Loop (except for corners) [sc in next 34 st, (sc, ch 1, sc) for corner] four times, omitting last corner, sl st to first sc. (36 st plus ch-1 sp per side)
Copyright 2023 Julie Yeager Designs.
See all at www.julieyeagerdesigns.com, or my Ravelry store. Contact me via e-mail at julieyeagerdesigns at gmail.com


